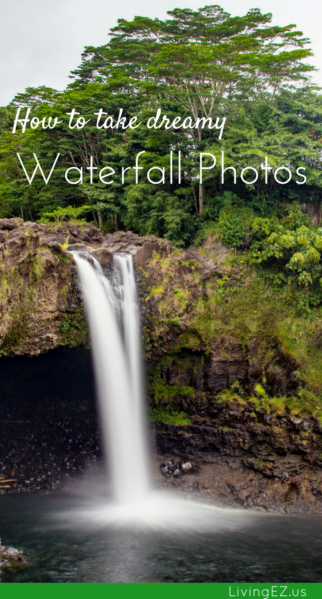
How to Take Incredible Long Exposure Waterfall Photos
Long exposure waterfall photos are not limited to high-end DSLR cameras. With the growth in sensor technology, most higher-end compact, point-and-shoot cameras have what you need. In this article, we teach you how to use the built-in Neutral Density (ND) filter on our Canon G7X.
On our recent Blue Mountains day trip, JZ and I were eagerly testing out the capabilities of our new Canon G7X compact camera. We are still getting comfortable with the layout of the controls. In the process of exploring the camera, we stumbled upon the built-in Neutral Density filter. I really enjoyed using it for photographing the Leura Cascades, and thought I would write this tutorial on long exposure waterfall photos, in case others are interested in using the built-in neutral density filter for similar shots.
To back up a little bit and give you the basics, a neutral-density filter restricts the amount of light in a photo, similar to the way sunglasses work on your eyes. Traditionally, these are filters or plates that attach to lenses for shooting through. Reducing the amount of light making it to the sensor allows you more flexibility with really bright skies, moving water, and a variety of other scenes to use a slower shutter speed. This means the camera has longer to expose the image, and the longer exposure time blurs the motion , such a moving water. It also lets you open the aperture more, which is how you produce that nice background blur (bokeh).
It is becoming more common to have built-in neutral density filters in compact cameras. Built-in neutral density filters are increasingly common in point-and-shoot, compact cameras. There are multiple Canon models that include this feature, and these well-reviewed cameras also include ND filters: Fuji X100T, Sony Cyber-shot RX100m3, and Nikon COOLPIX P7800.
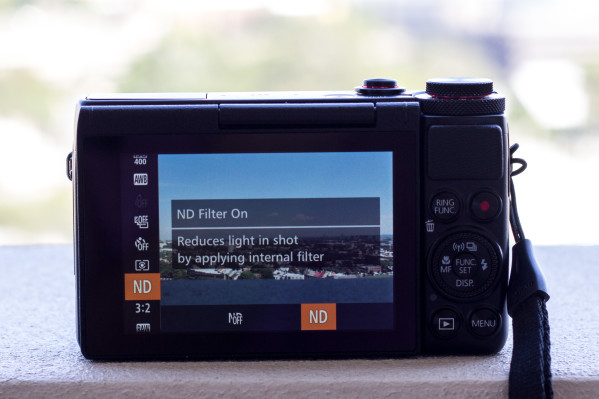
On the Canon G7X, you access the ND Filter by clicking on the FUNC. SET button and scrolling down to the ND icon.
Long Exposure Waterfall settings:
(This is a starting point for you to determine the specific settings for your shot, presuming you have a tripod.)
- Shutter speed 1/20 to 3 seconds: depending on the speed of the water flow. Unless you have surgeon hands, you will need a shutter speed faster than 1/30 – if you are holding the camera in your hands. We always use the tripod for these types of shots for reliability and consistency of results.
- ISO 100: Increase this and consider opening the aperture (smaller number) wider, if your shot is underexposed. Keep in mind that most cameras start to produce too much noise / grainy-ness for your family photobook around 1600-2000.
- Aperture 8: This is a tough one to explain without getting too technical, but here is a little context. In a portrait, an aperture of 2.8 to 4 should have most of a persons face sharp and in focus, and 4 to 8 is a good setting for a group shot. This means if you want a nice blur effect everywhere other than your focus point, stick with 2 to 4, but if you want as much of your waterfall in focus as possible use an aperture number greater than or equal to 8. If this is over your head, you can take the same picture at different apertures, or play with this nifty teaching tool that Canon developed.
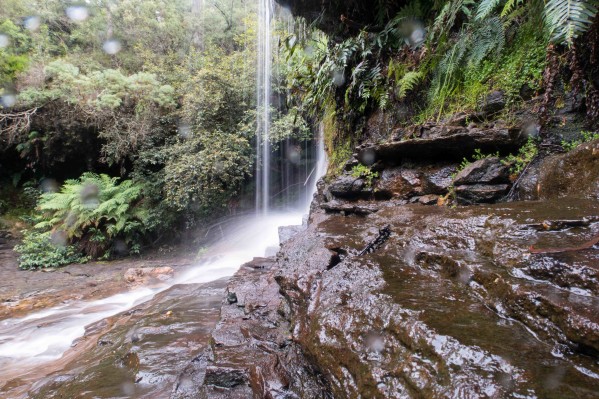
In the examples below, the first photo is relatively sharp on the lower left portion of the waterfall, but the foliage and brighter area in the background are blurred an out of focus because the aperture is 1.8. The second photo has the aperture set to 9 and you can see the sharpness throughout the photo. - A tripod (or resting place) is helpful to keep the camera perfectly still during the shot. A two second timer also helps reduce shutter shake from pressing the shutter.
Regular settings:
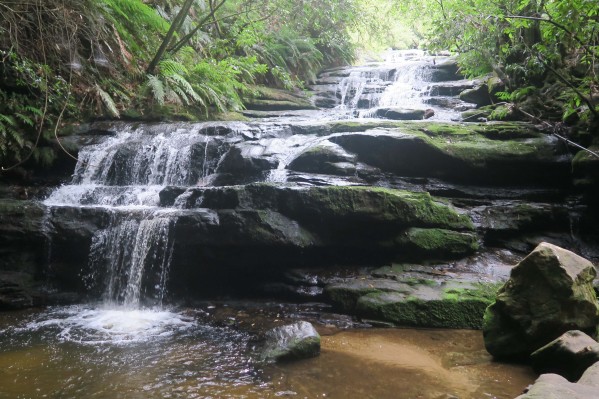
Adjusted settings:
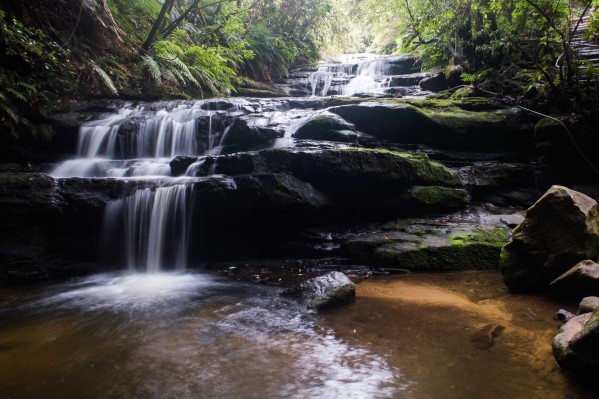
You can see above that decreasing the shutter speed allowed me to capture the general movement of the water, instead of the individual droplets at a snapshot in time. You will often see this ethereal effect used in postcards, books, and magazines.
Grab our cheat sheet with the specific settings for this photo and our other photo tip downloads:

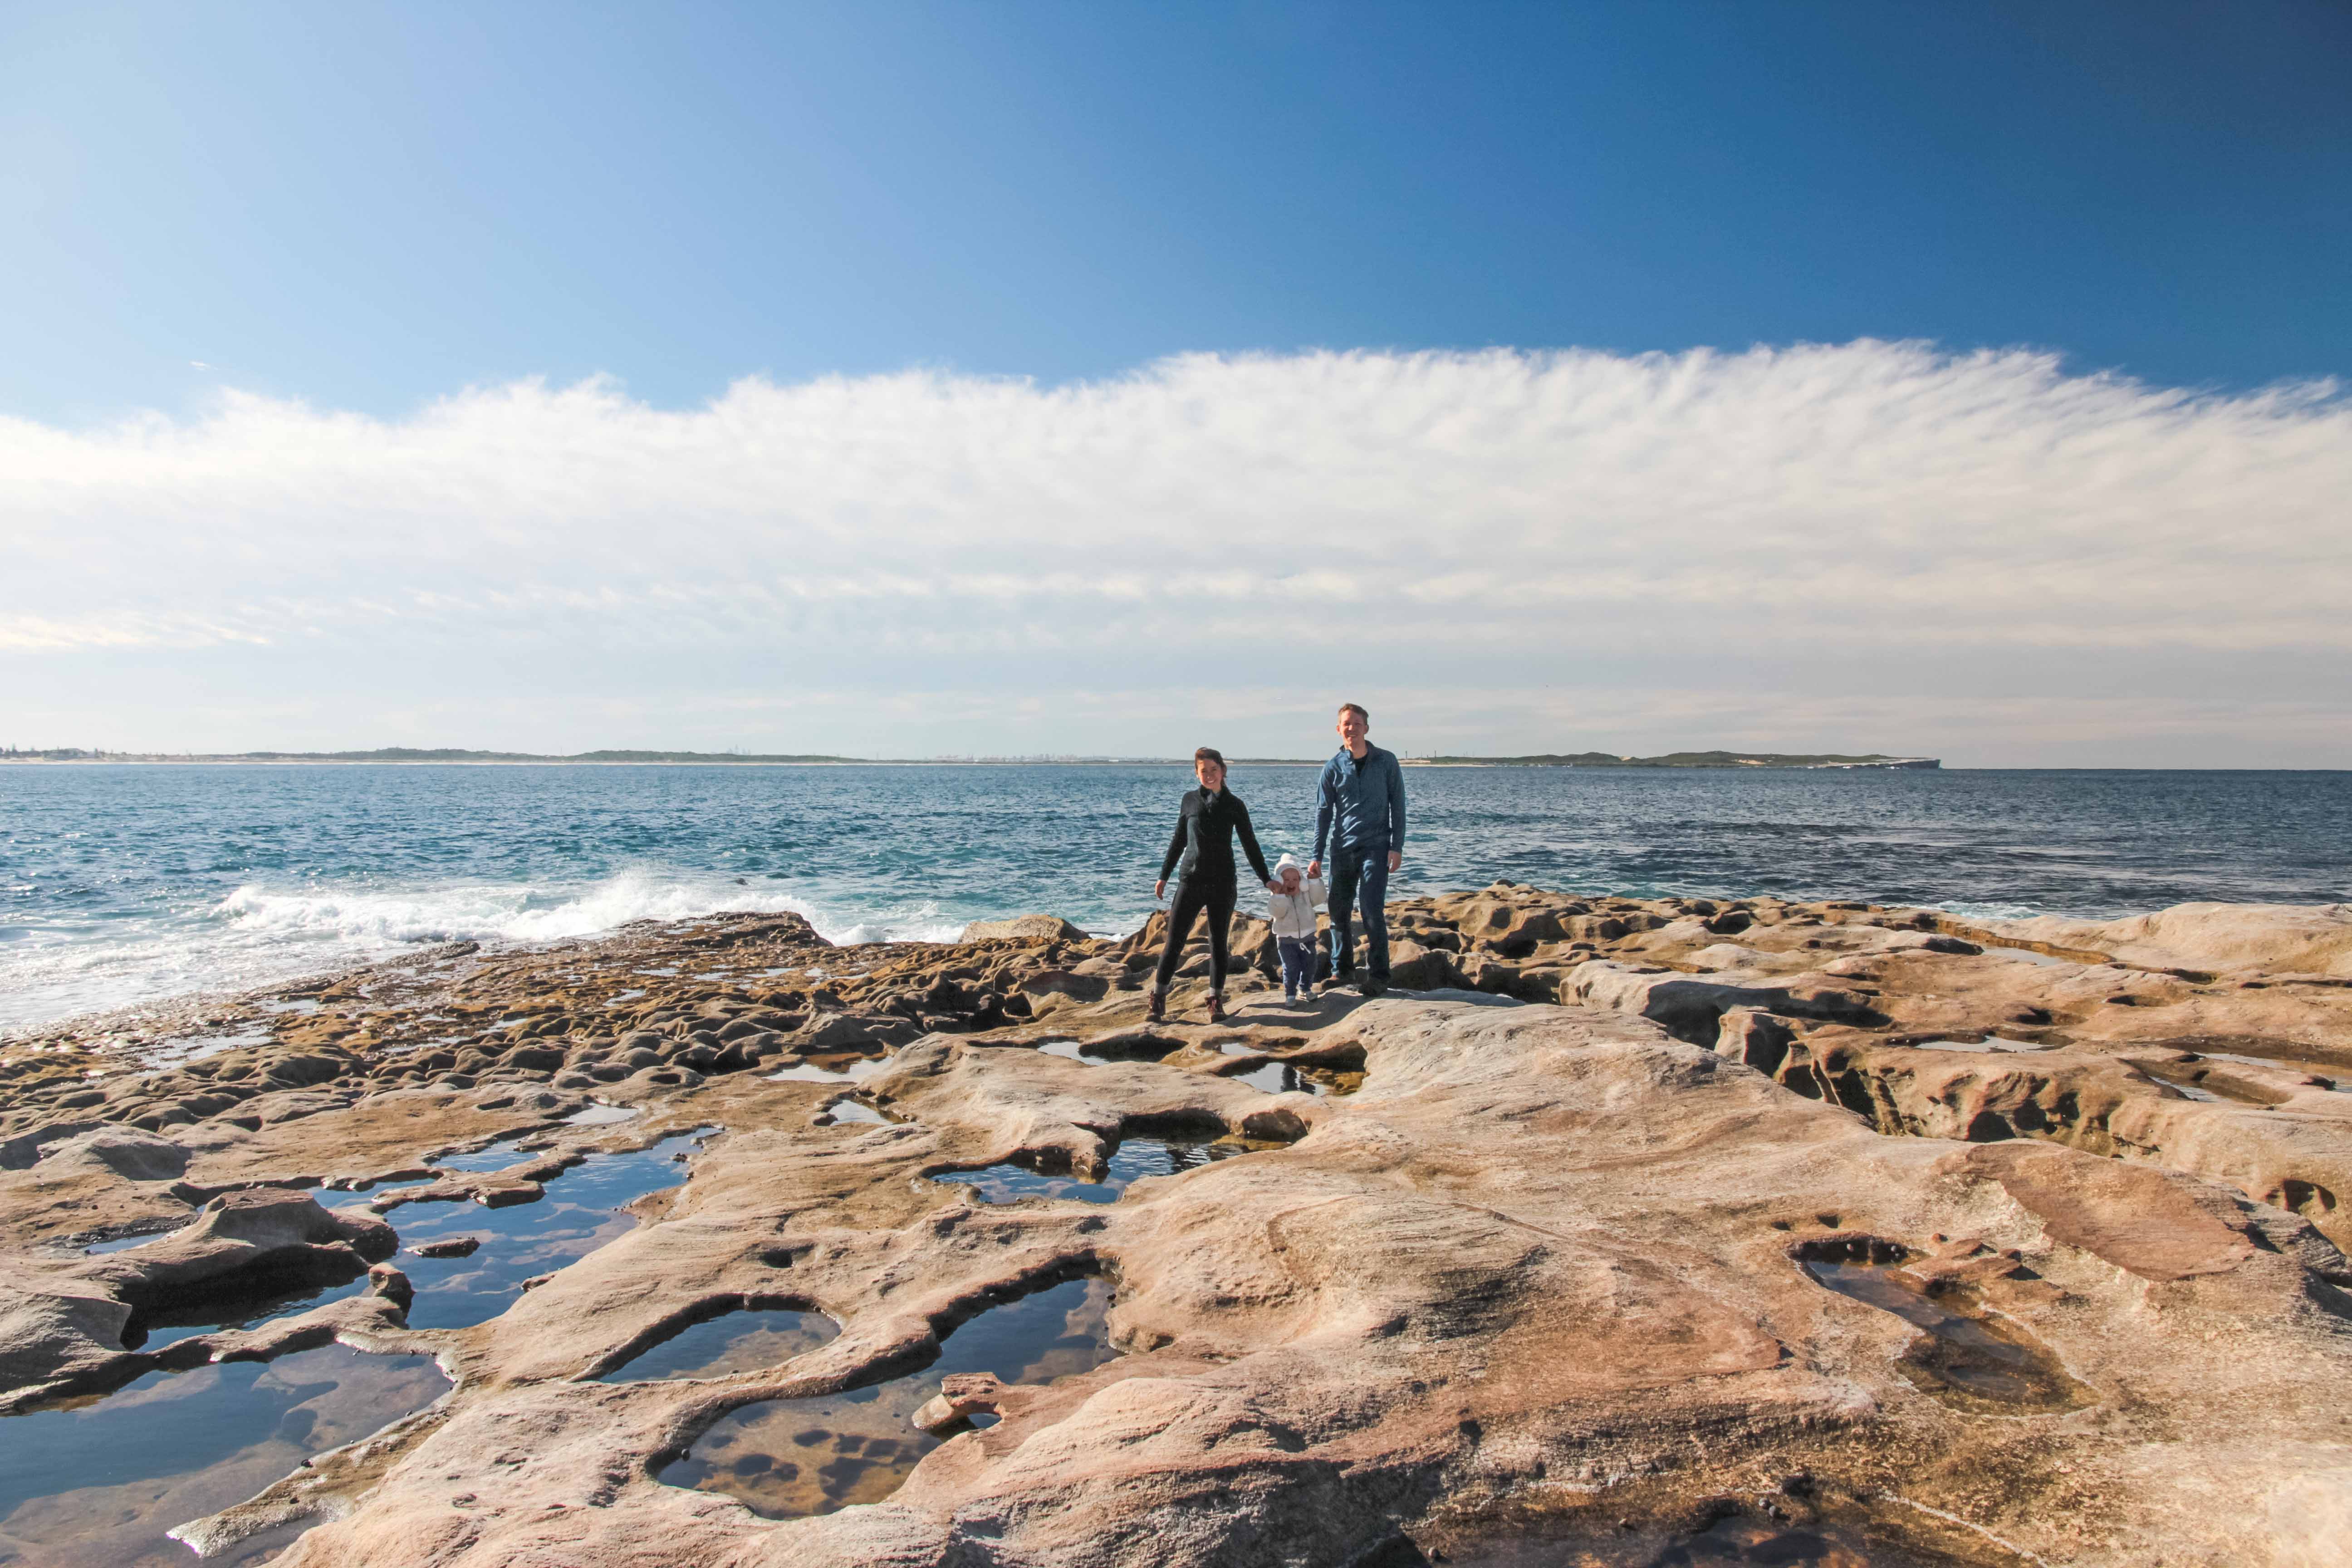
Don’t forget to turn off the ND feature when you finish shooting, it may cost you a couple of great toddler portraits, if you forget it’s still enabled. 🙂


Pin this for future reference:

1 Response
[…] water flow means faster shutter speed, and for shutter speeds under 1/30 you need a tripod. See this post for more […]