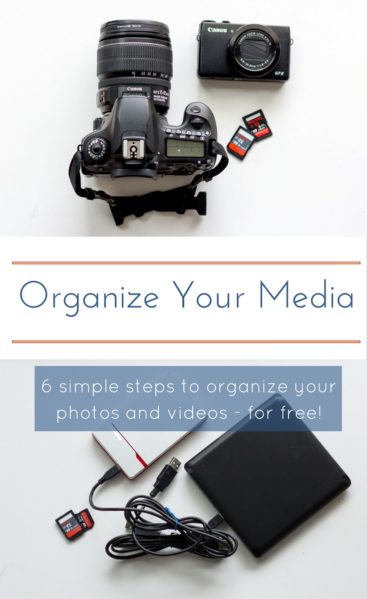
How to Organize Photos in Six Simple Steps (for Free!)
Feeling a little overwhelmed by all of the photos and videos you and your family snap with your phones, cameras, and other devices? It happens, and it accumulates fast. This post details our streamlined process to reduce the overwhelm of the digital age of parenting, and show you how to organize photos, and video, without spending money.
 Keeping track of all the photos is quite a process, and every time I search for a solution, I find a long list of overly complicated, confusing articles. Here is my super easy, and free method.
How to Organize Photos in Six Simple Steps
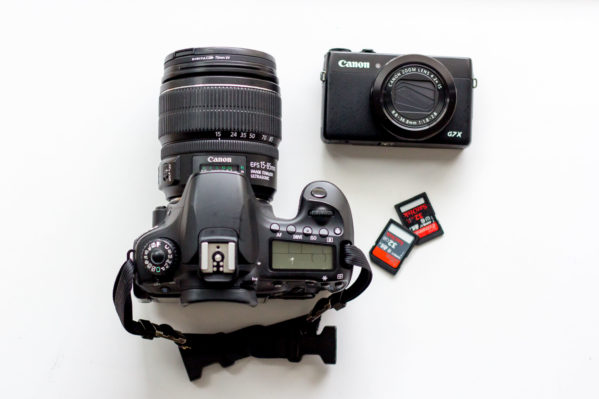
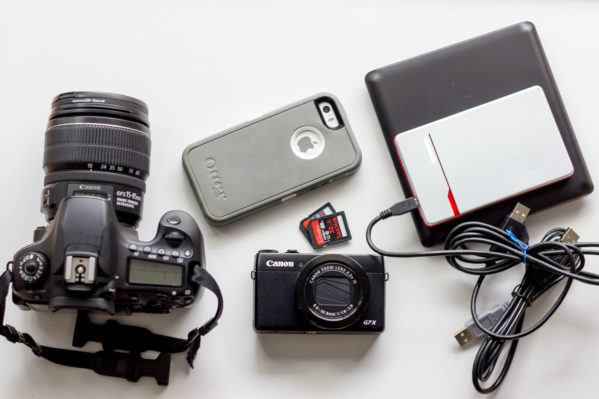
- Set the date and time in your camera to your smartphone! We have to do this for our G7X manually, but our 60D, actually syncs to the computer when we plug it in. We need to update this every month or two because the clocks drift, but it is worth it. We always take multiple cameras on or adventures, and at least two iPhones, it is nice to have the right date / time information. This practice is helpful when you upgrade to a paid software like Lightroom because the program automatically organizes files by date / time, using the data stored in the image file.
- Archive the past, and start from today forward. I know you intend to organize your old photos, but you most likely won’t. If you get to it someday, like I hope to, that’s great, but in the meantime archive all your old photos together. Create an archive subfolder in your “Photos” location, and drop every folder/photo you already have in there. If your memory cards contain a lot of old photos, toss them them in there as well. You may or may not get to it, but worst case this will become the miscellaneous (digital) box of photos your parents used pull out from time that spans random years before or after they created photo albums.
- Choose a consistent grouping / folder structure. Moving forward from this moment, start organizing your photos in a way that works for you. We sort our photos by date and activity so it is easy for us to quickly find folders we are looking for and there is no question where new photos should go. Here is a brief outline of our folder structure:Photos (Top Folder)
2015-2016 (Year)
2016-01-12_TarongaZoo (Event / Activity Photographed)
2016-05-14_HawaiianHoliday (Vacation / Multi-day Event)
2016-05-14_Arrival
2016-05-15_Volcano
The “YYY-MM-DD_ActivityName” format is important because it leverages the computer’s default sorting to keep everything in chronological order.
I don’t recommend any more detail because more folders make it more complicated to import and find your photos. The goal with this structure is quick browsing access, and you have even faster search access searching for the folder by name. Once you find folder/date range, you don’t want to waste a bunch of time digging through additional subfolders. The only other piece is my generic cell phone photos folder. If I have cell phone shots that belong with an activity, I save them there. Otherwise they go in one folder for the whole year.
- Set a schedule for importing photos from your memory cards and other devices. We try to import photos on the day we take, them, but that doesn’t always work, especially when we take photos every day of the week. We found a way to make sure we never fall too far behind, by making Monday photo day. Monday evenings, we brew a cup of tea, and load all the photos still sitting on memory cards.
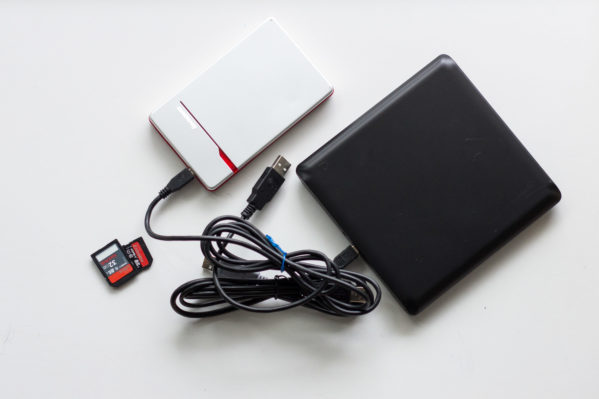
- Back-up you photos folder to a second, external hard drive for peace of mind. Hard drives fail, children spill things, and you drink coffee while at the computer. Don’t lose all of your family photos because you kept putting off setting up a hard drive. We automate our backups with an Apple Time Capsule running every week.
- Delete the photos from your memory cards, phones, and other devices. This step is crucial. After importing our photos, we clear off the memory cards so we are never worry about storage space or spending moments frantically deleting videos and pictures on our phones. At this point, you already have your photos in easily accessible folders so there is no need to confuse things by keeping them on memory cards.
How to Organize Photos – Wrap Up
We use this exact same strategy for our videos as well, and keep them in the same folders as our photos. The Hawaii folder contains all of the photos and video from each of the holiday’s adventures. The best part is that as our photography evolved this structure evolved with us. We applied this same structure in Photos / Aperture, and it migrated with us in 2015 to Lightroom. (if you order through this link, we get a small commission.)
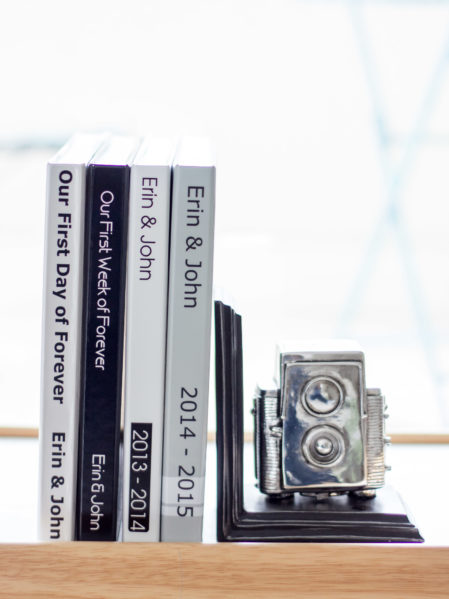
One final bonus photo organization tip: Make a photo book each year. We started with a book for the wedding, and another book for the honeymoon. Now, we print a new book shortly after each year. It is nice having all of our photos organized and accessible on the computer, but we rarely look through photos on the computer. CZ has started requesting the “baby book” so she can look at photos of herself and family members.
I hope this inspires you to start fresh, and take control of your backlog of family photos. Let us know in the comments below if you have any additional questions or tips.
One last note, we share some of our best tips and up to date camera news in our bimonthly newsletter. Make sure you sign up for our photo tips newsletter to gain access to our library of subscriber-only photo tutorials!


1 Response
[…] on our media management post, this article walks you through how to import and organize media in Adobe Lightroom. We follow […]