Underwater Photography Lightroom Edits
Looking for steps on how to edit underwater photography in Lightroom? Here are our simple steps and video tutorials for photos from your GoPro, Canon G7X, or other underwater cameras.
With palpable excitement, you board the vessel for your snorkel trip. You and between 20 and 200 other people are on your way to see one of the most amazing natural wonders of the world. Many of these passengers, like yourself, purchased or rented an underwater camera. You all look forward to producing epic underwater photos plastered on the tour websites and Instagram. All day you joyfully swim through vibrant colored coral, fish, and sea anemone, excitedly clicking the shutter. (If you want beginner tips on taking underwater photos – check out this post.)
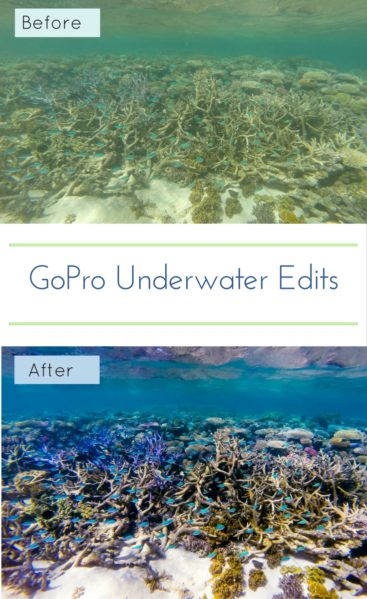
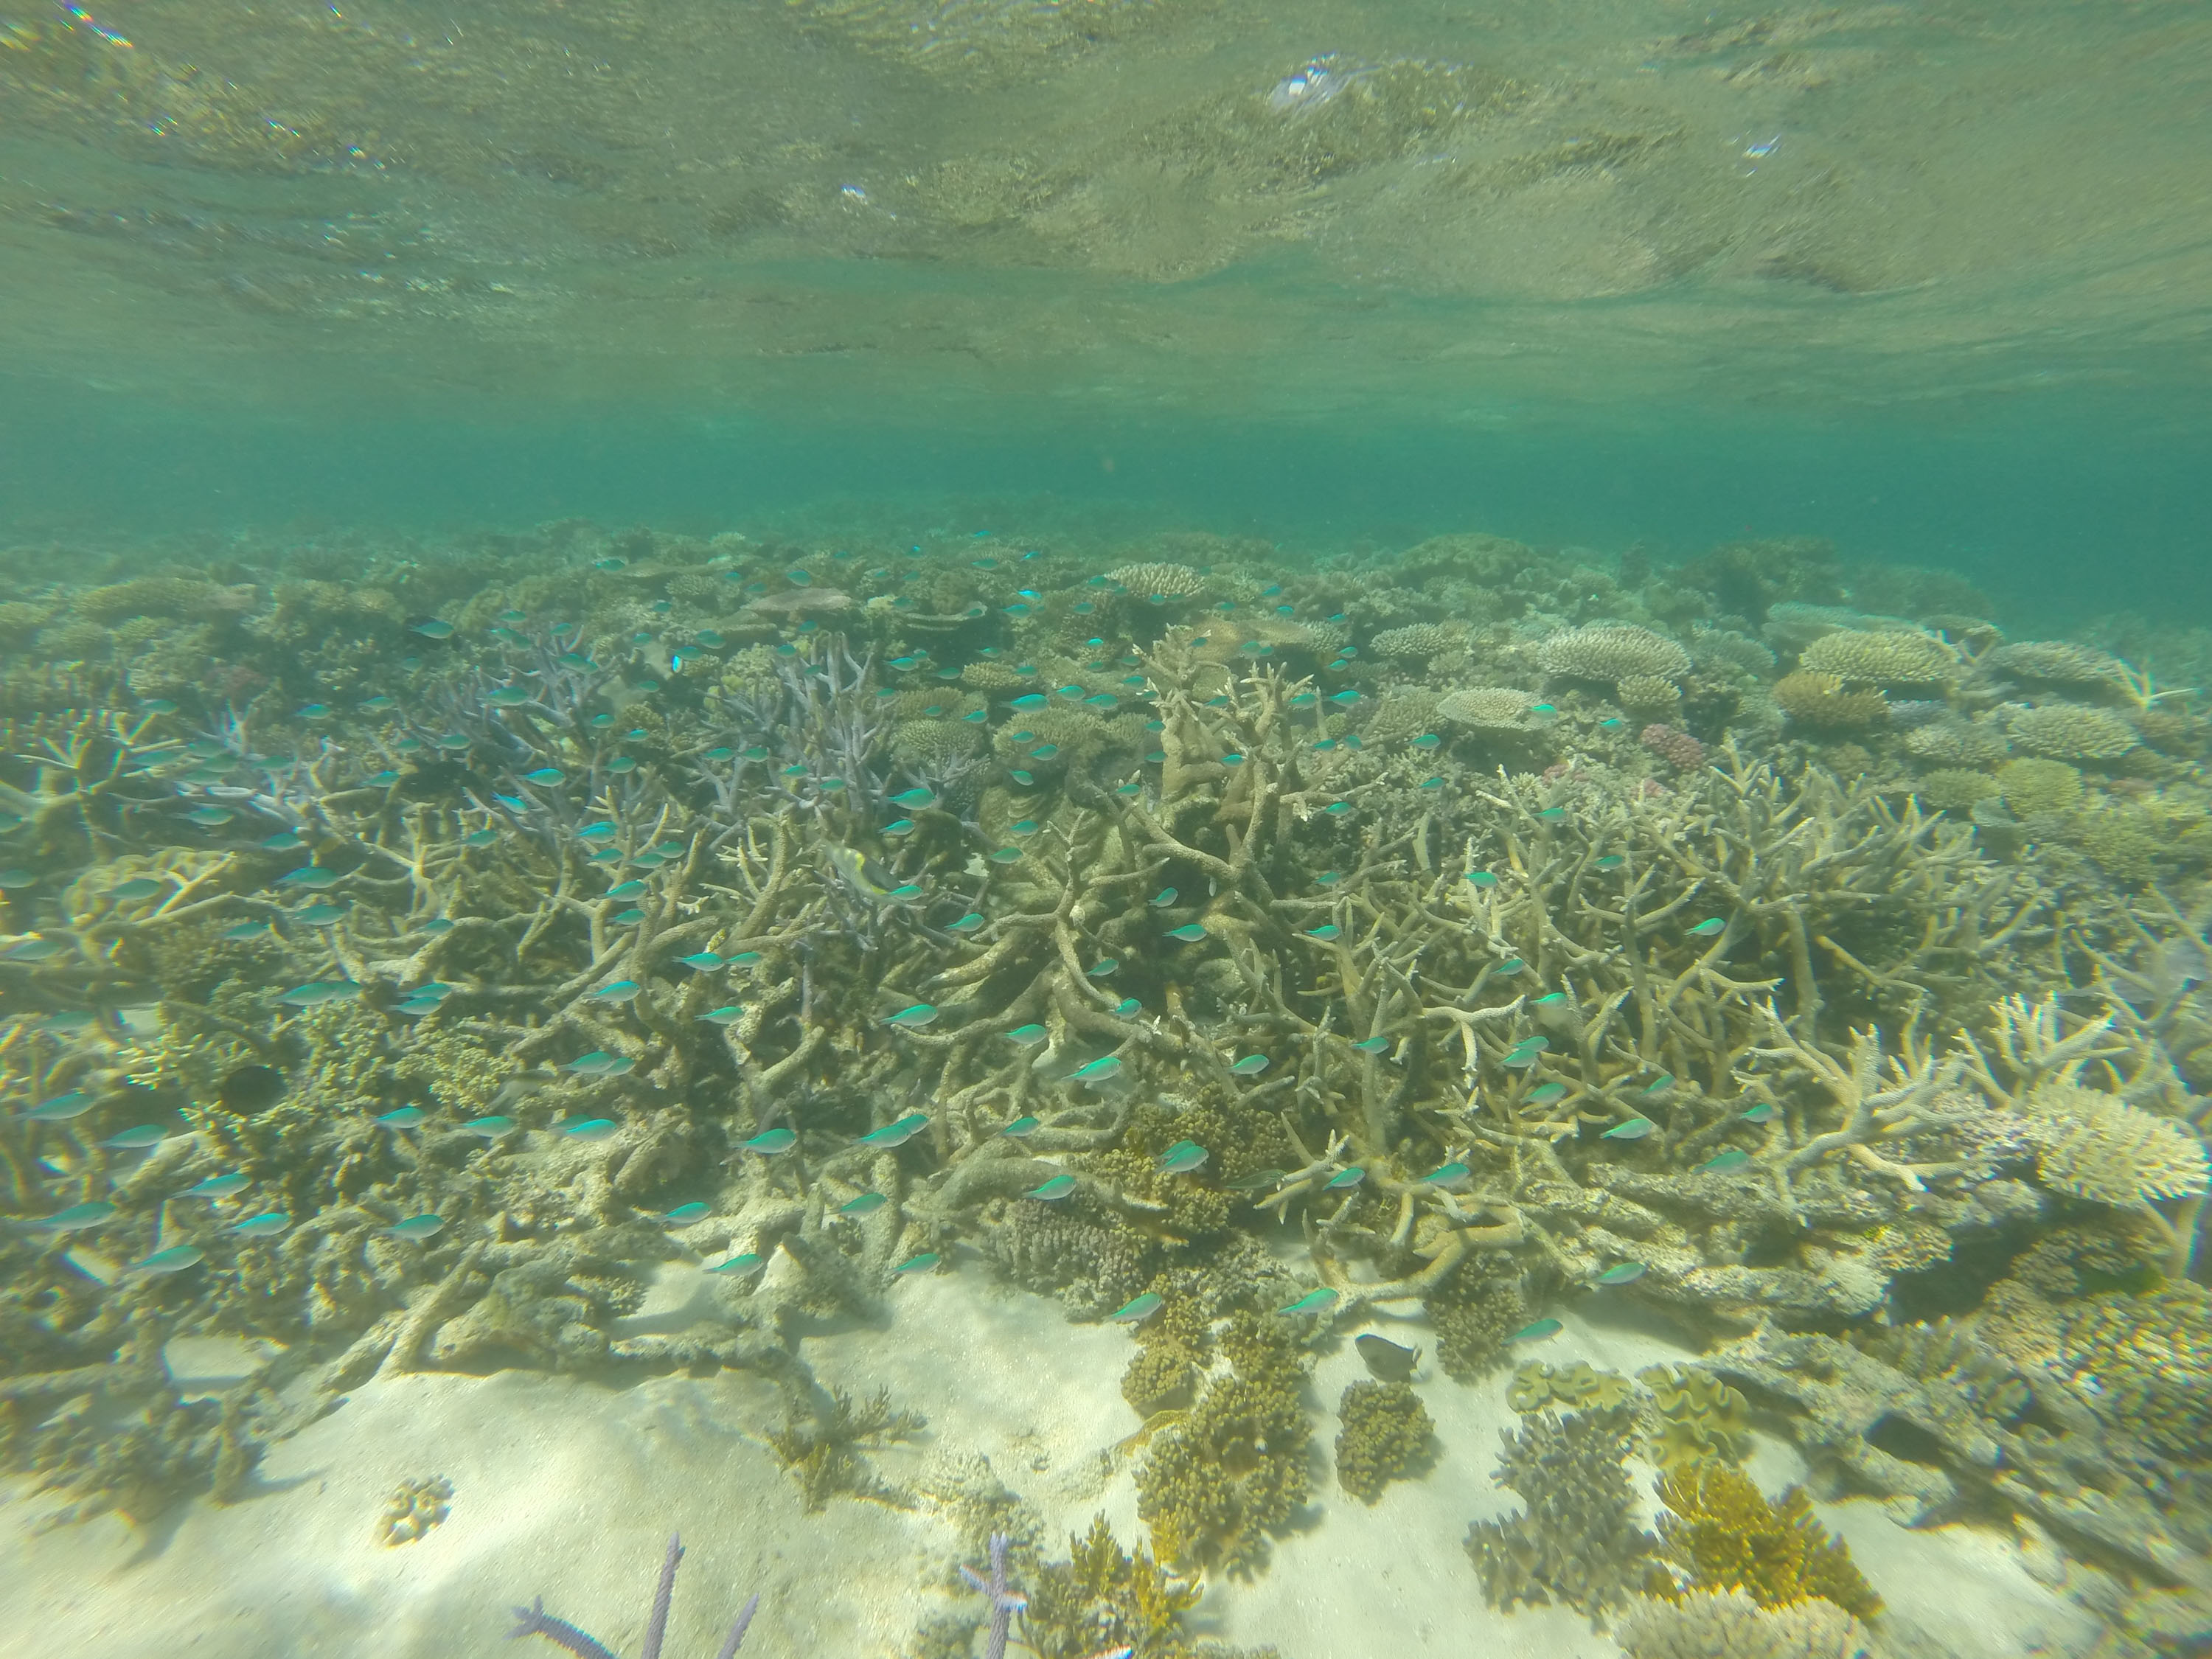
Once you are back the at the computer, the reality hits. The best of your photos look like this:
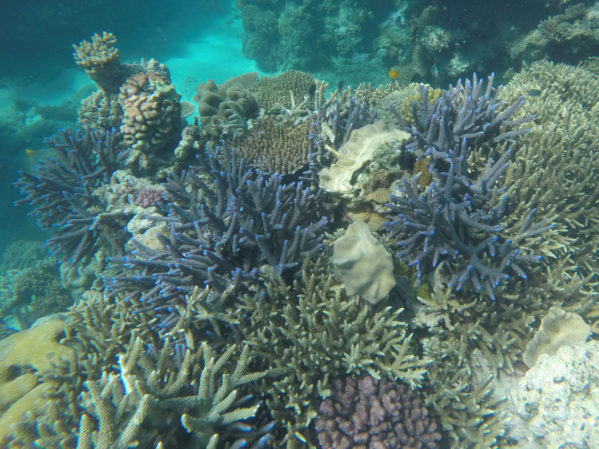
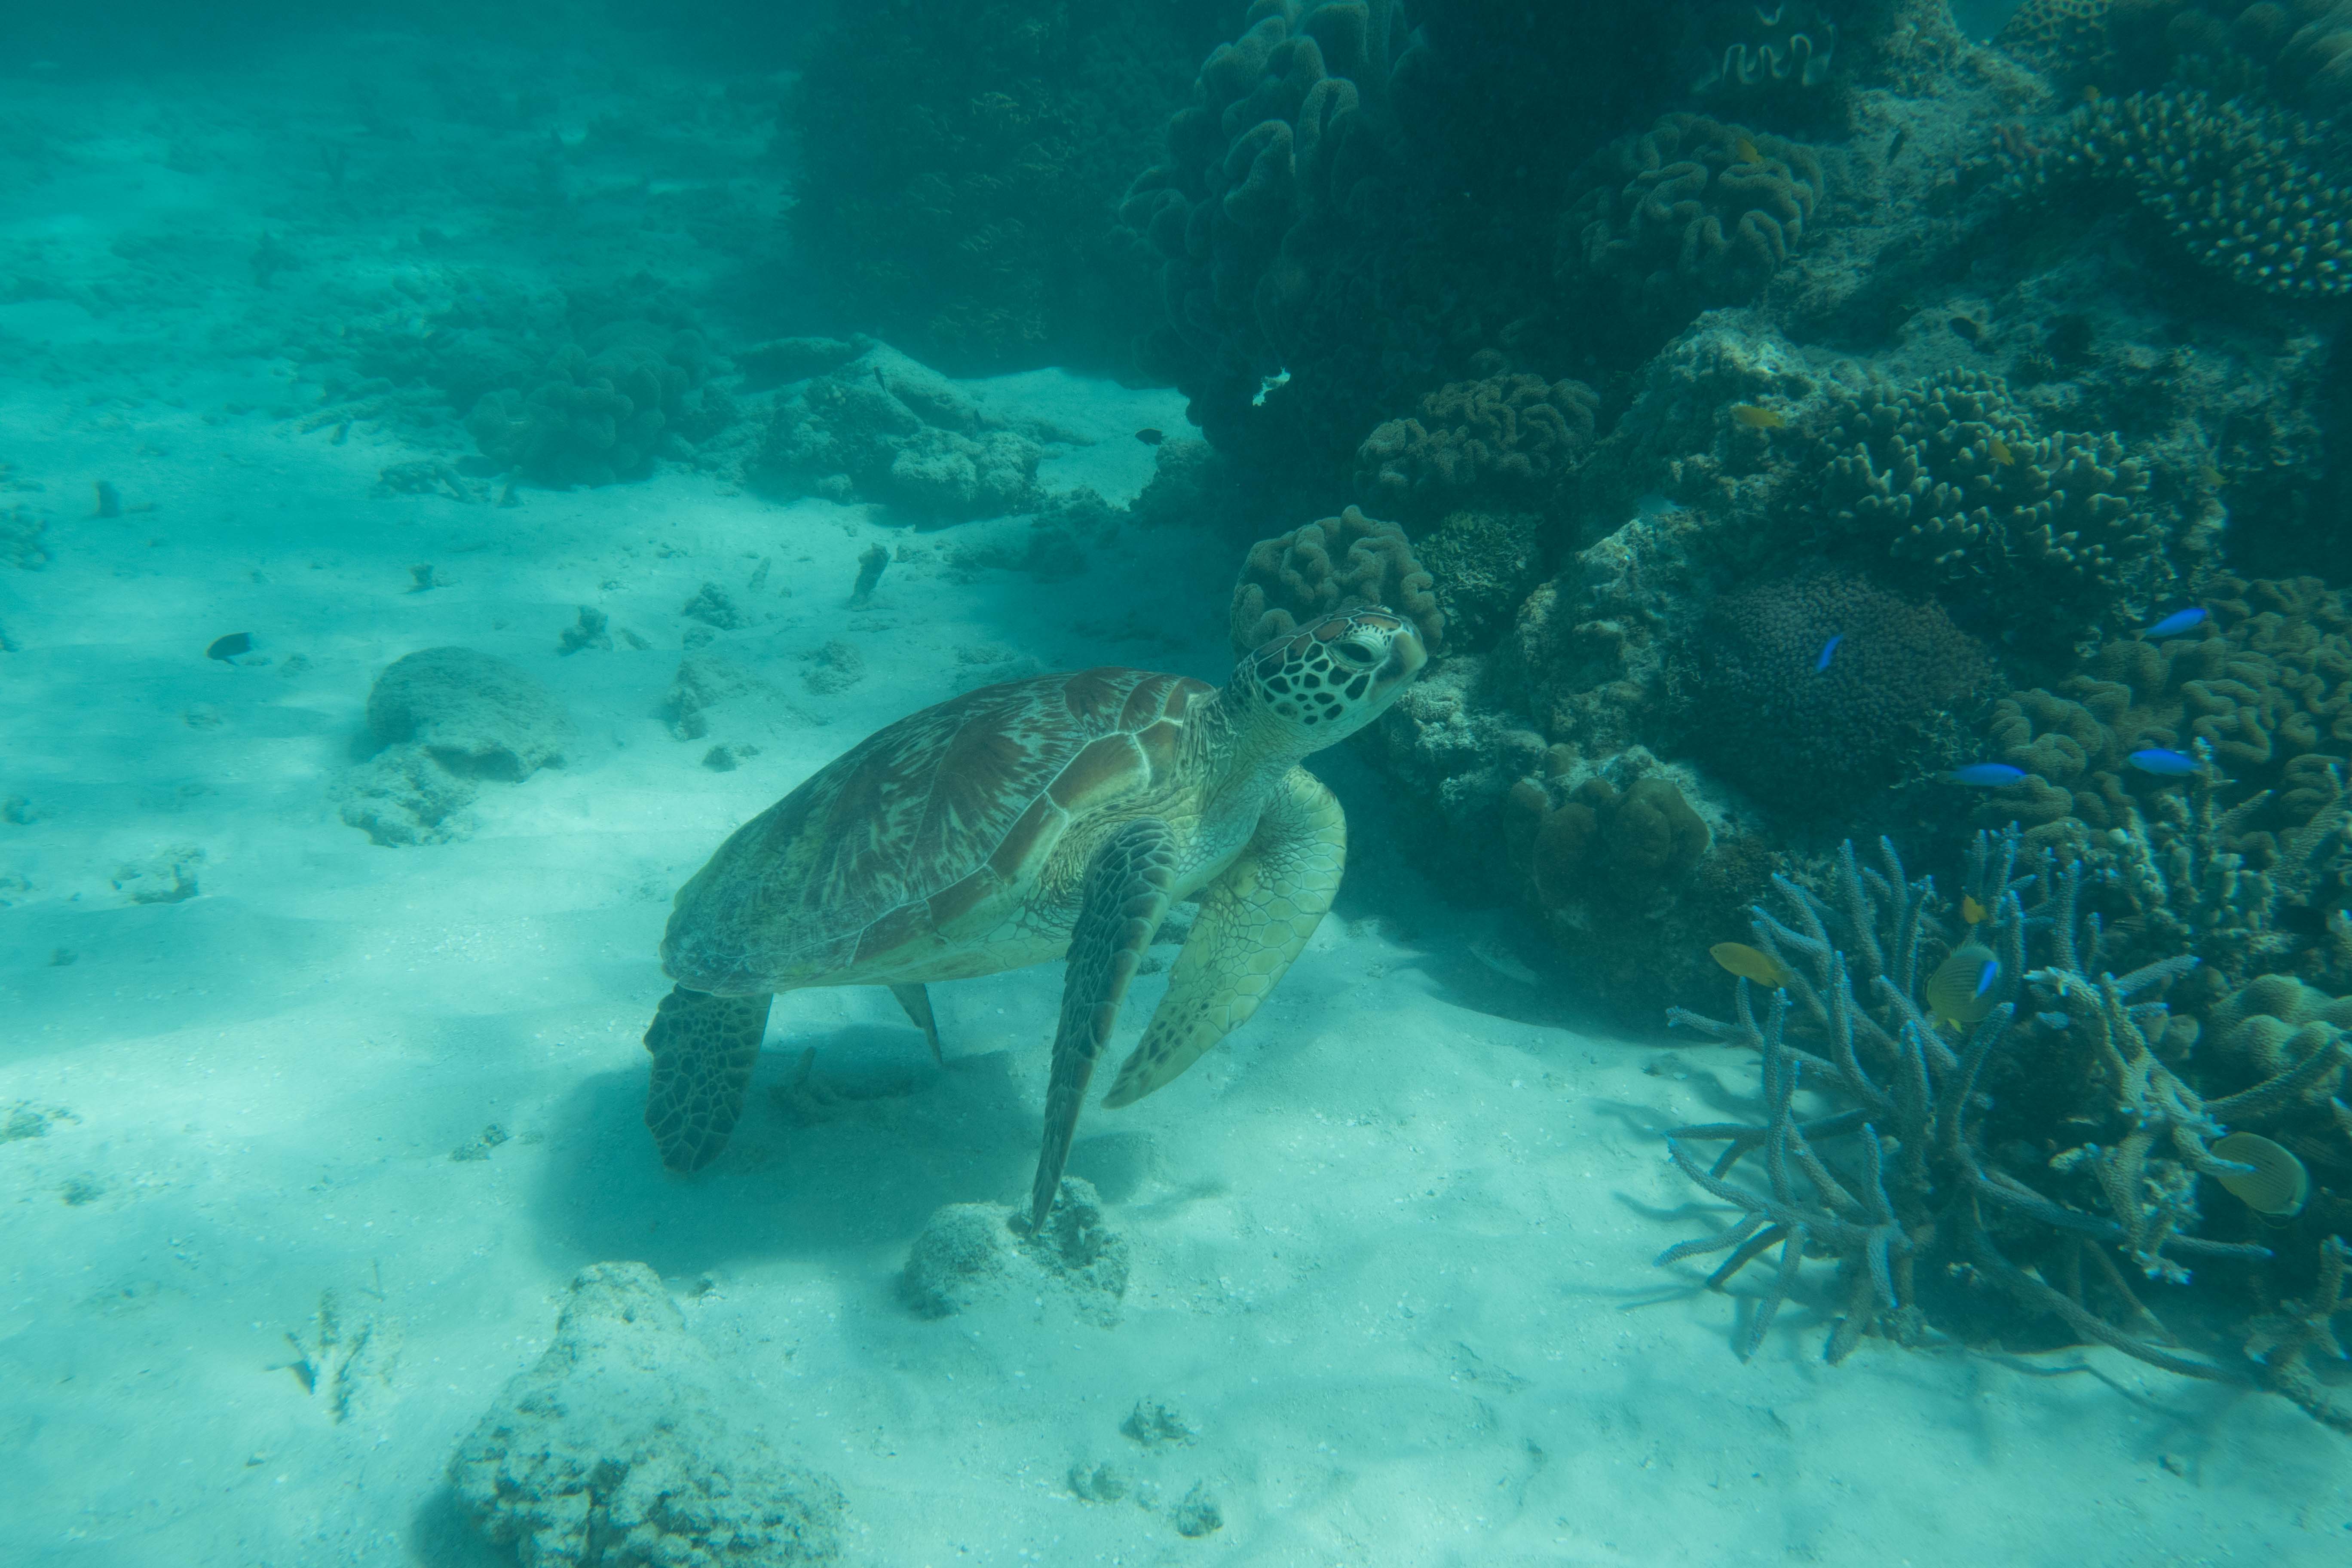
Or this:
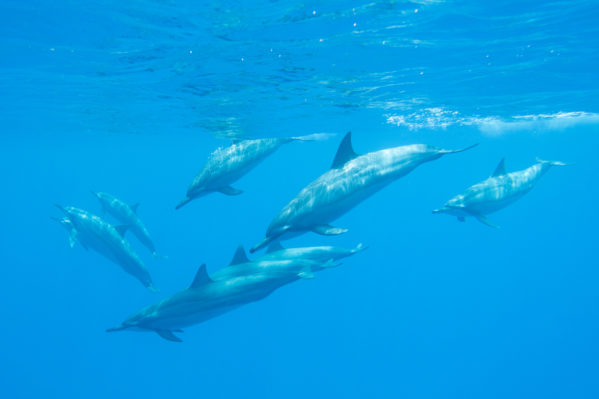
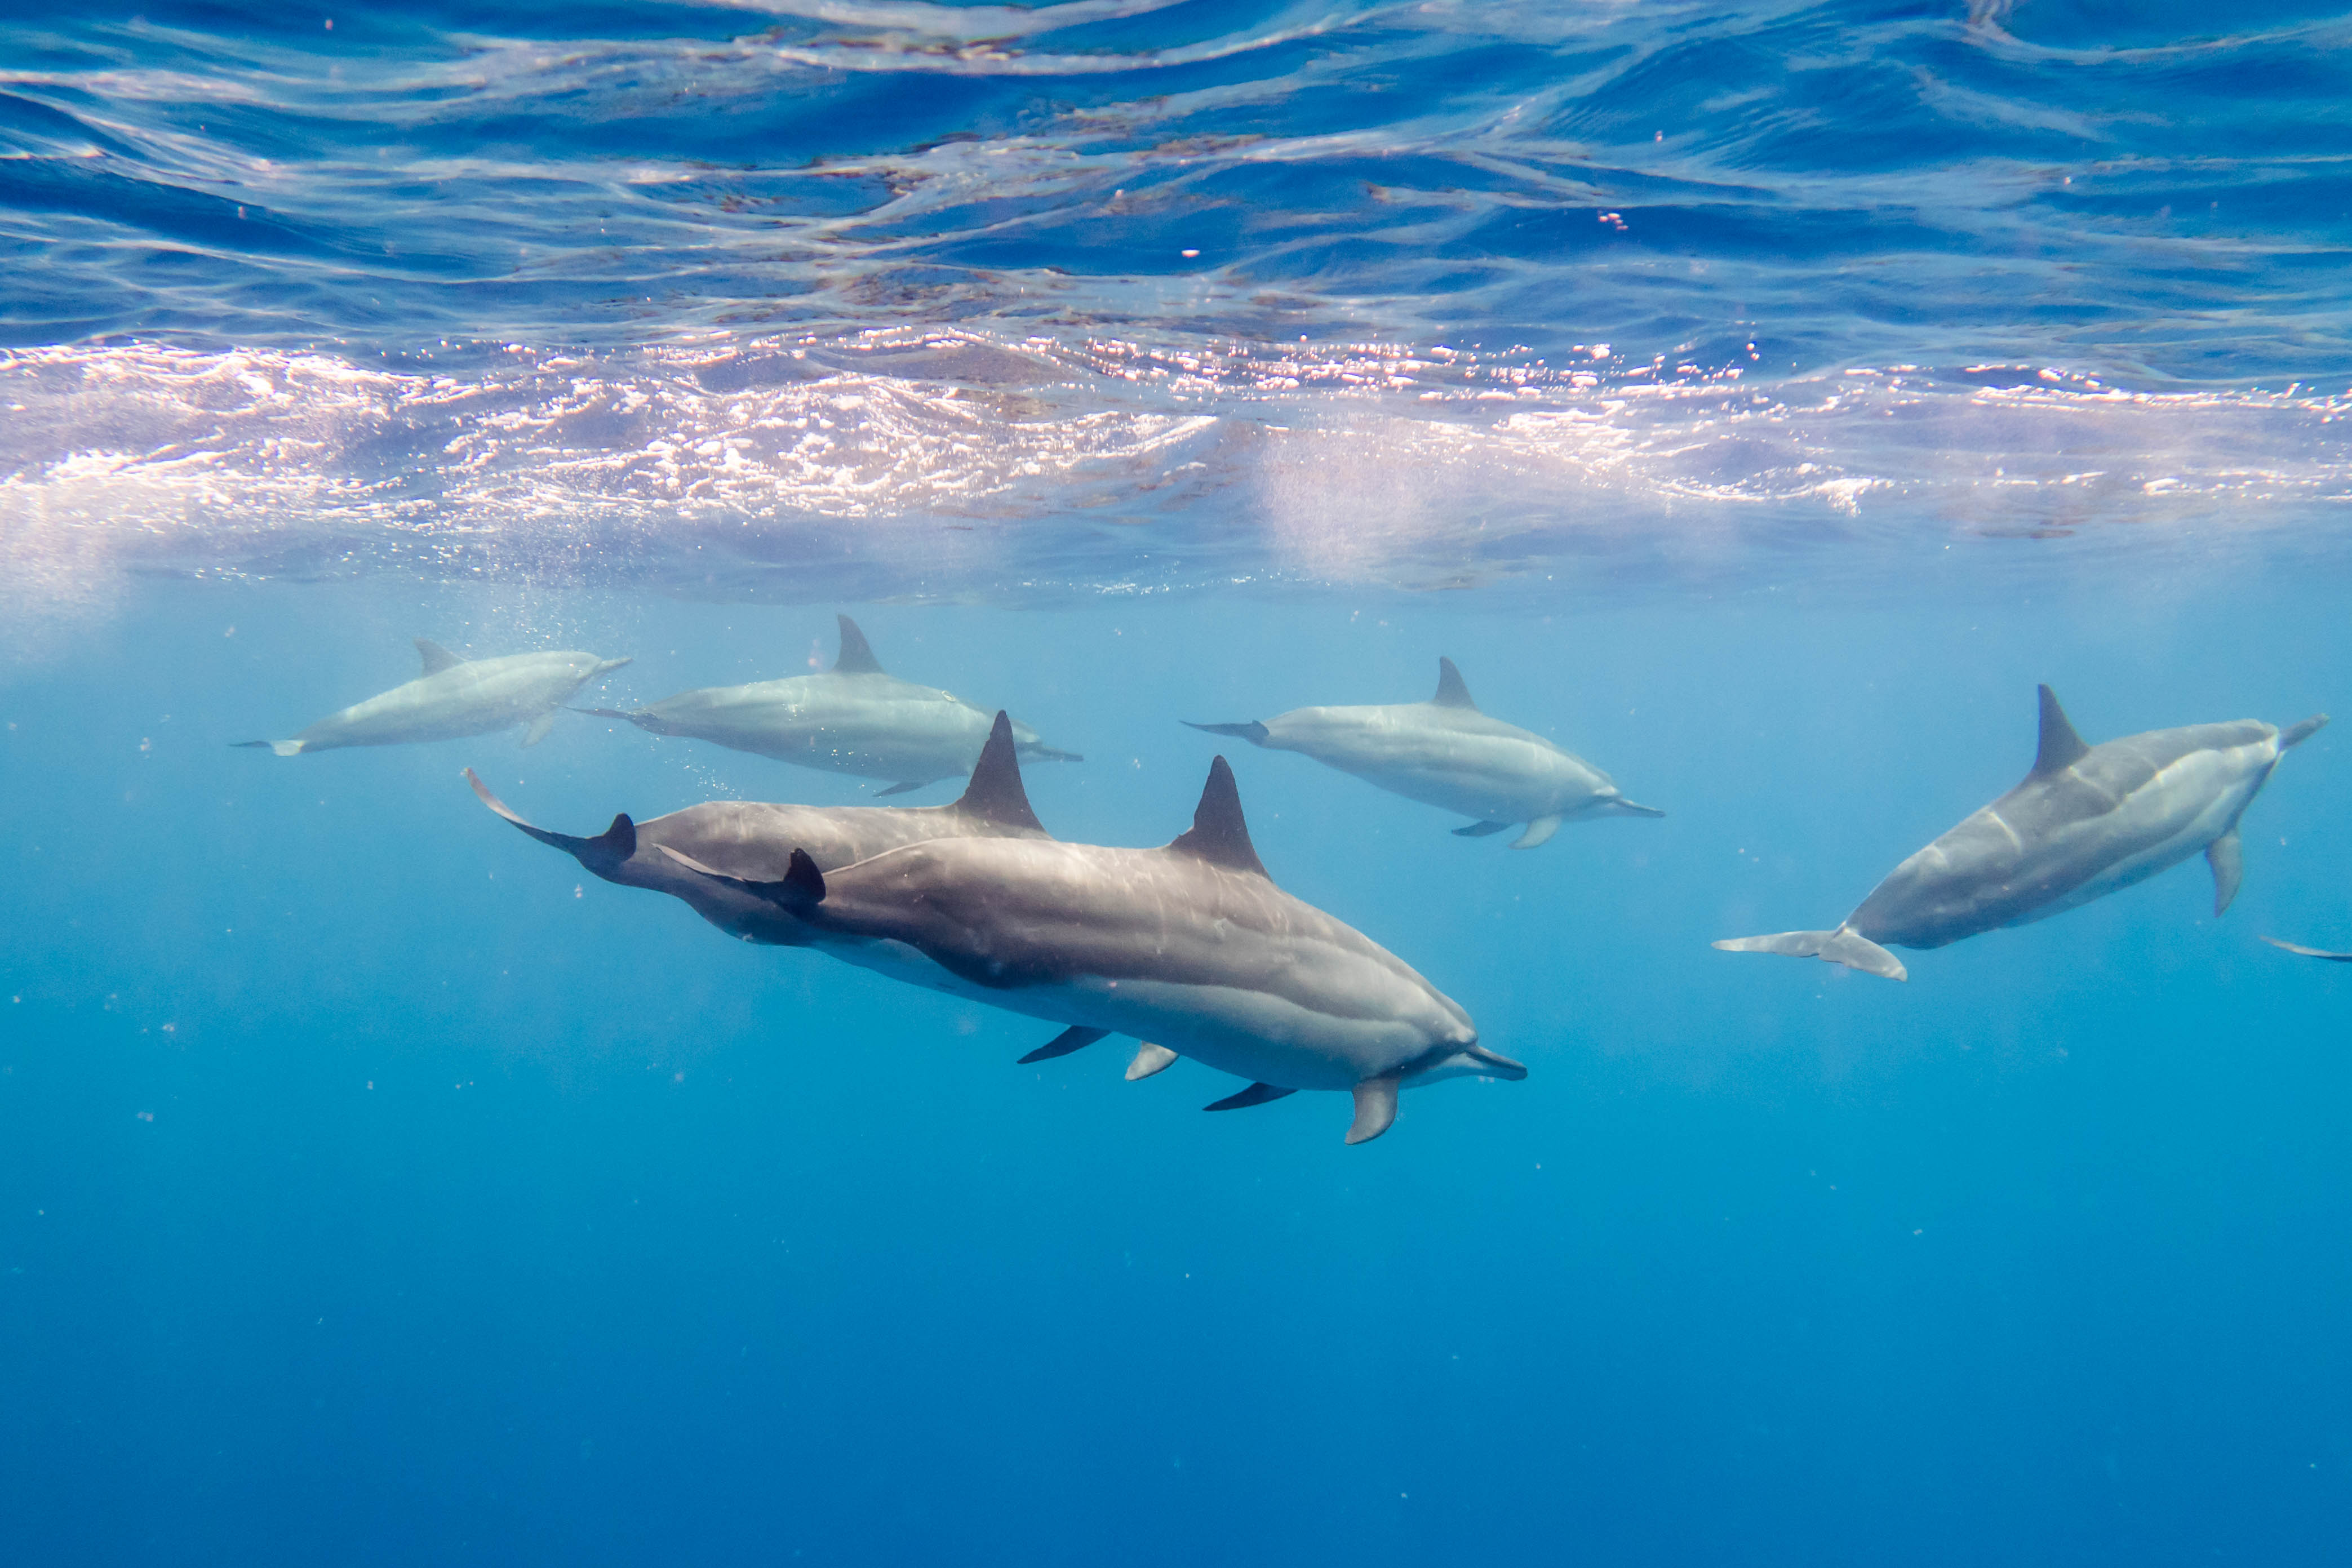
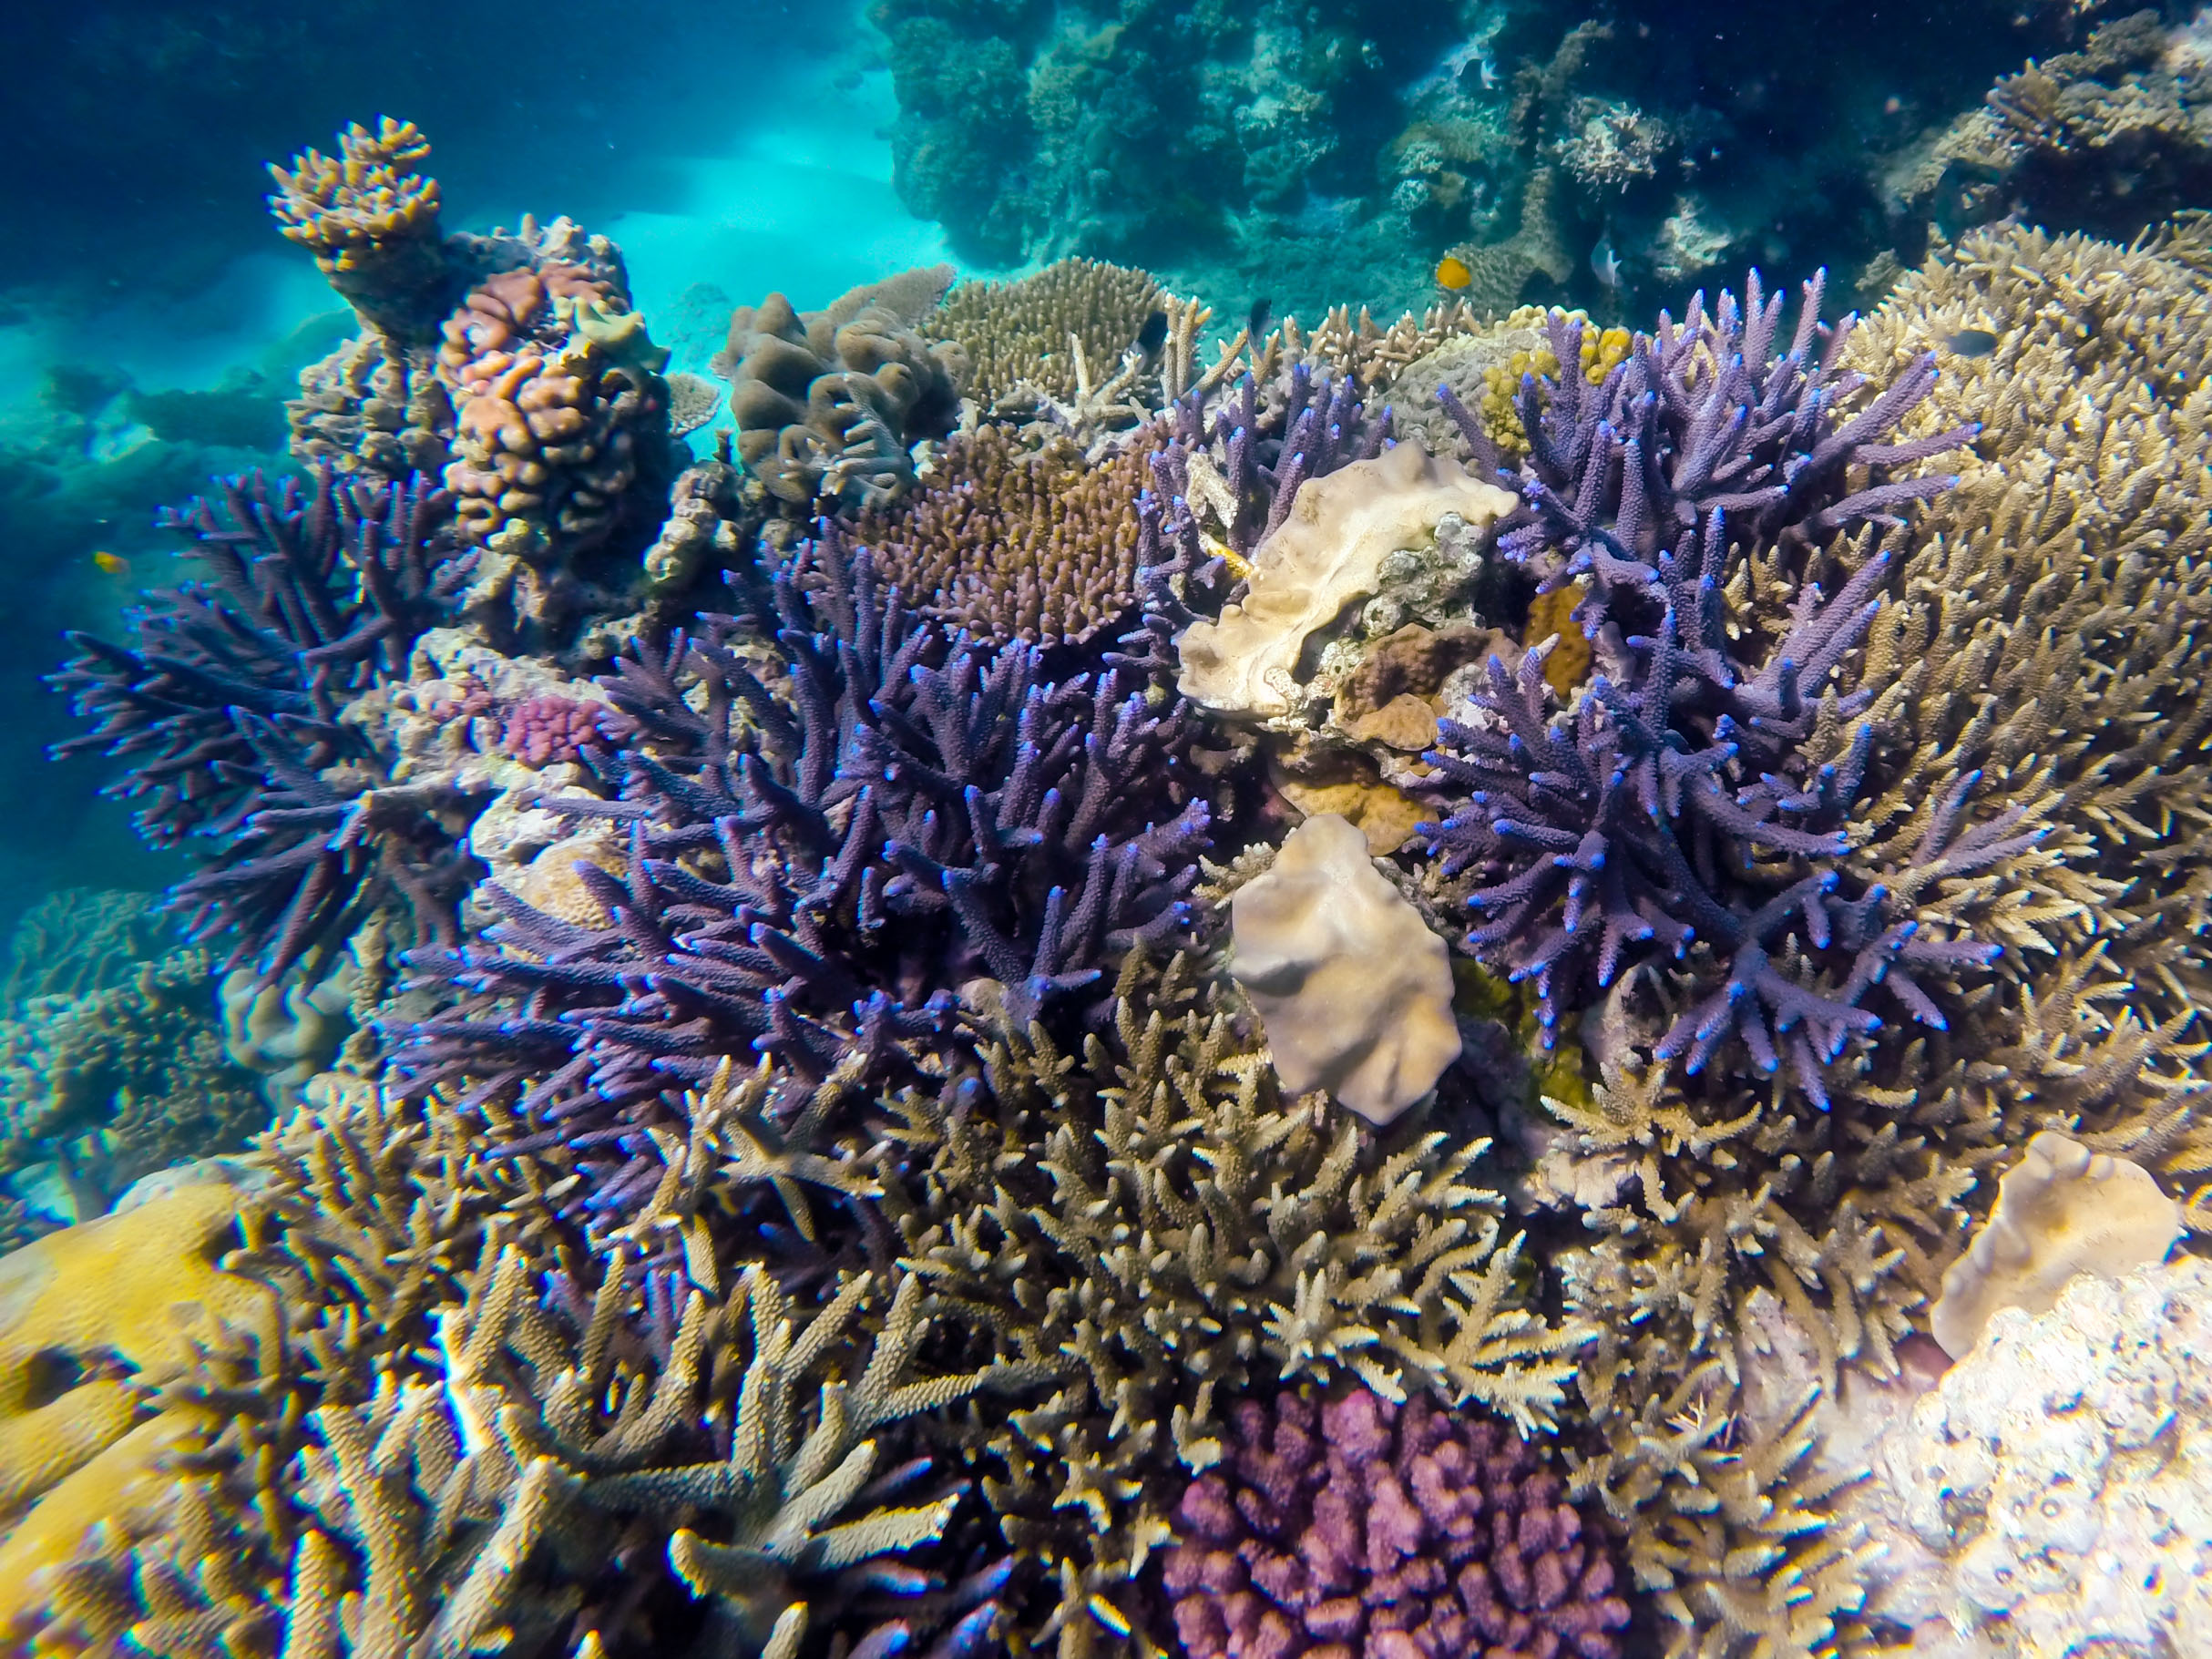
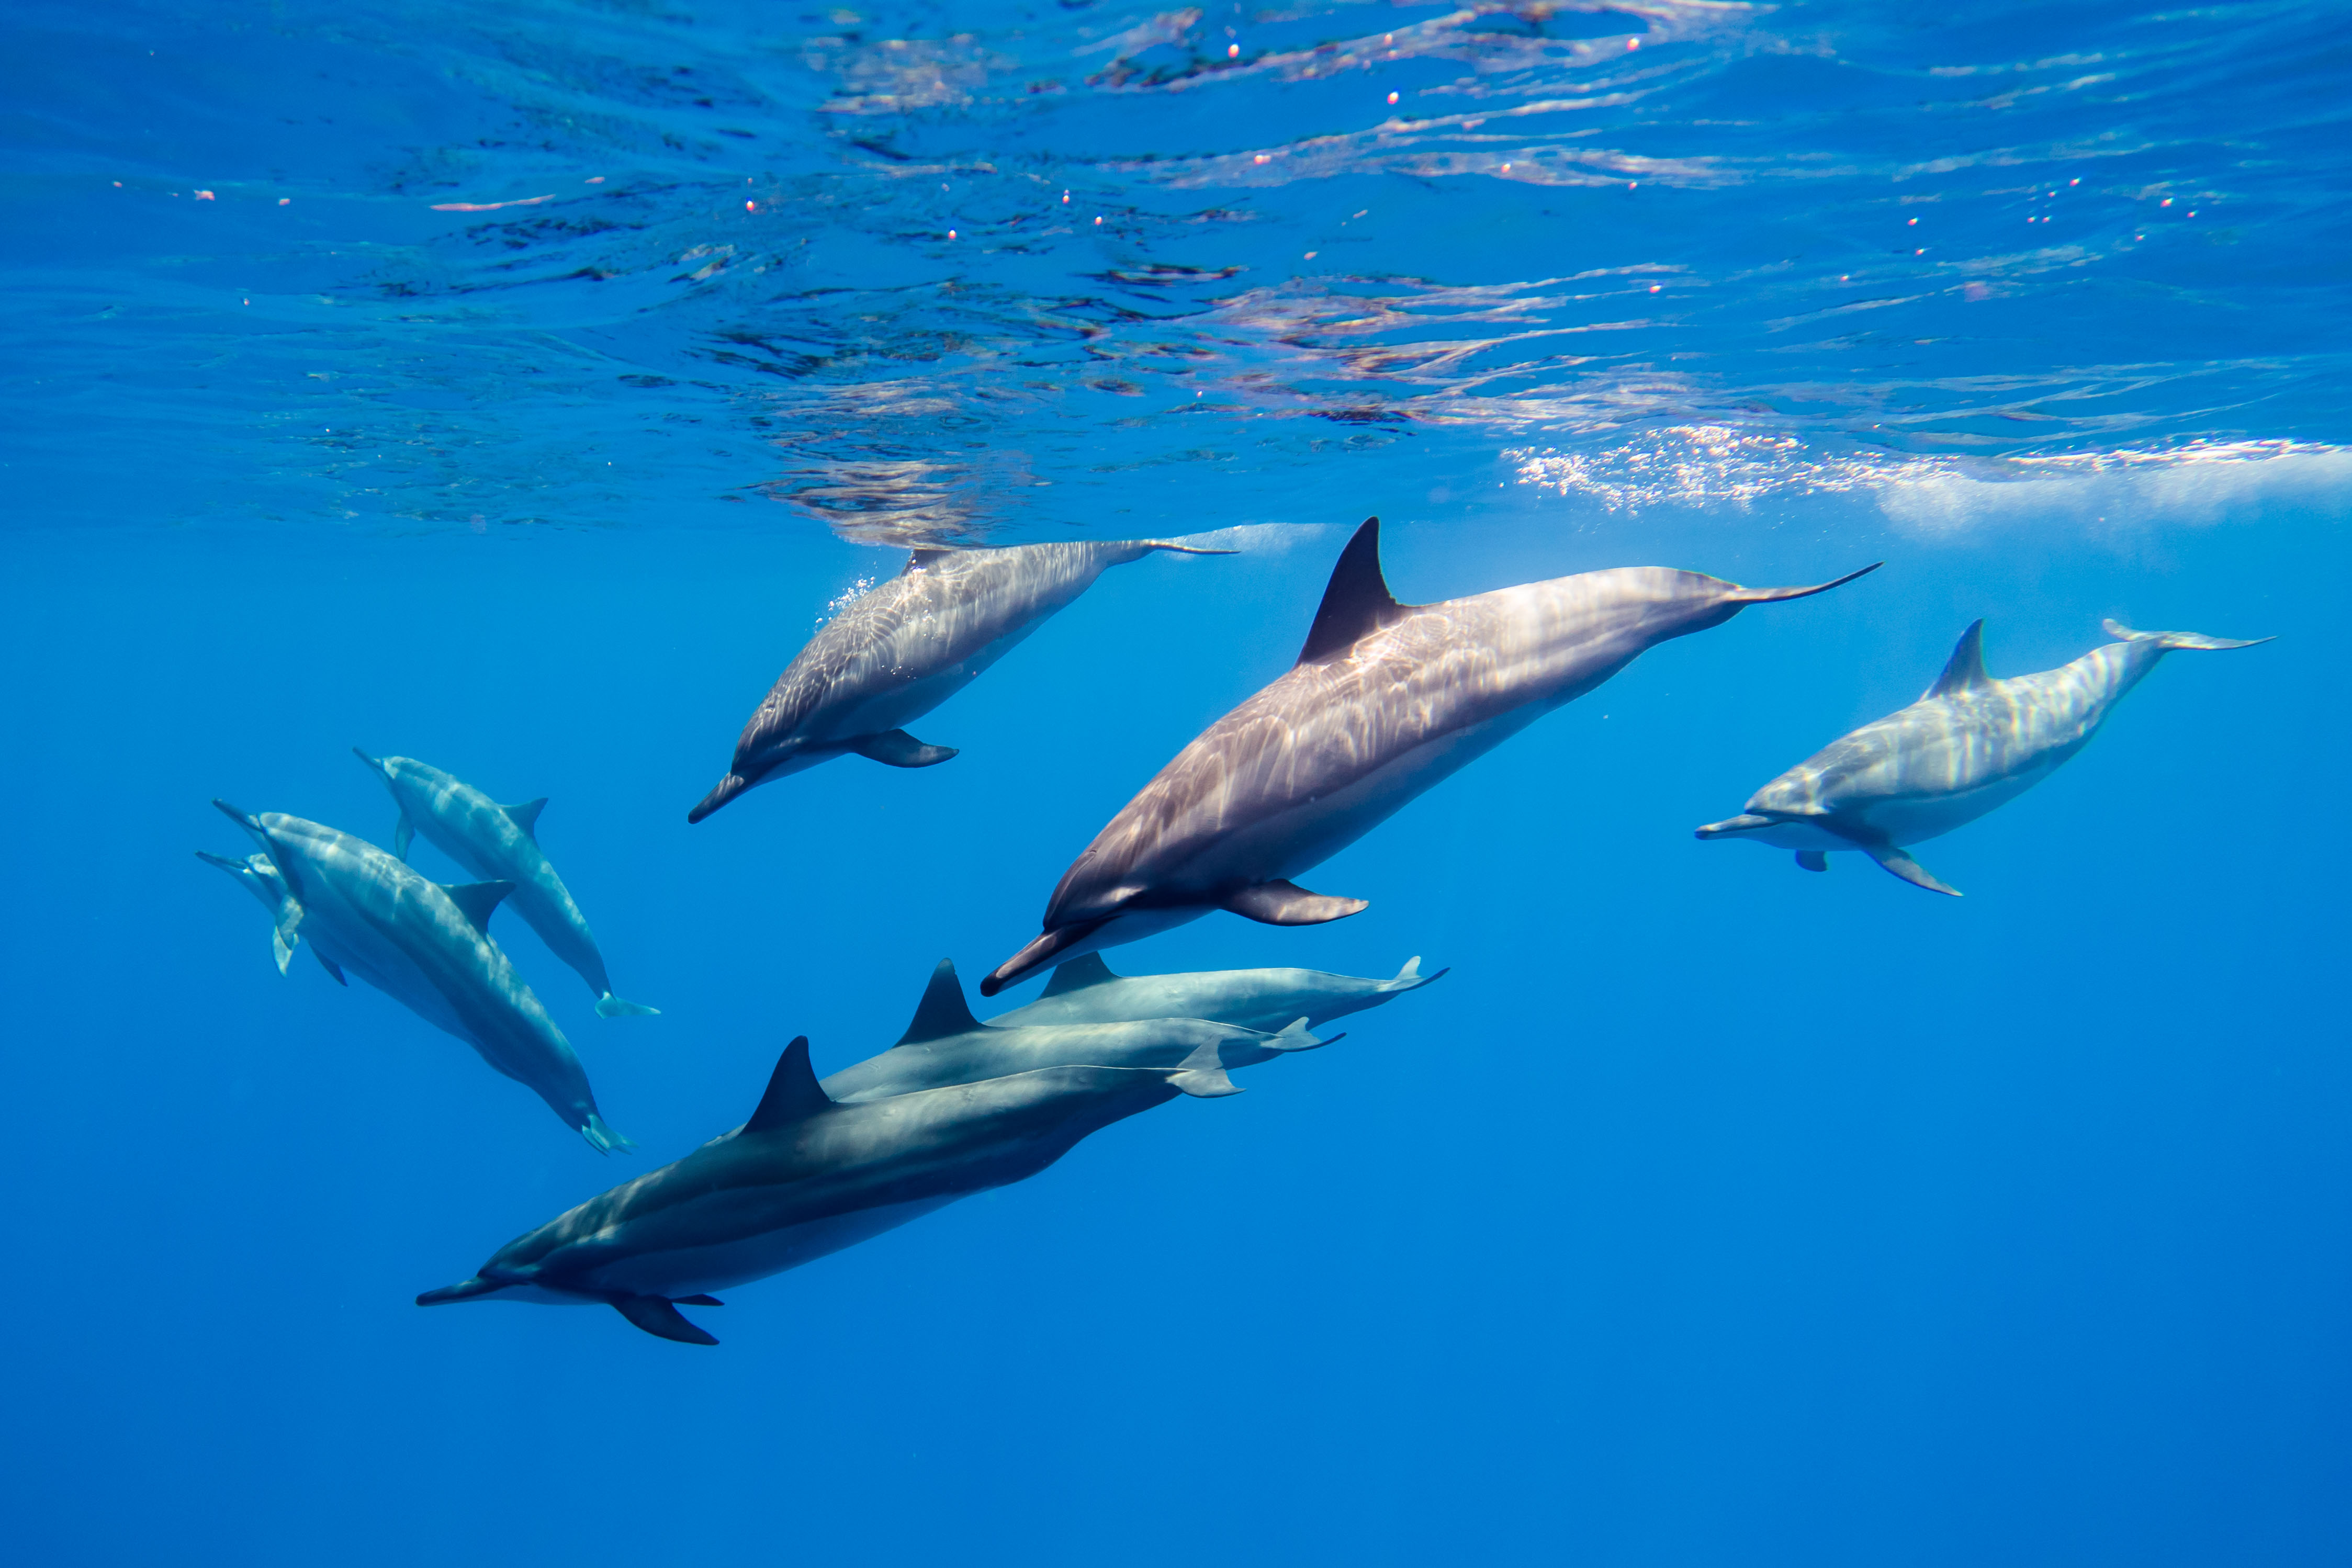
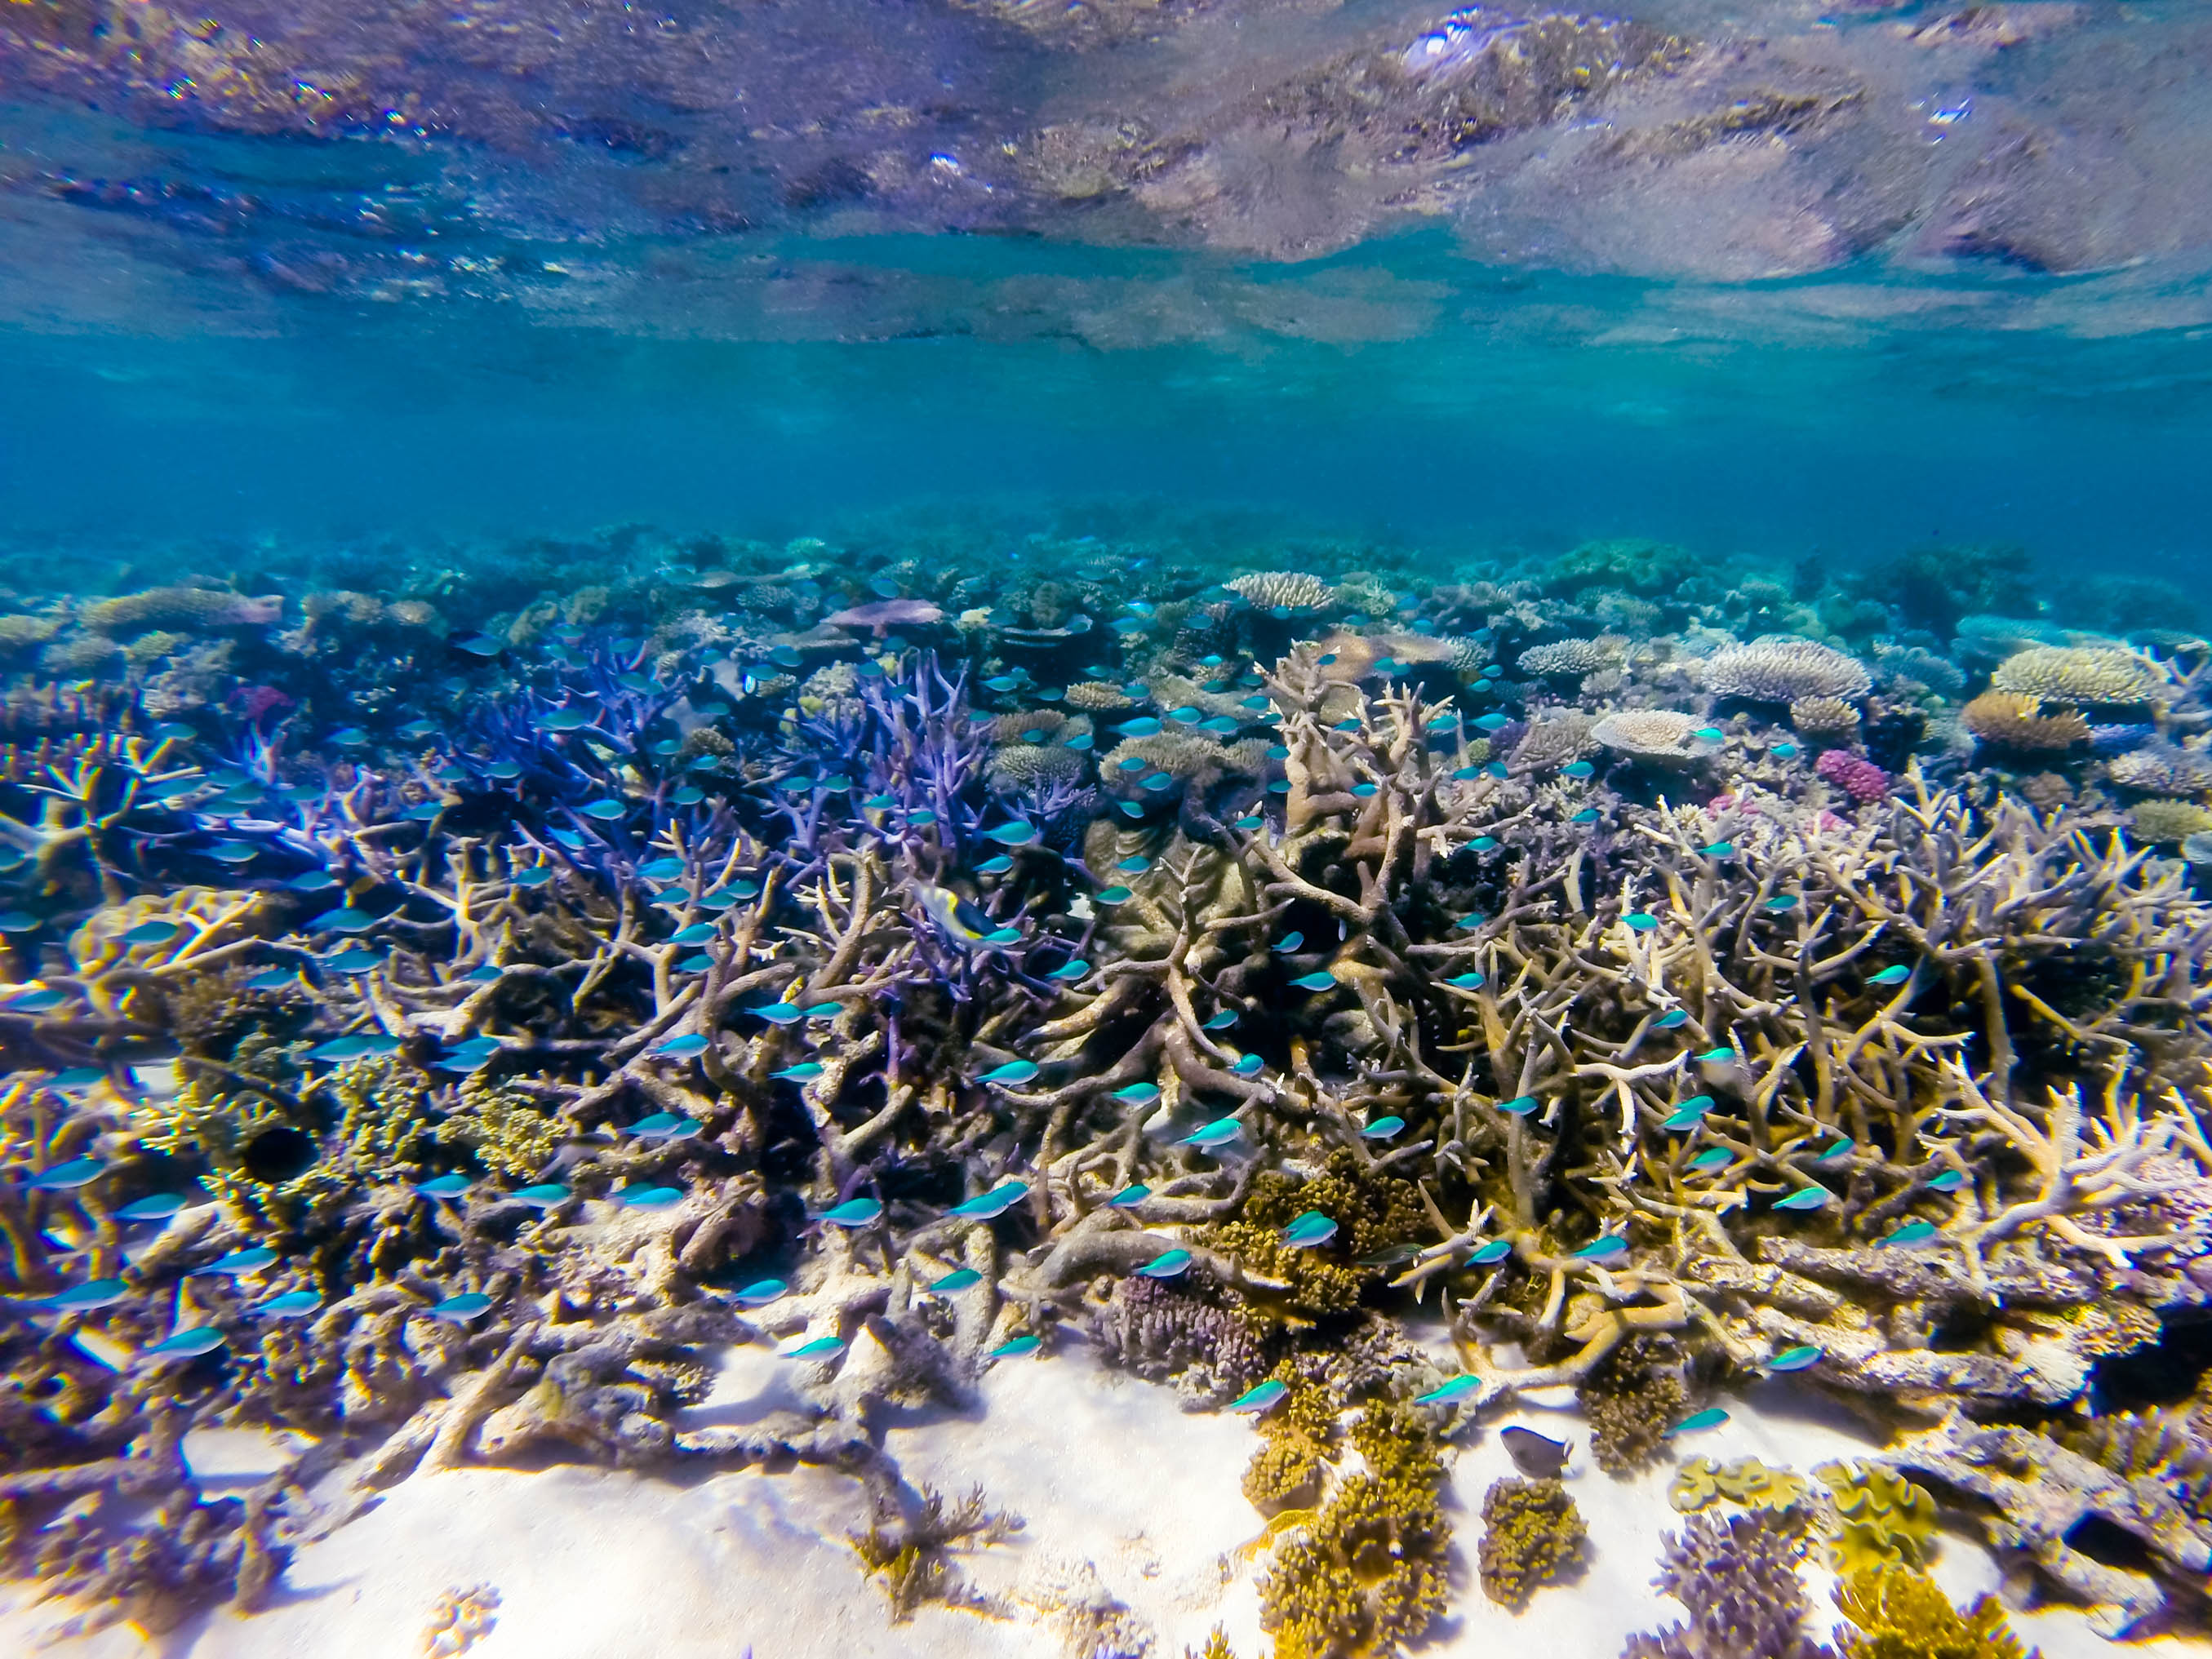
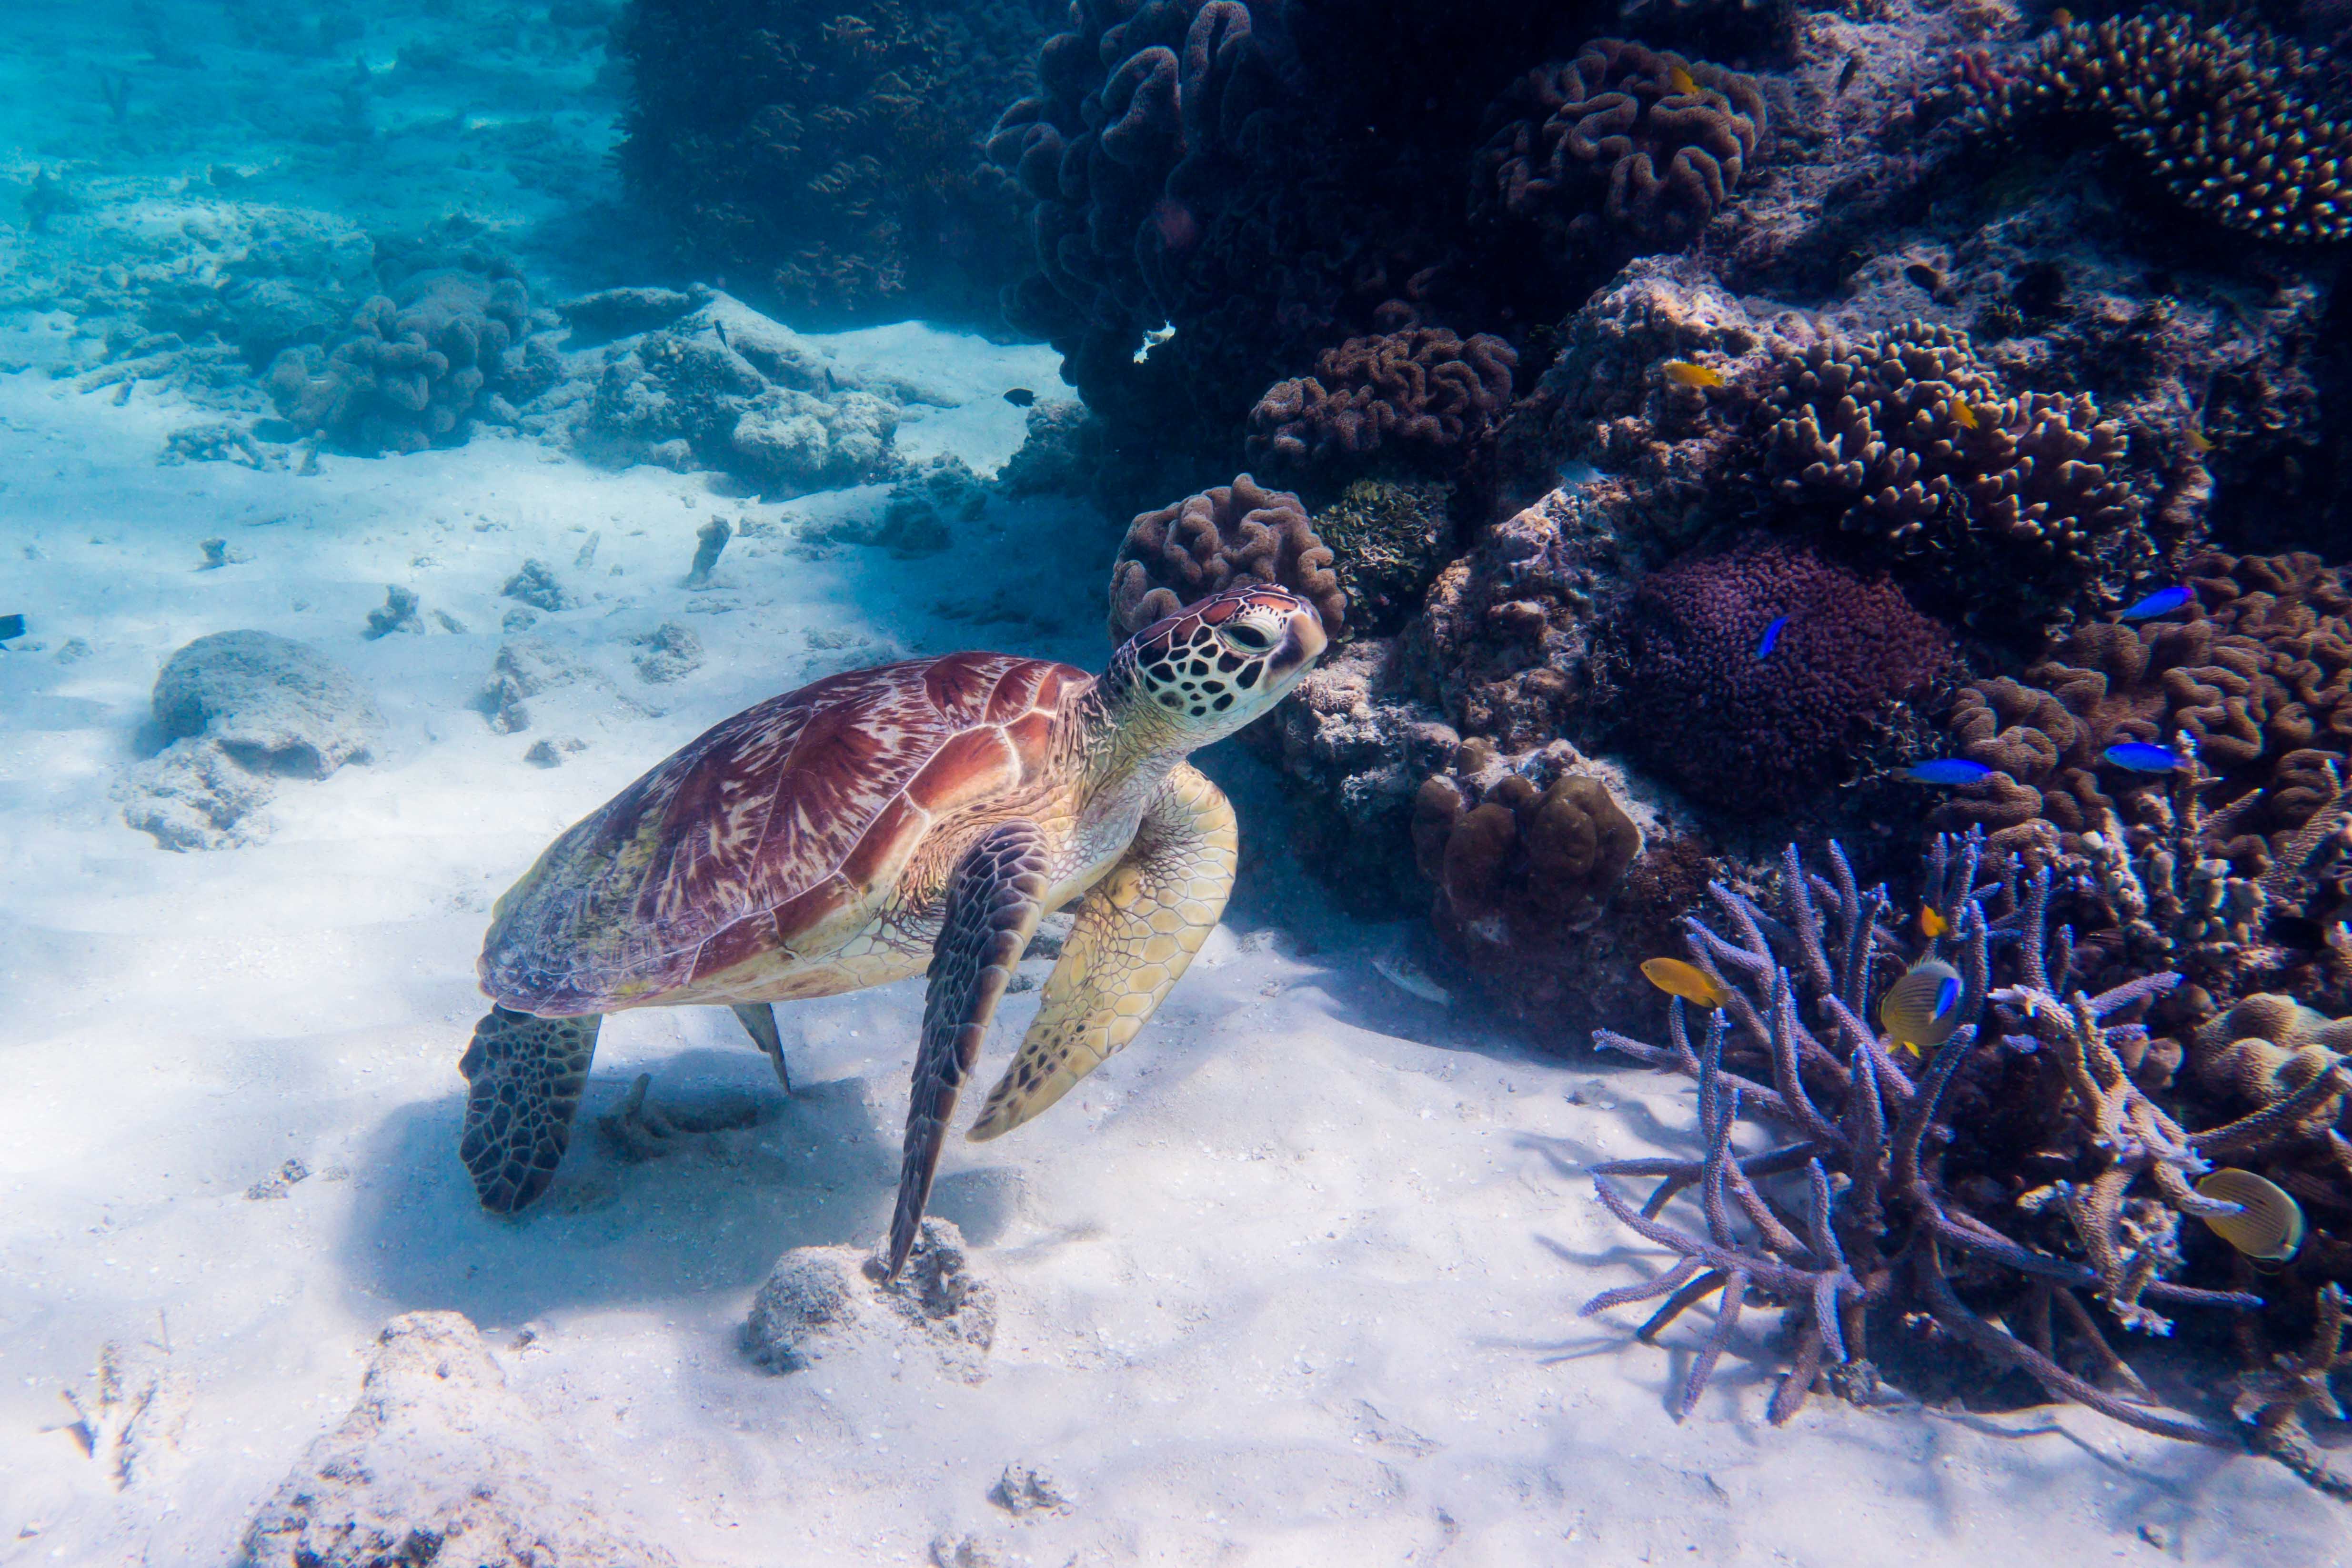
Fortunately, you can do this:


Underwater Photography Lightroom Edits – GoPro
We borrowed a GoPro for our first Great Barrier Reef trip, and loved it’s compact size and selfie stick (just for getting closer to the wildlife!). Watch the video below for how we edit those photos.
Here is the video walk-through:
Underwater Photography Lightroom Edits – Canon G7X
Our Canon G7X plus underwater housing is my favorite accessory pair. We loved it for Hawaii, where we swam with dolphins and turtles for multiple days!
Here is the video walk-through:
Underwater Photography Lightroom Edits – Step by Step
Are you a person who learns by doing? Click the button below to get access to the full size, unedited photos used in this tutorial.

Both of our videos follow the same process (based upon a simplified version of JP Danko’s strategy on DIYPhotography.net). Here is the high-level outline for your Lightroom edits:
- Lens correction profile – Depending on your camera, lens, and settings, this can do a lot to improve the perspective on your images. It does a great job of removing the fish-eye effect on standard GoPro shots. With your G7X, this is automatically applied in camera or embedded in the RAW image file.
- White balance – We covered setting the white balance in more detail here, and it is the same process for underwater photos.
- Exposure – Use this slider to brighten darker photos or darken photos that are too bright.
- Contrast – Losing colors as you go deeper underwater leaves you with flat, low-contrast images. Bringing up the contrast helps when you add color toward the end. Don’t be afraid to push this one a little further than you would for non-underwater shots.
- Blacks – Hold the “option” key (Mac) or “alt” key (Windows) to use the clipping mask as you adjust the blacks slider down until you barely see any clipping in the photo. A good way to do this is to slide it all the way down, and then slowly move it back up, until the clipping disappears.
- Highlights – Again, hold the “option” key (Mac) or “alt” key (Windows) to use the clipping mask as you adjust the highlights slider until you barely see clipping in the photo.
- Clarity – This will give your image a little sharpness and punch. If you have clear water (such as a pool), bring it up until the image begins to look over processed, and then slide it back down a touch.
- Vibrance – Shooting underwater produces images that are almost entirely blue and green. Having adjusted the contrast, this is where we bring back the warmer colors.
- Saturation – The vibrance adjustment does a good job on the color for most of our underwater photography; however, we do make some use of the saturation slider as well. Depending on the image this we set this somewhere between 5 and 25, and occasionally higher.
- Crop & Straighten – We are almost done. Shooting close and with a wide lens will produce the best images underwater. It may also leave you with a lot of extra space in the frame. Until we can hold our breath longer, we take wider shots, and leverage the crop tool to compose our final image.
- Noise Reduction – There are plenty of plug-in options for this one, but we are happy to keep it simple. Using Lightroom’s built-in noise reduction, we take the luminance up towards 50, and use the color reduction slider very sparingly.
Let us know if you have any questions about these tutorials and best of luck with your underwater adventures! If you want more tips on taking underwater photos – check out this post.
Also, if you don’t already have Lightroom, a GoPro, Canon G7X, or your underwater housing, purchasing them with these links gives us a small commission.