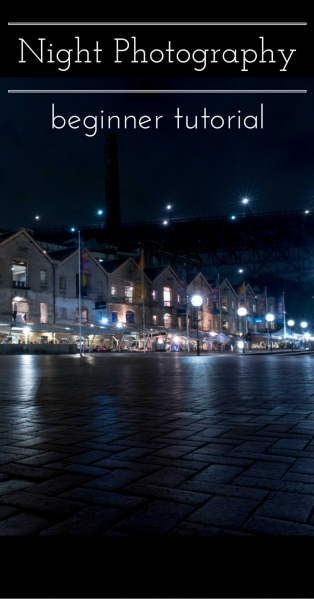
Basic Night Photography Tips
Low light photography is challenging, and basic night photography can become very complicated, very fast. We break it down into the ideal settings for ISO, shutter speed, and aperture in our simple guide to get the most from photographing your evening family adventures.
 Light hitting the sensor is what allows the camera to capture the image. As you take away brightness from the scene, you have to compensate with slower shutter speeds, a wider aperture (lower numbers), and higher ISO. The reason these posts tend to be so complicated is because a night scene often has many different light sources, such as street lamps, shopfront signs, headlights, tail lights and more. We cover the range of shutter-speeds you might want to use and why, the impact of your aperture setting, and trade-off between ISO values, as well as a few bonus tips.
Basic Night Photography
- ISO below 800: As always, the lower the better for sharpness. A higher ISO produces more noise, or grain, in the photo; however, modern full frame and high-end mirrorless cameras perform well the highest ISO ranges. We have a middle-of-the pack Canon 60D, and try to keep ISO below the 800 to 1000 range. That said, always prioritize the moment over ISO image quality, if you have to choose. Better to have that awesome jump shot in the dark with a little grain, than to not have it at all.
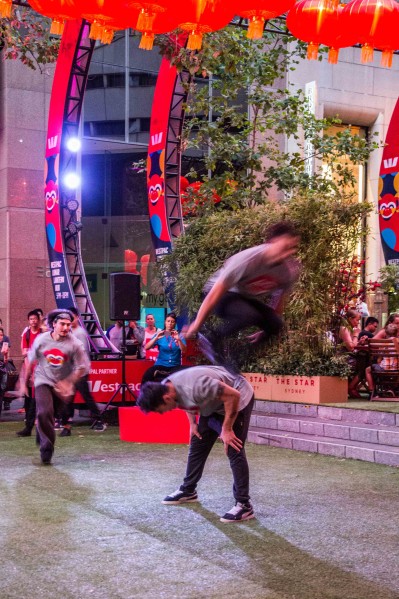
- Shutter speed from 1/30 – onwards: Anything 1/30 and longer, you should have a tripod. When we photographed on the Harbour, some of the photos lost sharpness from the camera strap flapping in the wind during long exposure shots. Depending on your frame, desired effect, and the amount of light, the shutter speed length will vary tremendously! For night action shots, experiment with the blurred motion effect to create movement and avoid setting up the tripod. The shot below is actually ISO 3200 with a shutter speed of 1/25. I was barely able to hold the camera steady, but it works because the dancer in the center is almost perfectly still as they somersault over him. It might be a bit grainy when you blow it up, but I am happy with this shot.
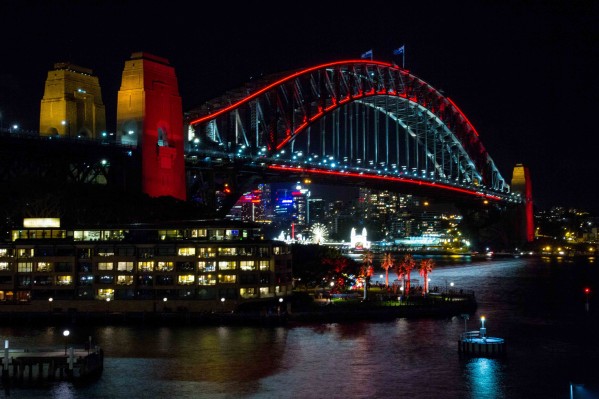
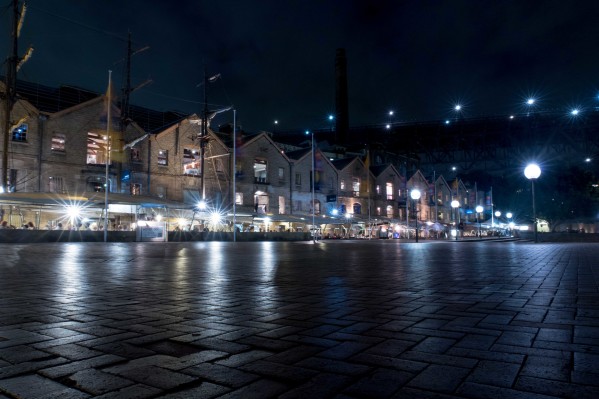
- Aperture 8-10: This is a stylistic choice, depending on your desired depth of field, or background/foreground blur, but wide open, gives you the most light, letting you keep the ISO low and the shutter speed fast. For a sharp night scene, a setting between 8 and 10 is often the sharpest range on a zoom lens, however, the slightly narrower 14 to 16 range will produce beautiful starbursts around the lights. The narrower the aperture, the longer the rays, we used F11.0 in the photo below. You can see the starburst are most pronounced along the open bulbs by the outdoor seating at the cafes, in contrast to the covered street lamps.
We made some rookie mistakes on our most recent night out photographing Chinatown for the Lunar New Year, and it cost us a few great photos. Sign up for our checklist to make sure you avoid making the same mistakes!