7 Steps to Get the Most from your Canon G7X Setup
I made a few tweaks to our basic camera setup, and this post guides you through initial setup. One of our YouTube viewers asked about pairing the Canon G7X to the computer and remote video capabilities. Her question started me down the rabbit hole searching and testing the G7X. The more I learn the more impressed I am by our point-and-shoot powerhouse, and in the end, I discovered a great initial setup. Although, I failed to discover any remote video capabilities.
7 Steps to Get the Most from Your Canon G7X Setup
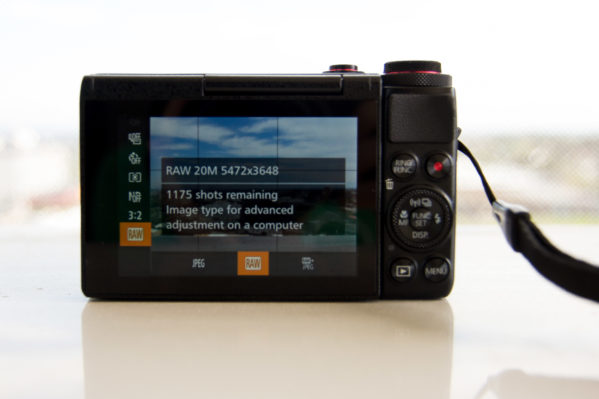
Select RAW Image Files – This is an important feature for us because we often supervise a toddler when taking pictures. This means we don’t always have the perfect settings to capture maximum cuteness. The G7X takes full size 20MP RAW images in manual, shutter-priority, and aperture priority modes. These RAW images give us a lot of room to work when we bring the images into Lightroom for editing.


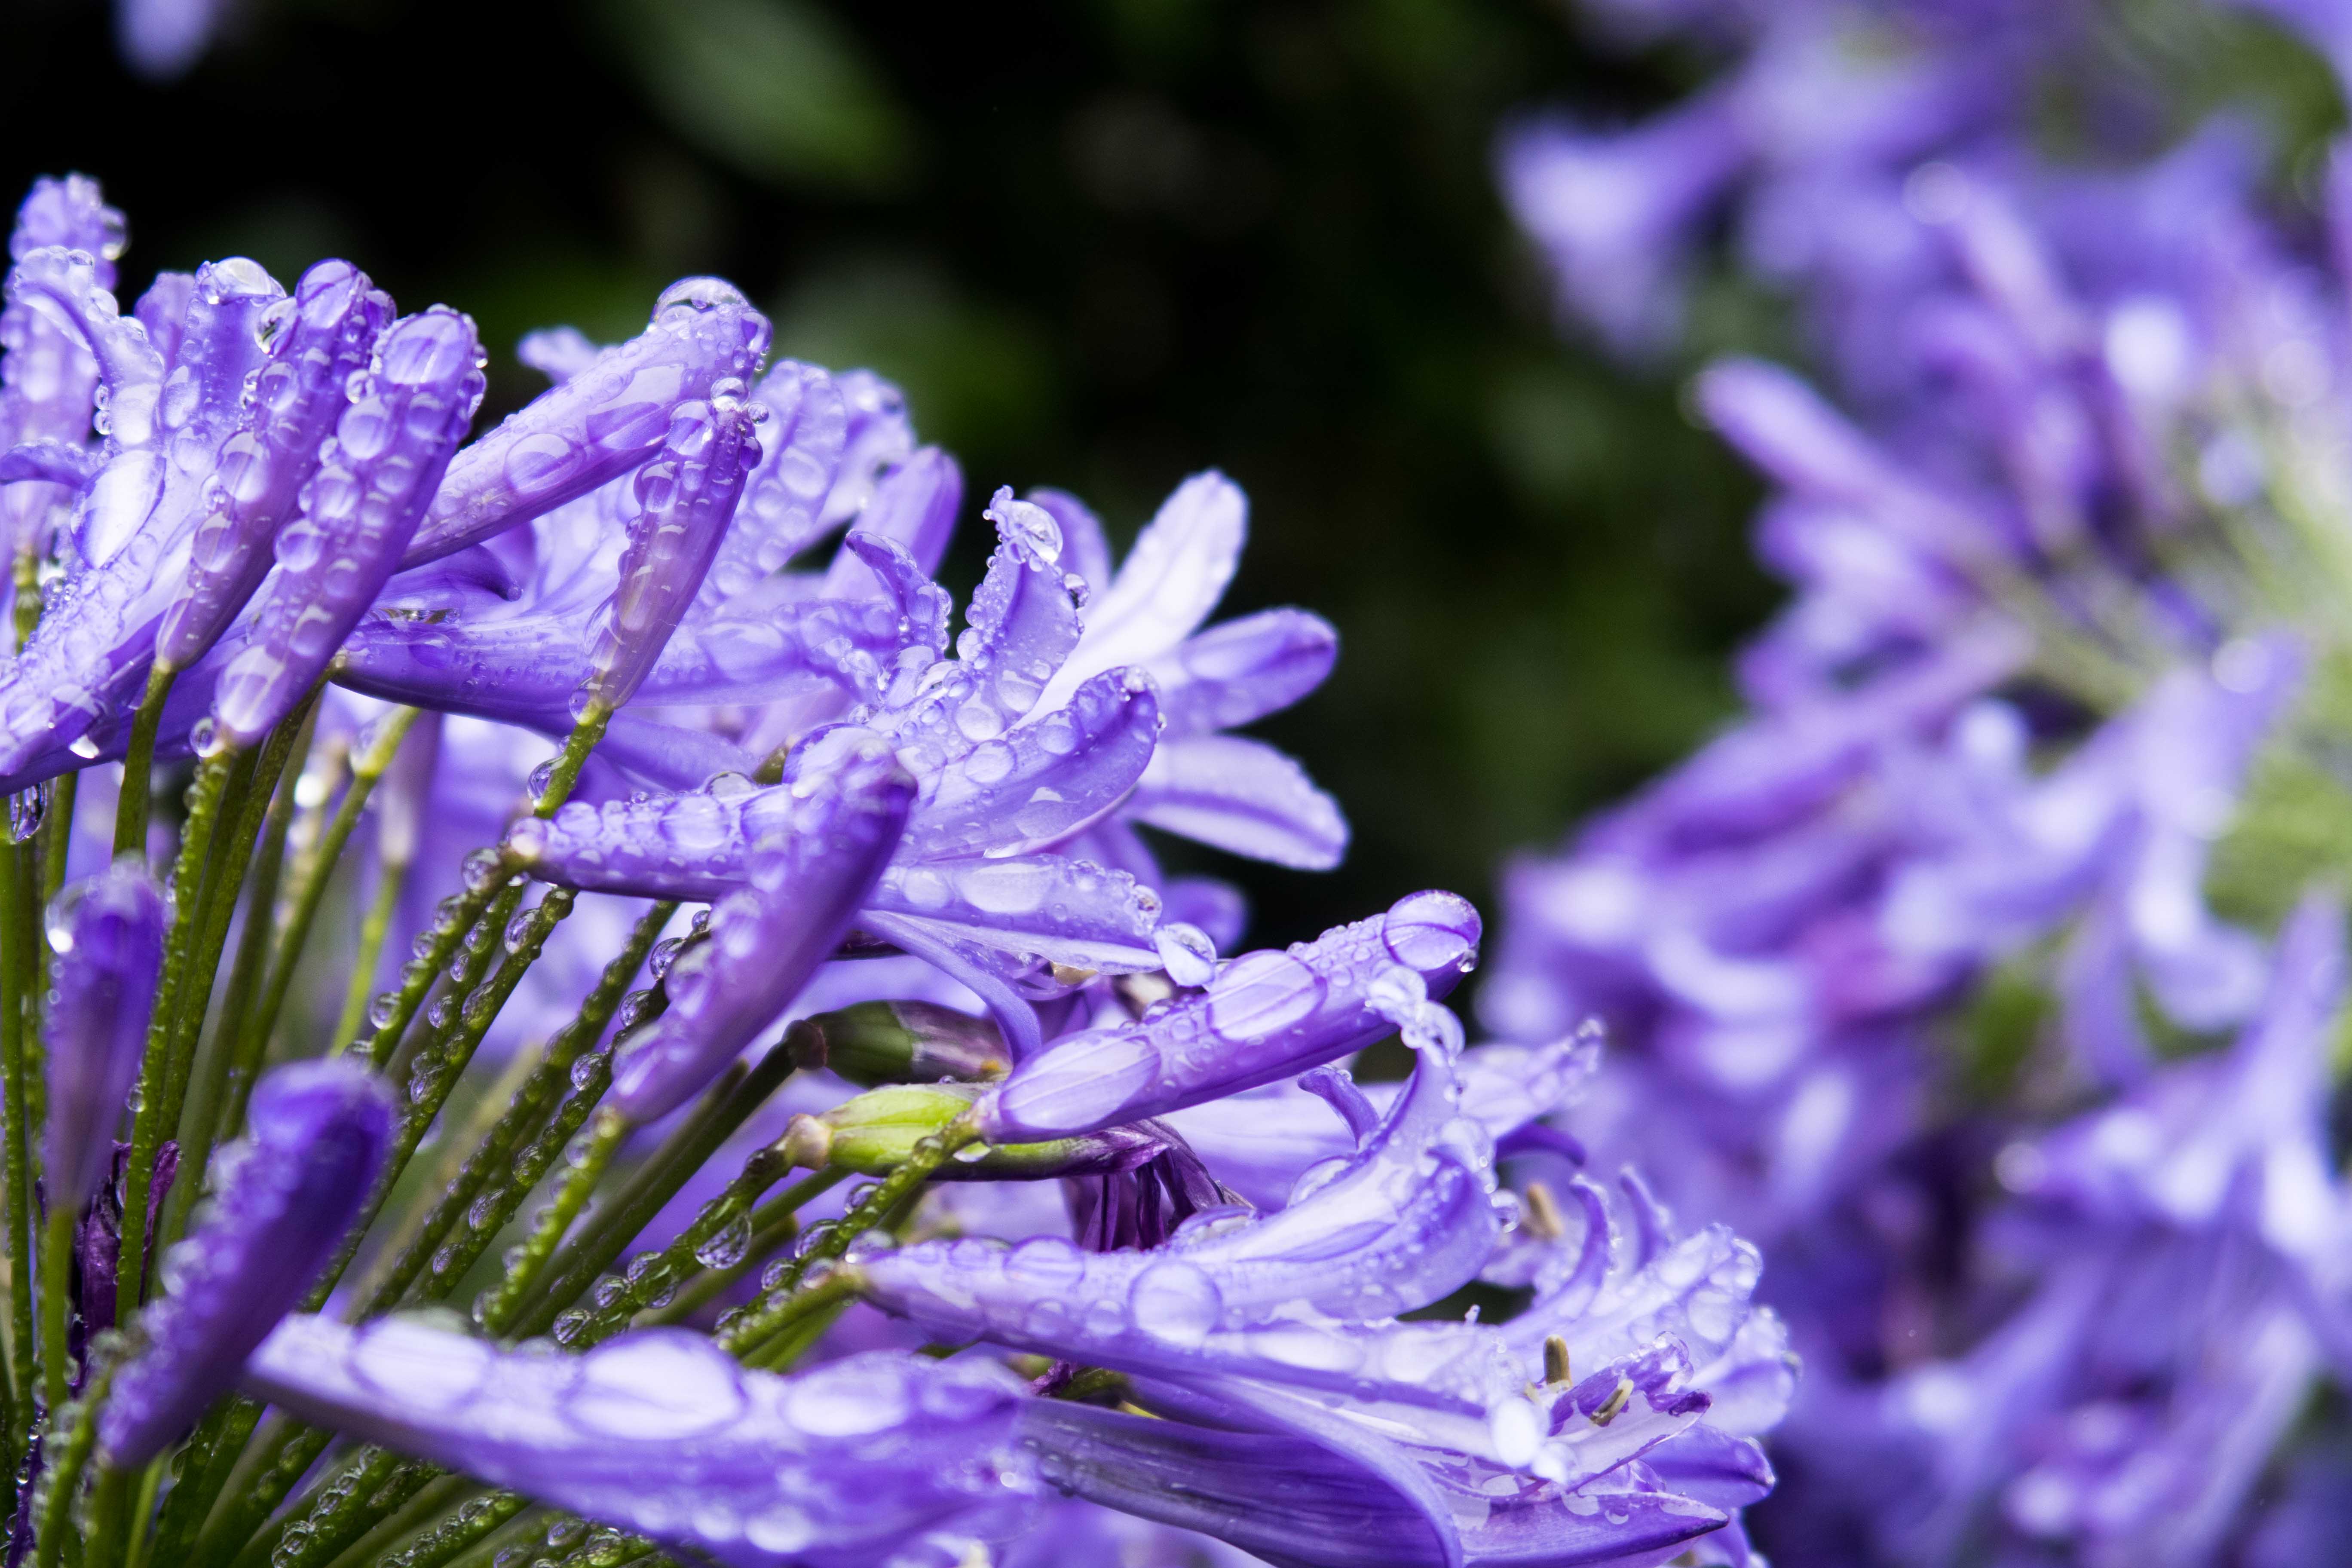
This image is from a RAW file shot using the Neutral Density Filter. Notice the blue sky despite shooting almost directly at the sun, and we were also able to bring up the shadows!
Set the ISO Auto Settings – The camera does surprisingly well in in low-light situations, but when we are out in the afternoon taking photos, I don’t want the camera to go to crazy with the ISO when I flick it to Auto. I often use shutter priority mode (more on that here), and despite the bright daylight, the camera will select too high an ISO. Higher ISO equals higher noise, so I set a max value. I recommend 2500. If you are someplace with low lighting, you can always switch from auto, and manually set it higher.
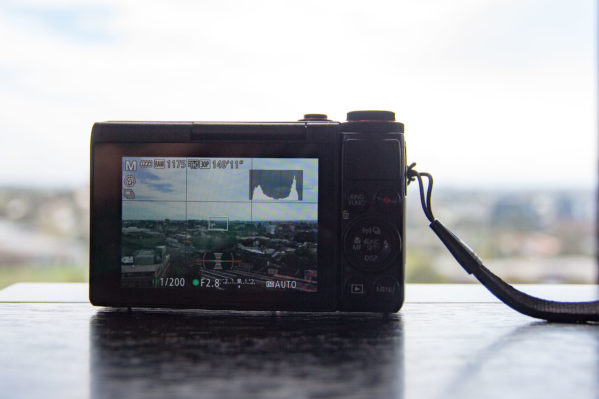
Choose Your Display Settings – The G7X has four display options: shooting, grid lines, electronic level, and histogram. We choose to display all of them, but these two are my favorite:
The level helps me with my composition because I know the horizon line should be straight when the level is green, and it also shows me when the camera is angled up/down, which can distort vertical lines. I also leverage the grid to remind me to think in thirds.
The histogram indicates the camera is capturing enough data for make edits in Lightroom. To oversimplify, a consistent height all the way across is good, and at the very least, you don’t want it entirely on the far left or far right.
Enable Continuous Shooting – Continuous shooting takes a burst of photos while you hold the shutter down. The G7X doesn’t have the fastest burst mode, but it is useful for capturing toddlers in motion. It does go a little faster when you have the standard continuous shooting, instead of “AF” selected.
Save a Custom Setting on the Shooting Mode Dial – The dial next to the shutter has icons representing shooting modes. The mode labeled “C” stores custom settings for quick use. In the settings menu, there is a save setting option, and it stores the current mode and camera settings. We saved shutter priority mode with a shutter speed of 1/250 and auto-ISO. This will generally capture whatever cuteness CZ is up to.
Setup Wifi Pairing For Remote Shooting – This one already has a whole post, and won’t be the last time we mention it! Being able to reposition ourselves during family self-portraits is incredibly useful, and our only complaint is the lack of RAW images when you using a mobile device as a remote trigger. However, the camera almost makes up for it with our final adjustment.
Set the Muti-shot Self-timer – While we definitely prefer wifi pairing to our mobile devices, sometimes it is easier to hide the remote shutter (iPhone) by using the timer. This mode is also handy when the lighting is tricky and we want a RAW file.
The custom option, lets you set the length of the timer and the number of shots. Ours timer is 10 seconds and 4 shots. After 10 seconds, the camera quickly fires off 4 frames, increasing the chance that all of our eyes are open in at least one of them. It also reduces the number of times I have to run back and forth to the camera.
Canon G7X Setup Complete – Time to Shoot
We spend considerable time investigating the G7X settings and tools so you don’t have to! You can set it up in just few minutes by downloading our PDF guide.

Also, be sure to like us on Facebook, for updates and Amazon sale alerts.


Is there any remote control option besides my phone? That’s awfully big to try and hide in a selfie. I have tried using the timer, and it works ok, but I sometimes end up with blurry pictures bc it focused on something else.
Hi April, there are no remote shutter inputs on the G7X. We find that custom timer is better than the app for family “selfies.” We have it setup to take 4 photos after 10 second. This “burst” usually gets us a shot with everyone’s eyes open.
With respect to the auto focus choosing the wrong object in the scene, there is a FaceID feature in the camera that you can setup so it knows to prioritize you when focusing. We added our family’s faces. On the Mark I you can add 12 people.
You can also help the camera pick you by positioning yourself a bit more toward the center of the frame. Additionally, you need to be a good bit forward from your background so the camera separates you as the focus point.
Hope this helps!
Can you set the camera to date each pic and can you add ant text to the pic
I believe this is something that would have to be done in post processing in a computer. It’s a feature that’s been dropped from many modern cameras because it is stored in the image file and easily seen on a computer. I know that’s not helpful if you want the time stamp visible on the image, but it’s the recent trend 🙁
Do you know of any way to make it not be so zoomed in while using the manual mode??
Is it actually zoomed, using the zoom control on the top right front of the camera, or is it that the shape of the photo changes?
If you’re talking about the shape of the photo, check the still aspect ratio. If you press the FUNC SET, look for the setting that has numbers and a colon. (16:9, 3:2, 4:3, 1:1, 4:5) A standard small print from a photo kiosk is 3:2 (6in X 4in).
If it is something a bit different, send through an example or more detail, and we’ll try to help you out.
Cheers,
JZ
Very good site,thank you very much for your time in writing the posts.