Three Simple Steps to Edit Your Toddler Photography
Here is the summary final edits from our recent Facebook Live video (if you don’t know what I’m talking about, like us on Facebook!). We pulled out few photos from the session, and after a brief recap of the video, I will take you through the editing process for toddler photography in Adobe Lightroom.
Beginner Camera Settings for Toddler Photography
Sports / Action / Automatic Mode – Start with the camera in an automatic program, using the action or sports mode if available. The camera is built to measure light, and using one of these automatic camera settings will provide a good baseline for you to learn how your camera “sees” things. When I started the session in the action program, the camera felt I should be at ISO 400, 1/320 shutter speed, and an aperture of f / 3.5. Knowing this, I have a reference point for moving to semi-auto, and eventually all the way to manual!
TV / S Mode – When photographing CZ, I tend to prioritize shutter speed because she is a toddler, and toddlers rarely sit still for long. Unless, she’s sleeping, my shutter speed is 1/200th of a second or faster. In fully automatic action mode, our 60D recommended 1/320th so I switched to shutter priority mode, and set the shutter speed to 1/320. For simplicity I left the ISO on auto as well.
Toddler Photography Edits
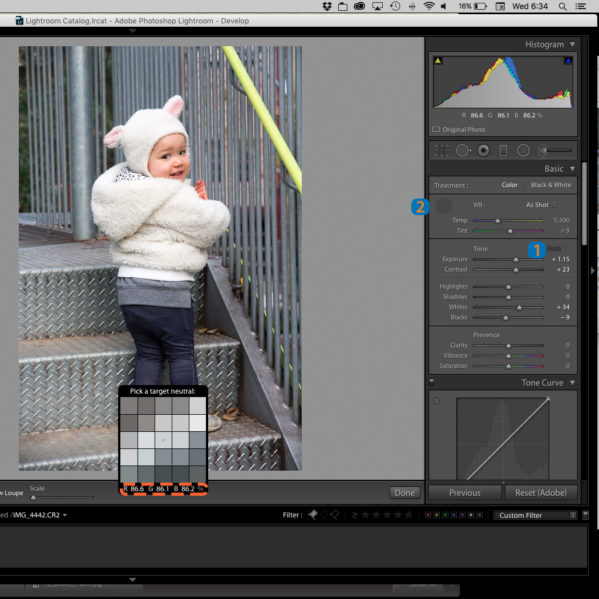
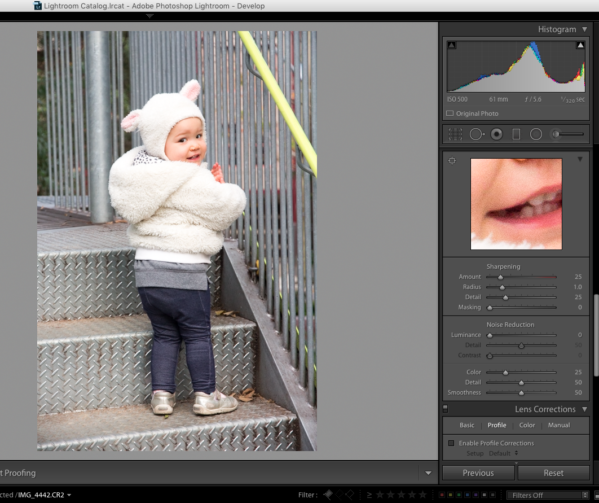
Auto adjust exposure (brightness of image) – First up, I hit the auto exposure button. This is number one in the screen grab above. Most of the time, Adobe will be pretty close, if not close enough, but it does struggle on some of the photos with a larger mix of shadows and highlights.
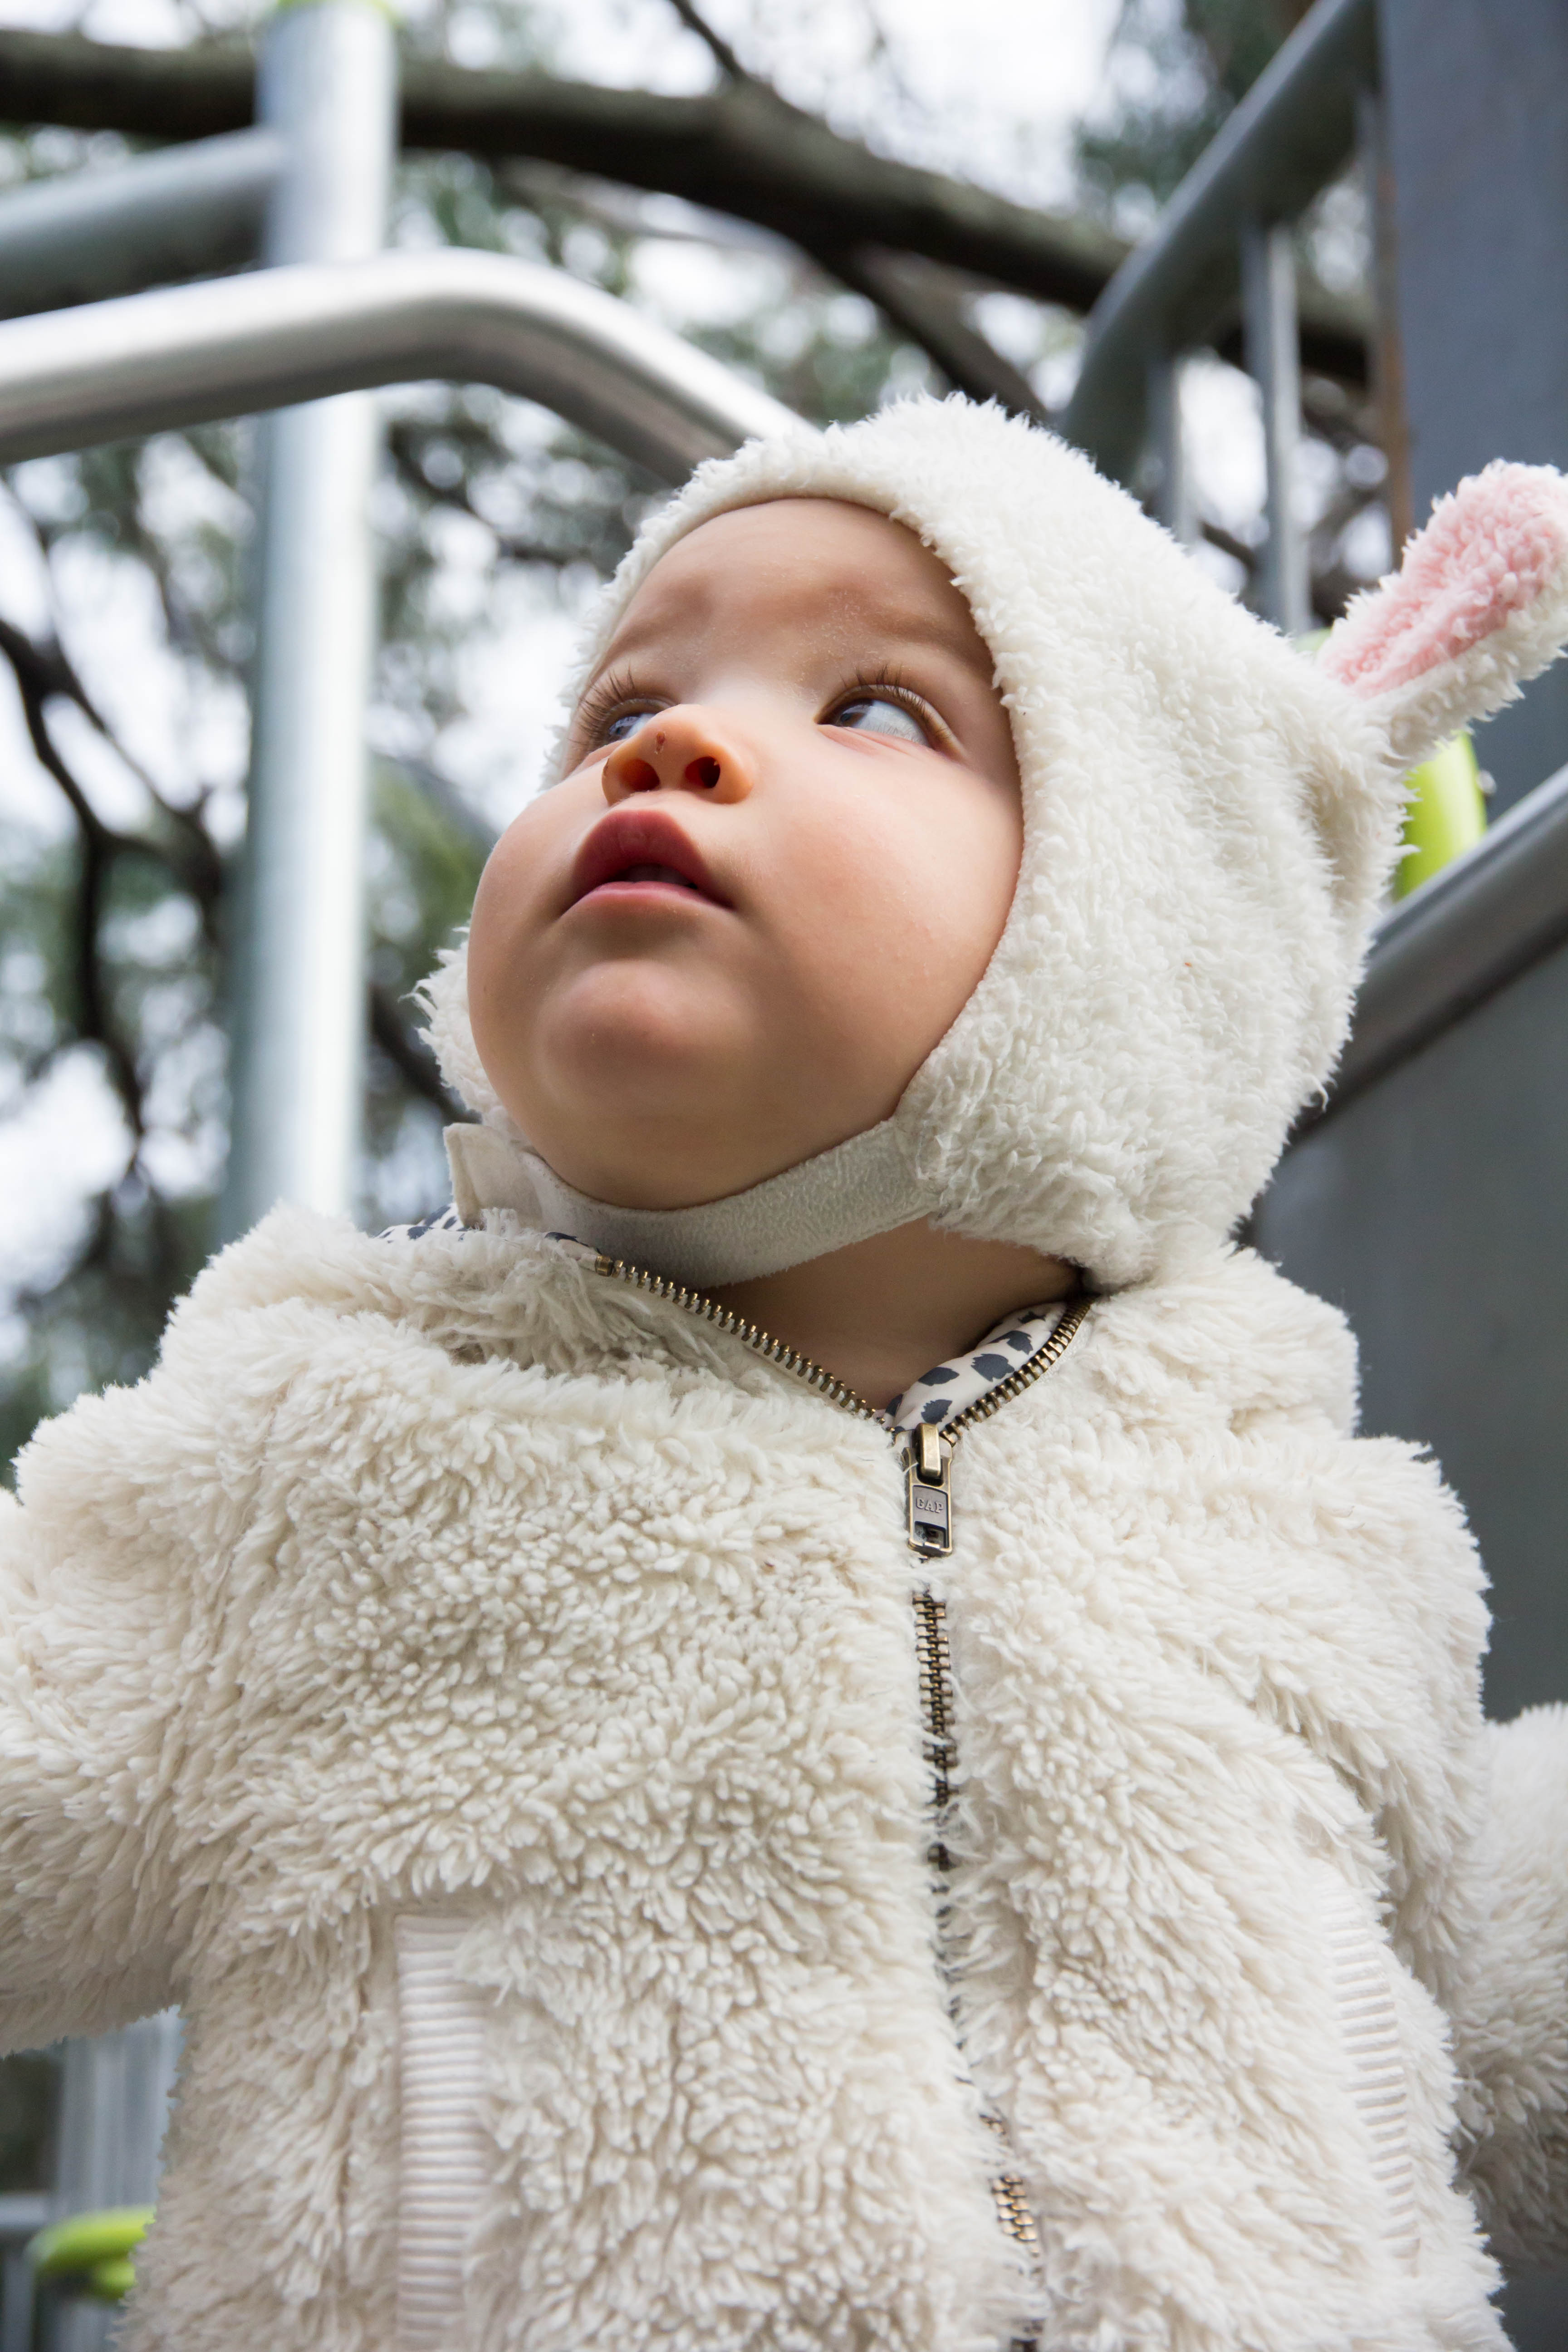
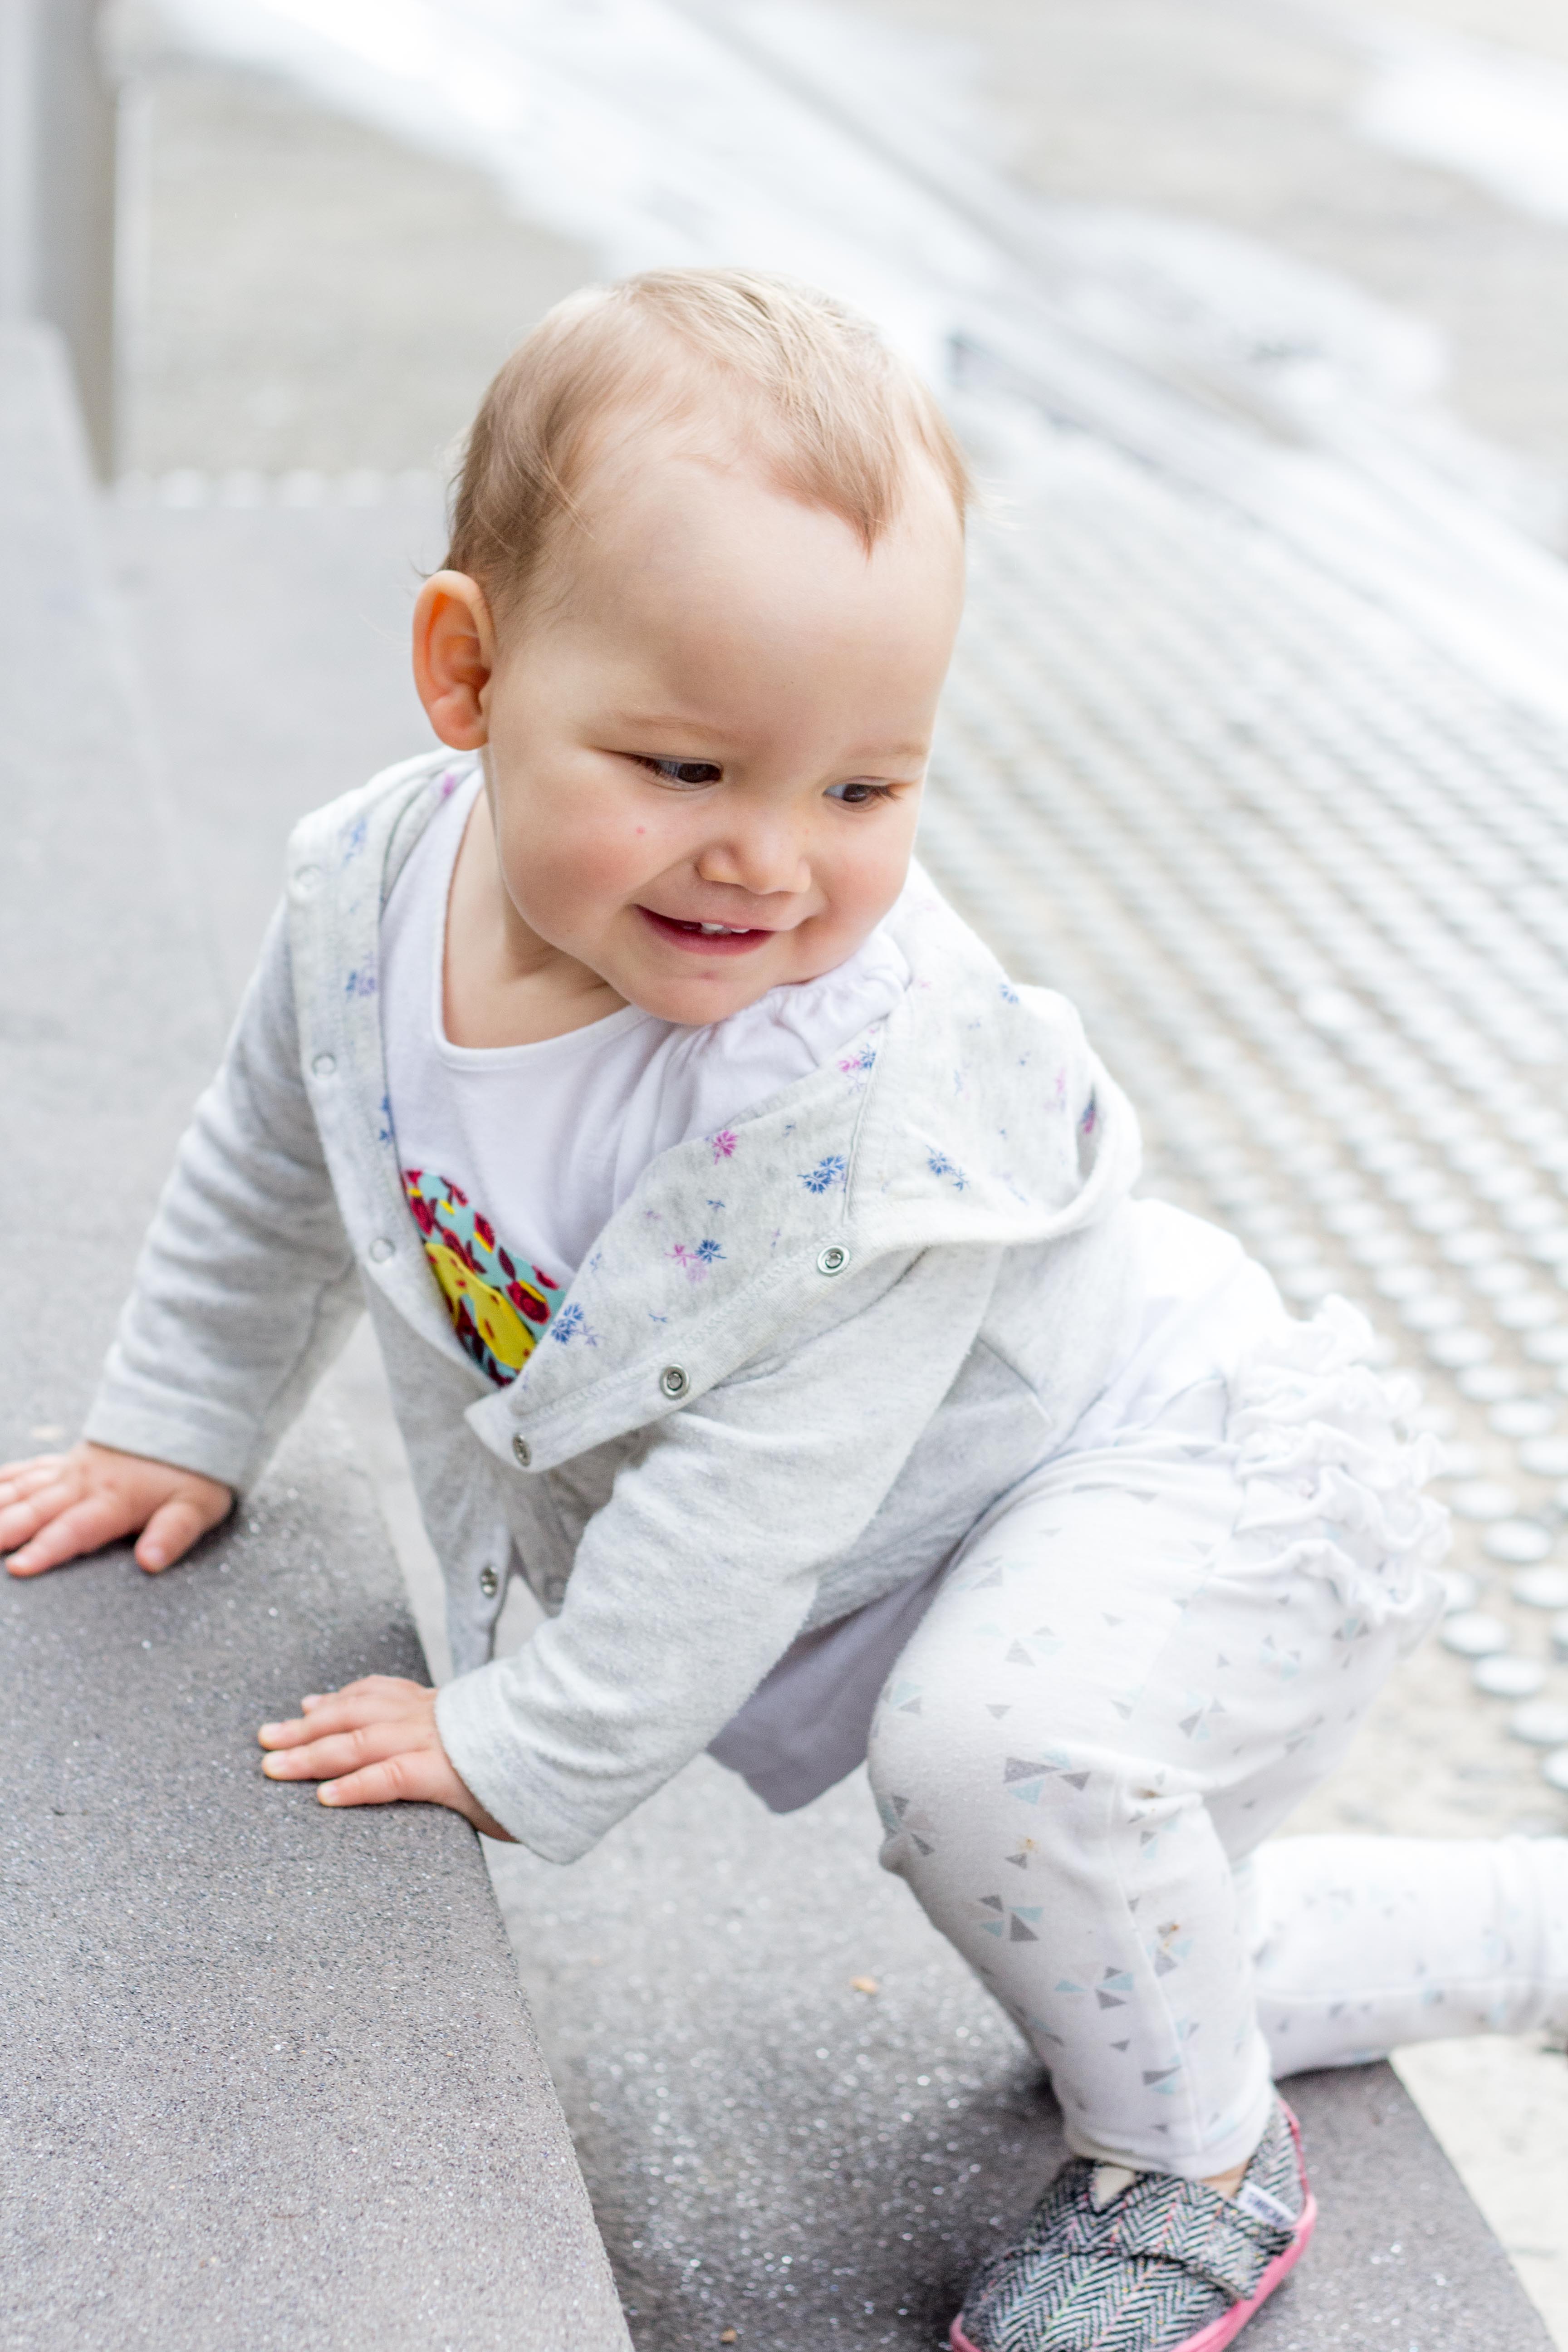
Set the white balance – Unless the auto exposure is terrible, my second step is to adjust the white balance. My preference is to use the eye dropper selection tool next to number 2 above. I start with the dropper on a neutral color, like the whites of eyes. In this shot, I ended up using the steel on the steps. Move the dropper slowly to find a square in the grid where the percentages at the bottom are close to equal. For this image, I found a spot where the came out to 86.6, 86.1, and 86.2. This provides the most accurate white balance adjustment, and is far more effective on JPEGs than the other methods in Lightroom.

Tweak the exposure settings – With the white balance in order, I look at the image to see if I want to make any additional adjustments to the exposure settings. For this particular portrait, I felt that it should be a little brighter and increased the overall exposure level to suit my taste.
Noise reduction – With the camera in auto and semi-auto modes, I end up using a slightly higher ISO, and this produces a little bit of grain in the photos. Not a big deal for sharing smaller images on places like Instagram, but might be noticeable if I want to print them, I added in noise reduction just to be safe. Scroll down in the right toolbar, and you will see a detail section with a magnified thumbnail. You can see in the screen grab that CZ’s face looks a little grainy. To reduce this, I slid the luminance slider to the right, until I was happy with the noise. You generally want to stay at 50 or below to avoid distorting your image in other ways.
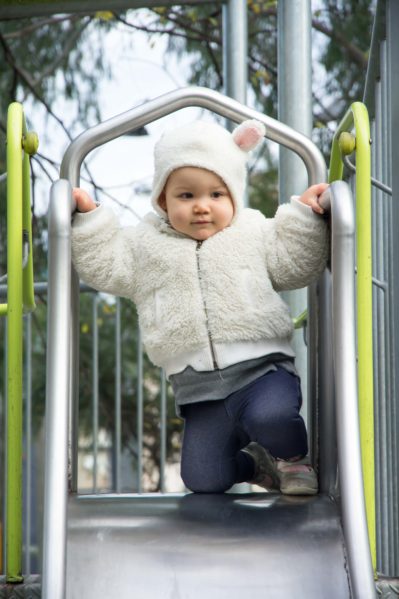
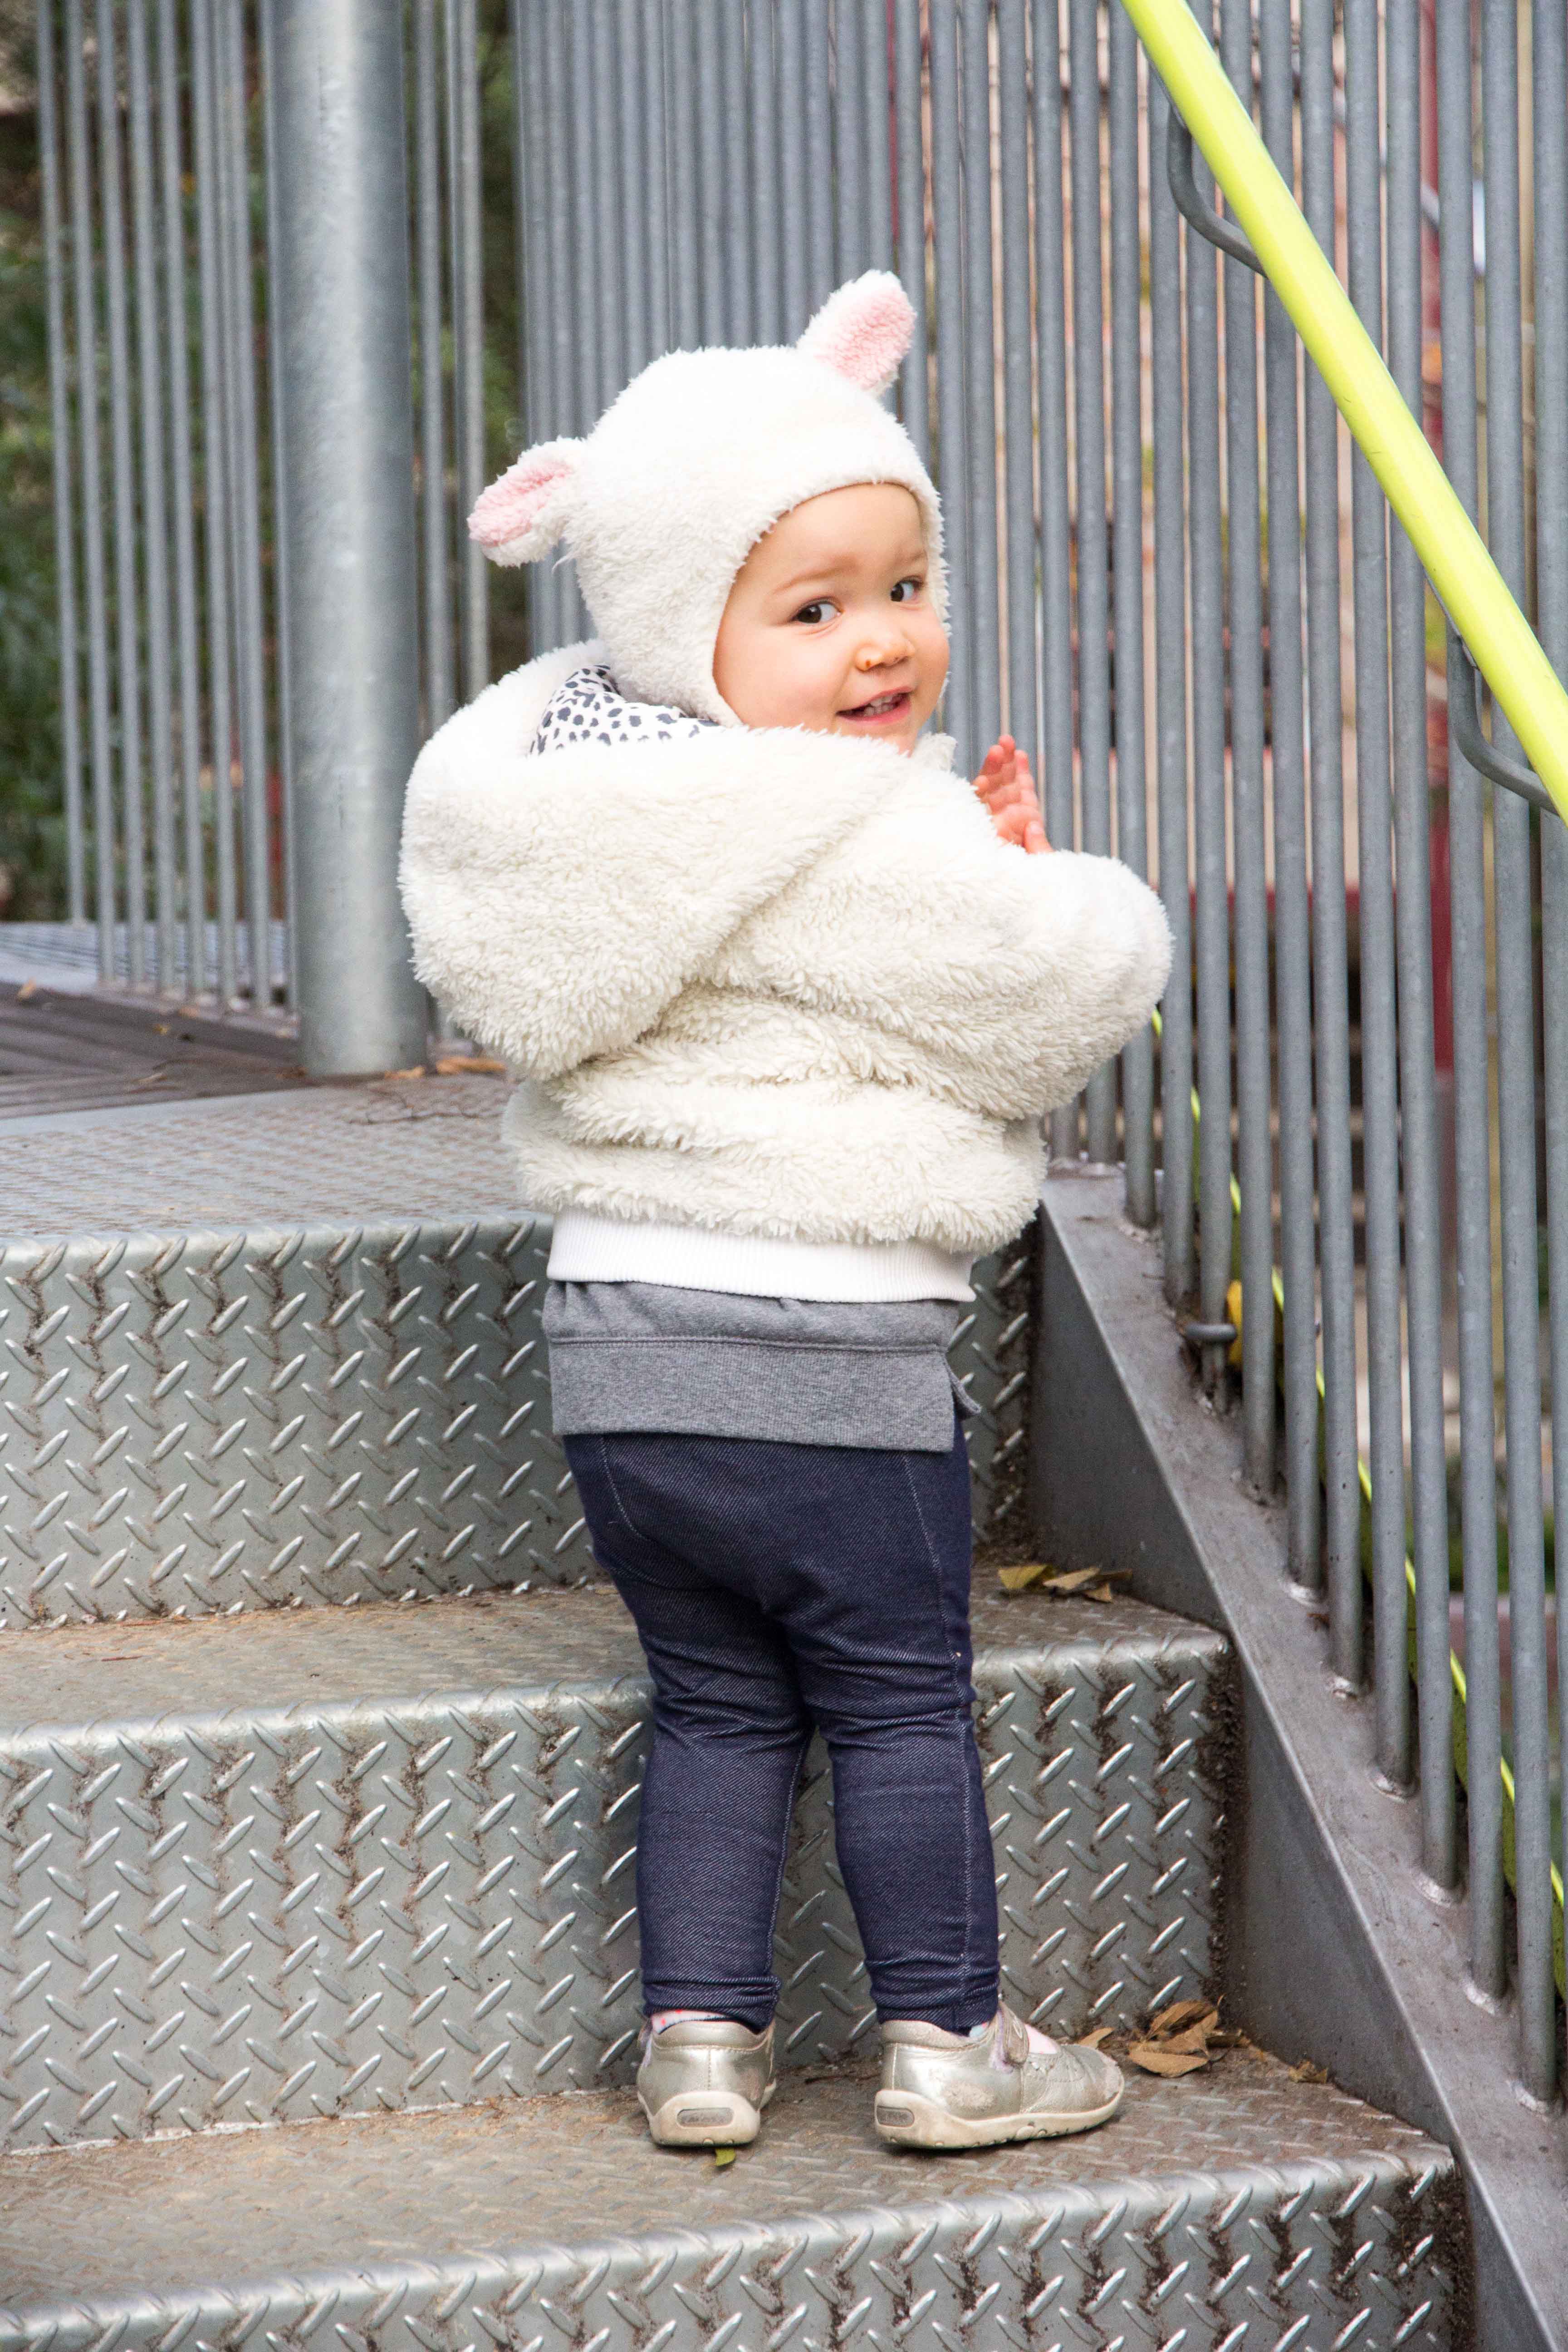
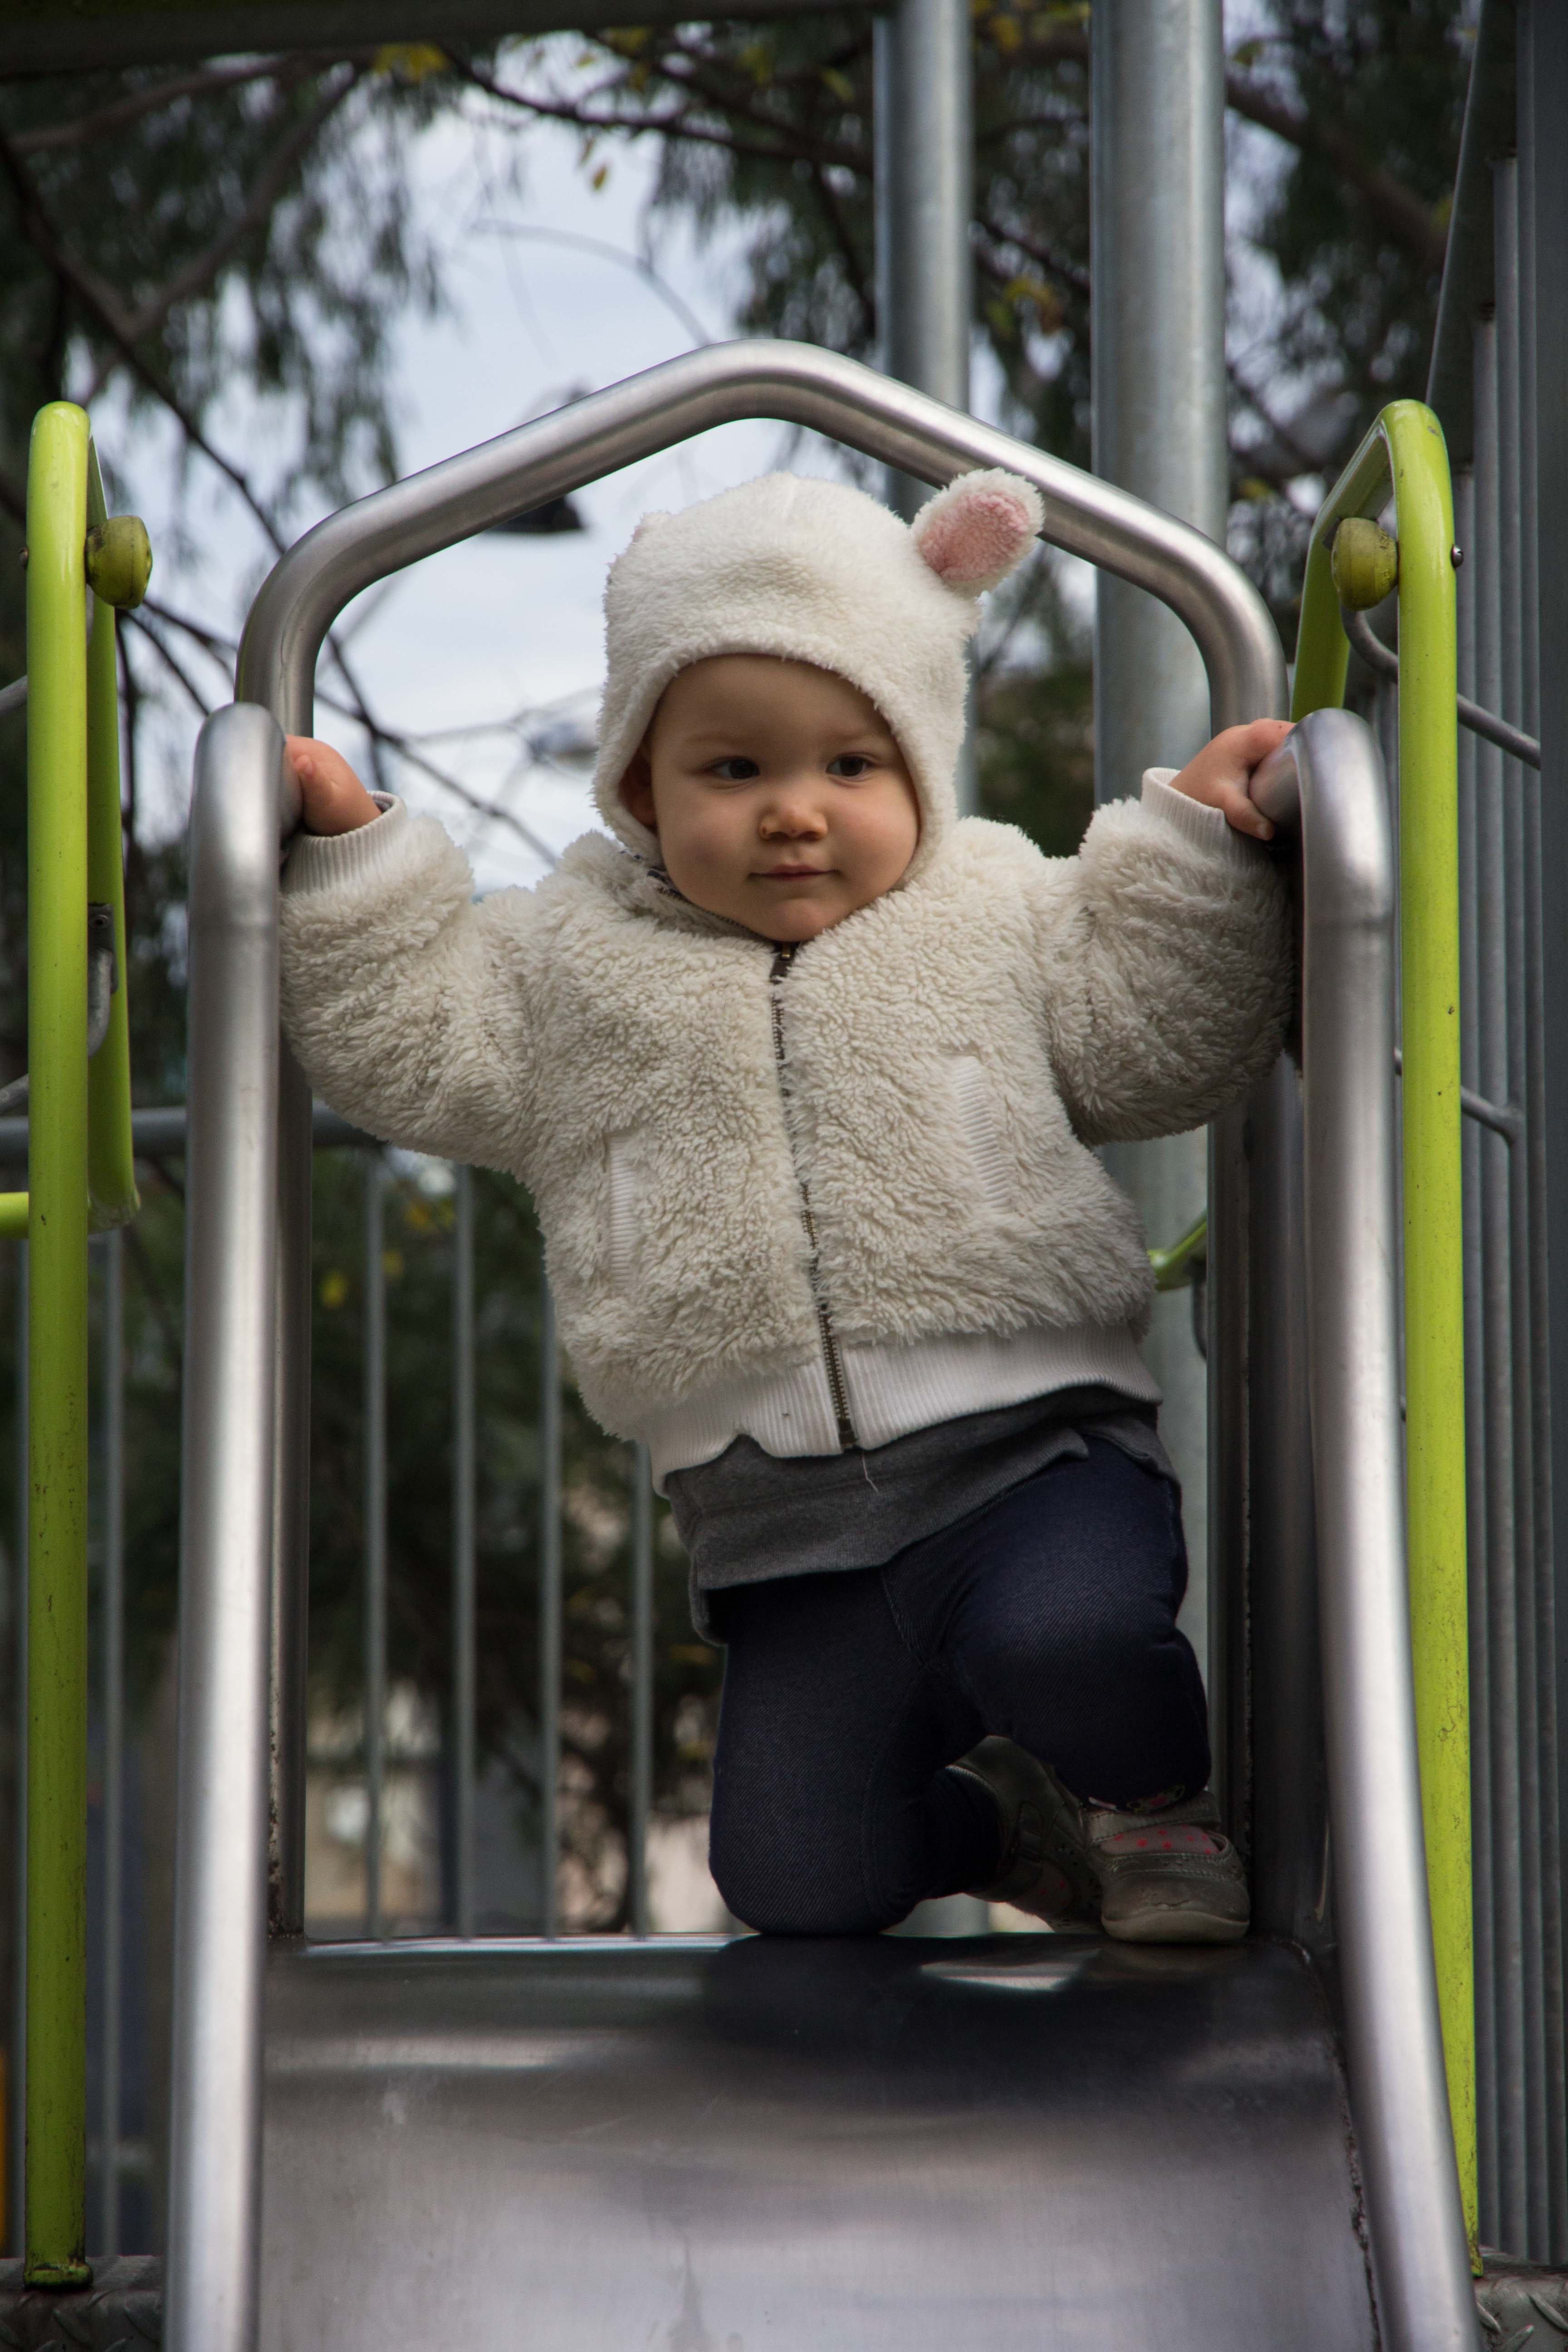
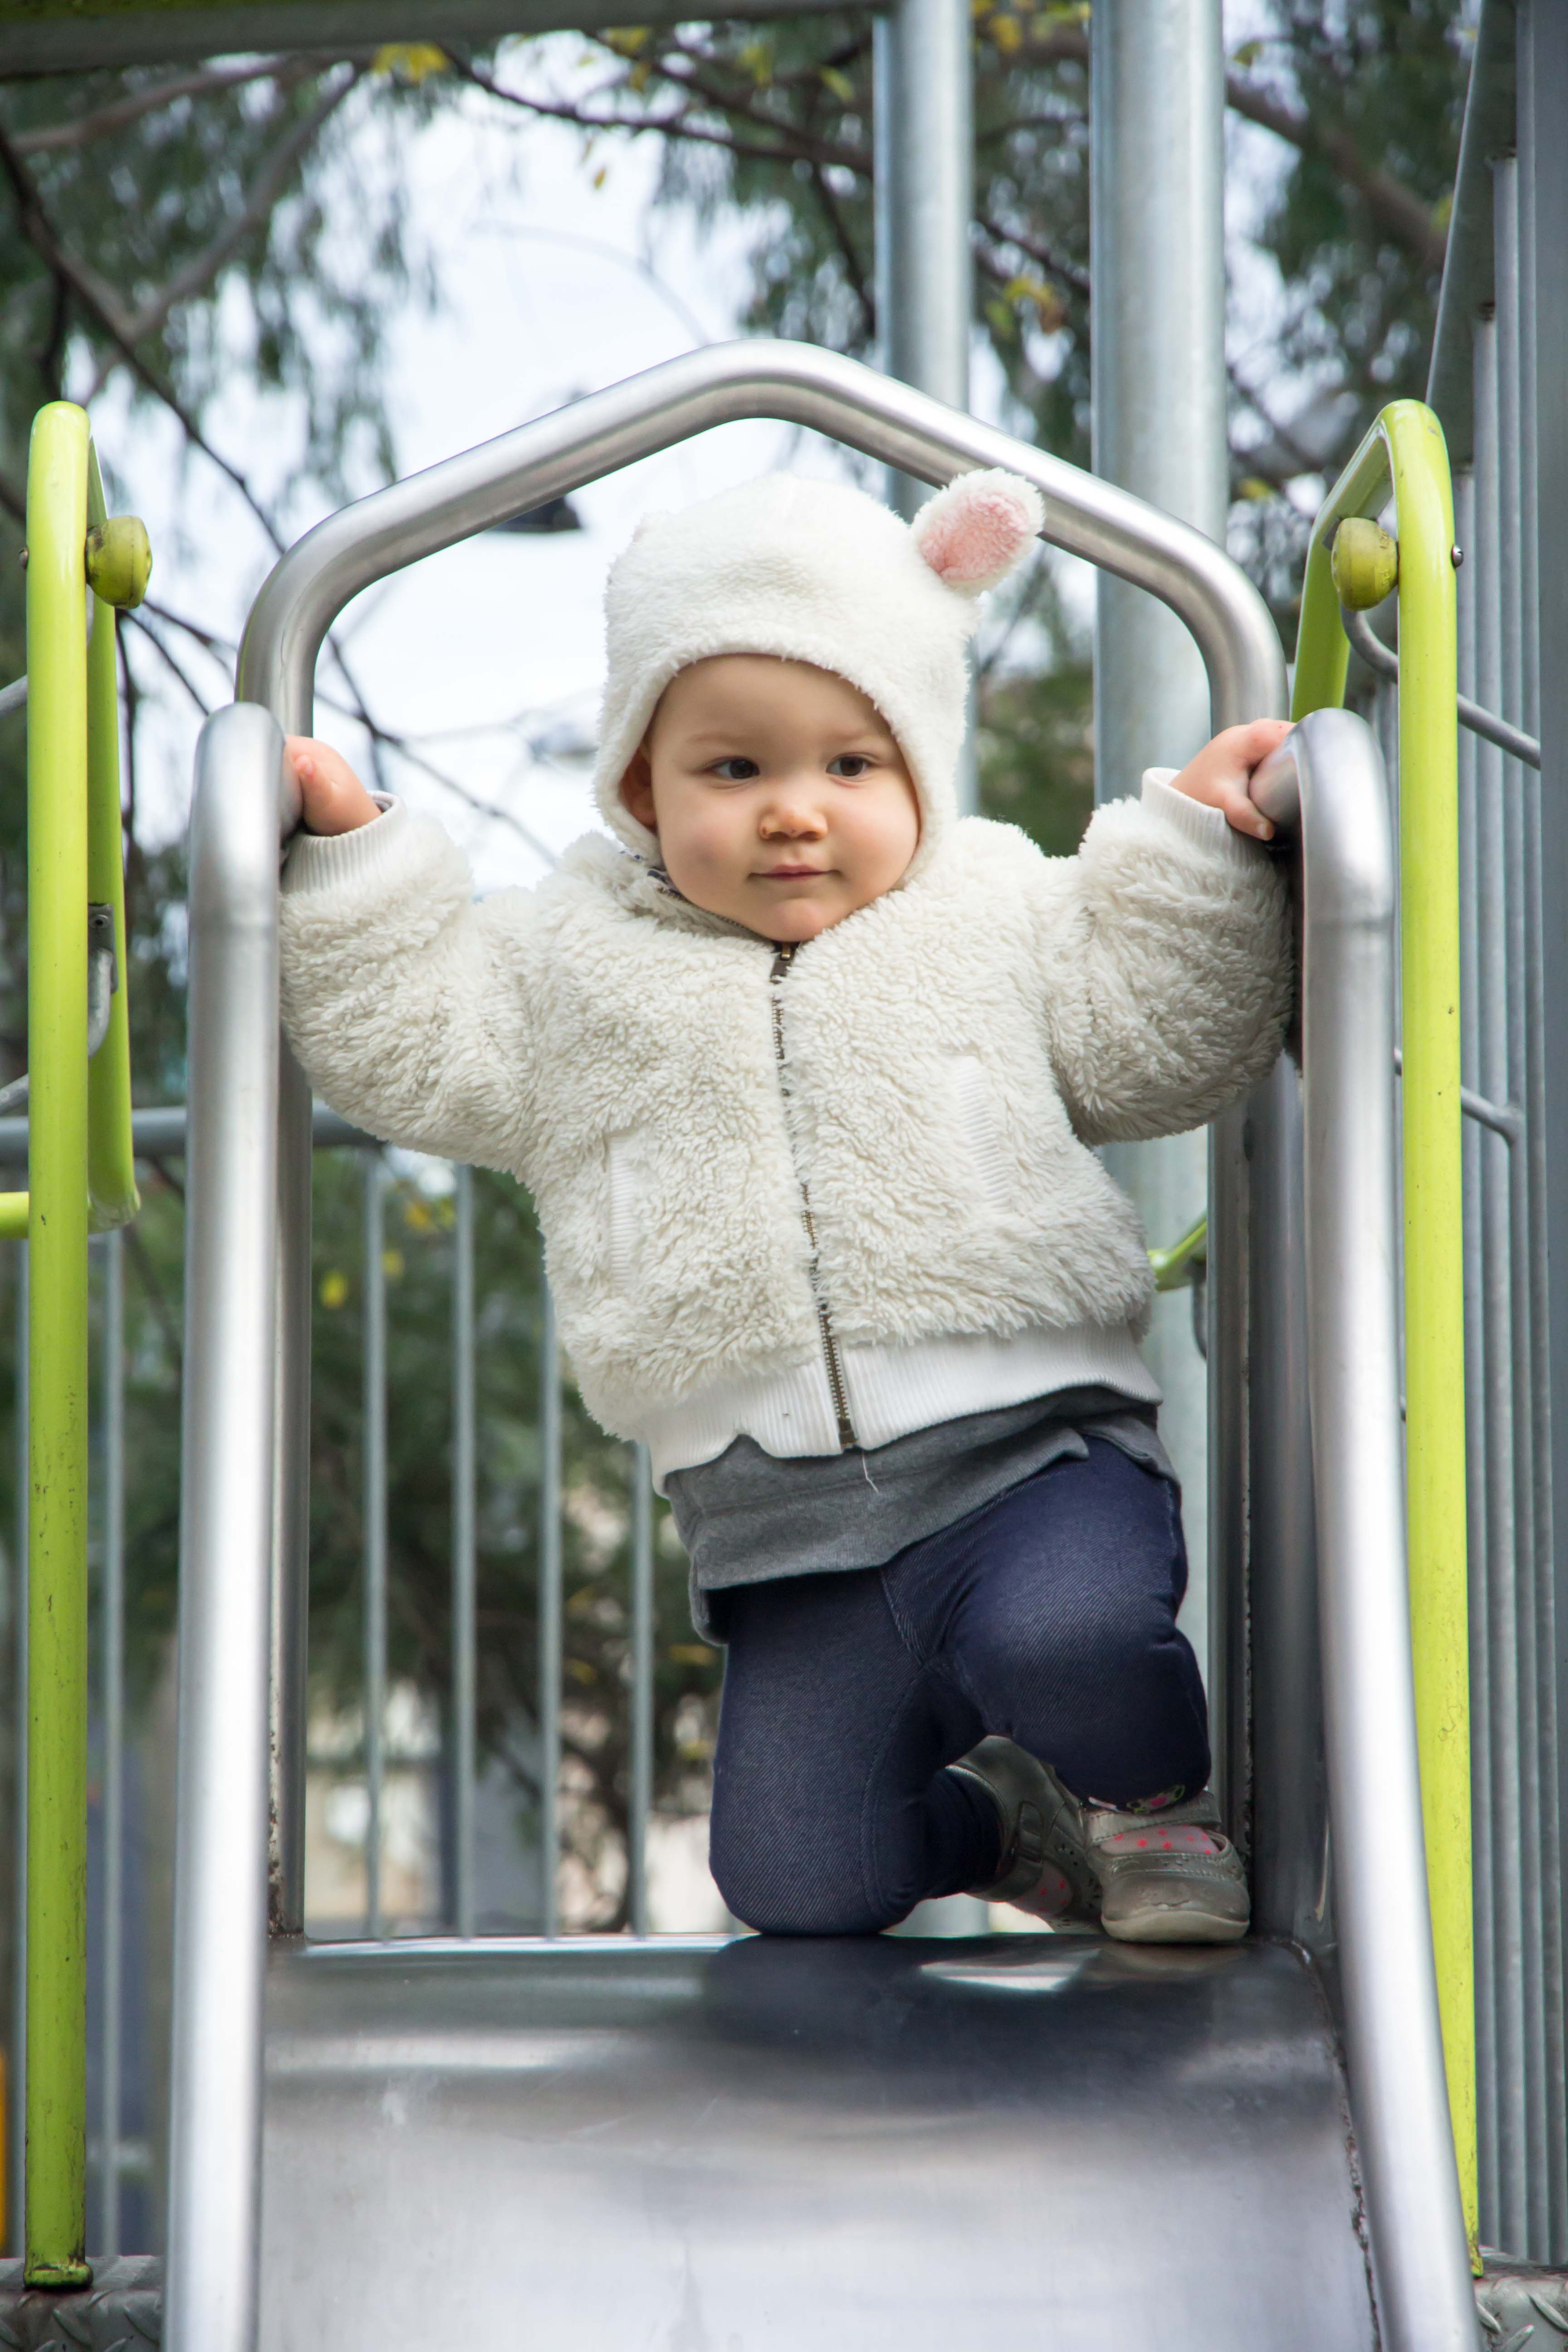
And now for the original compared to the final image:
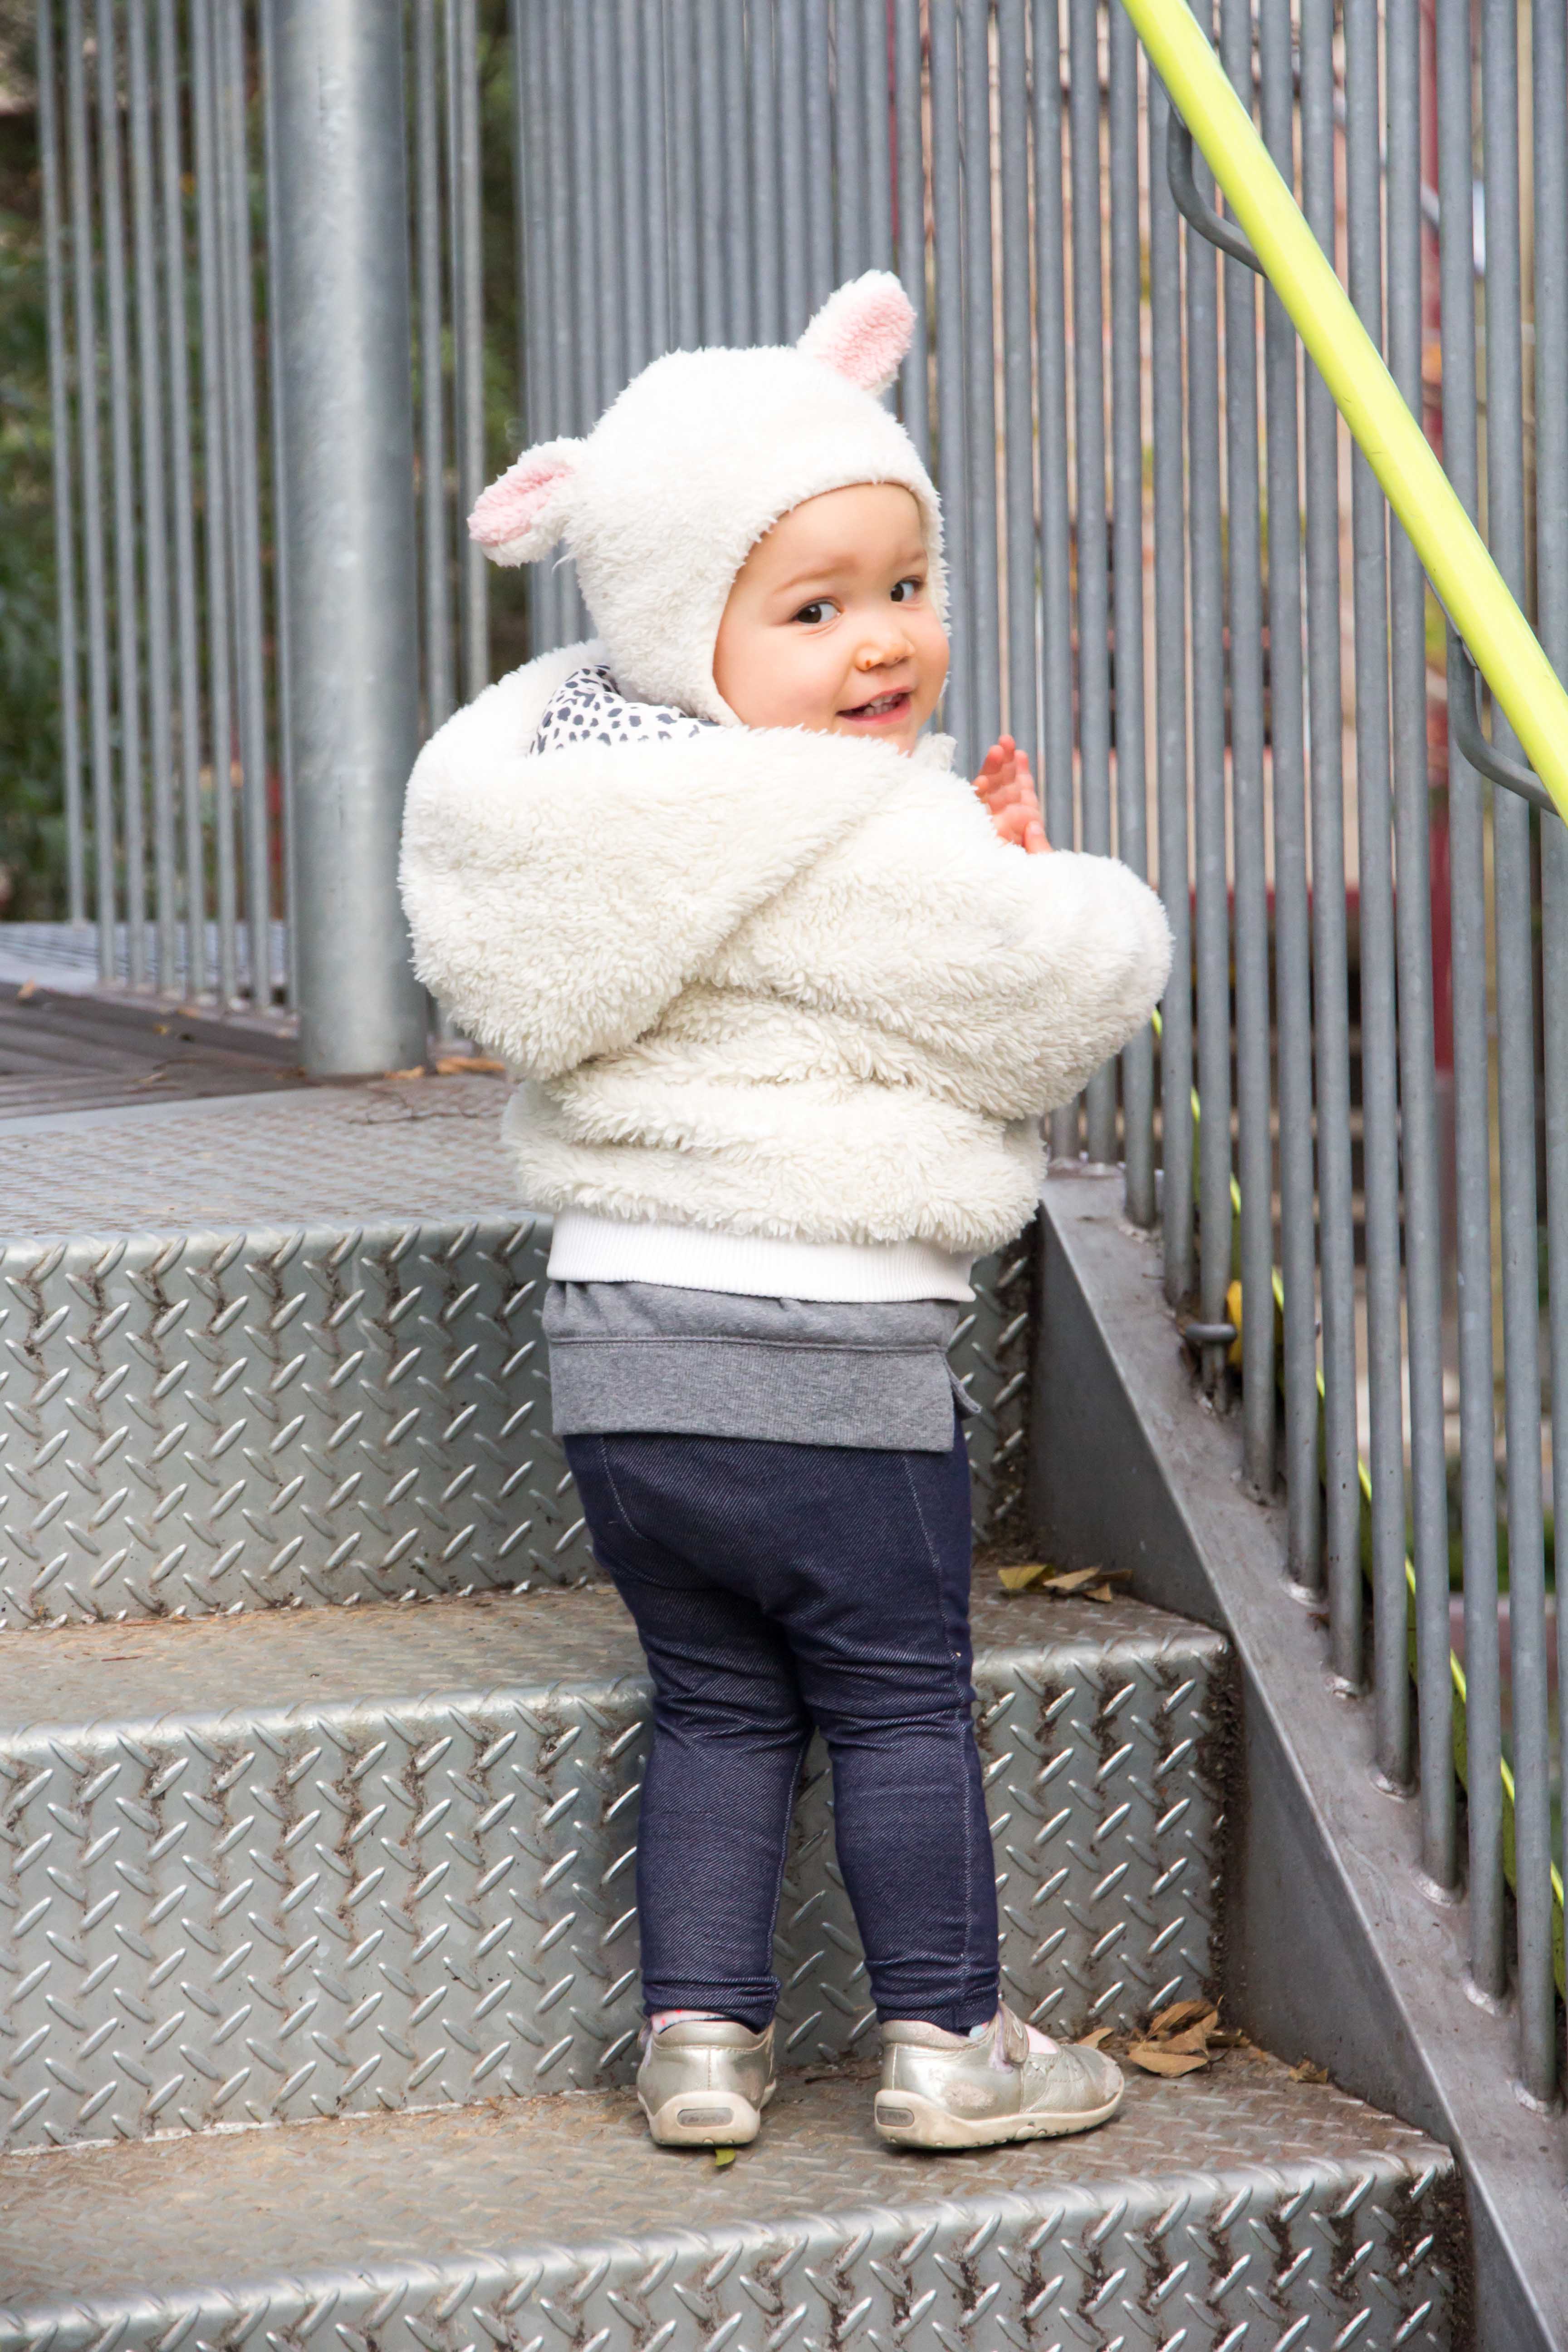
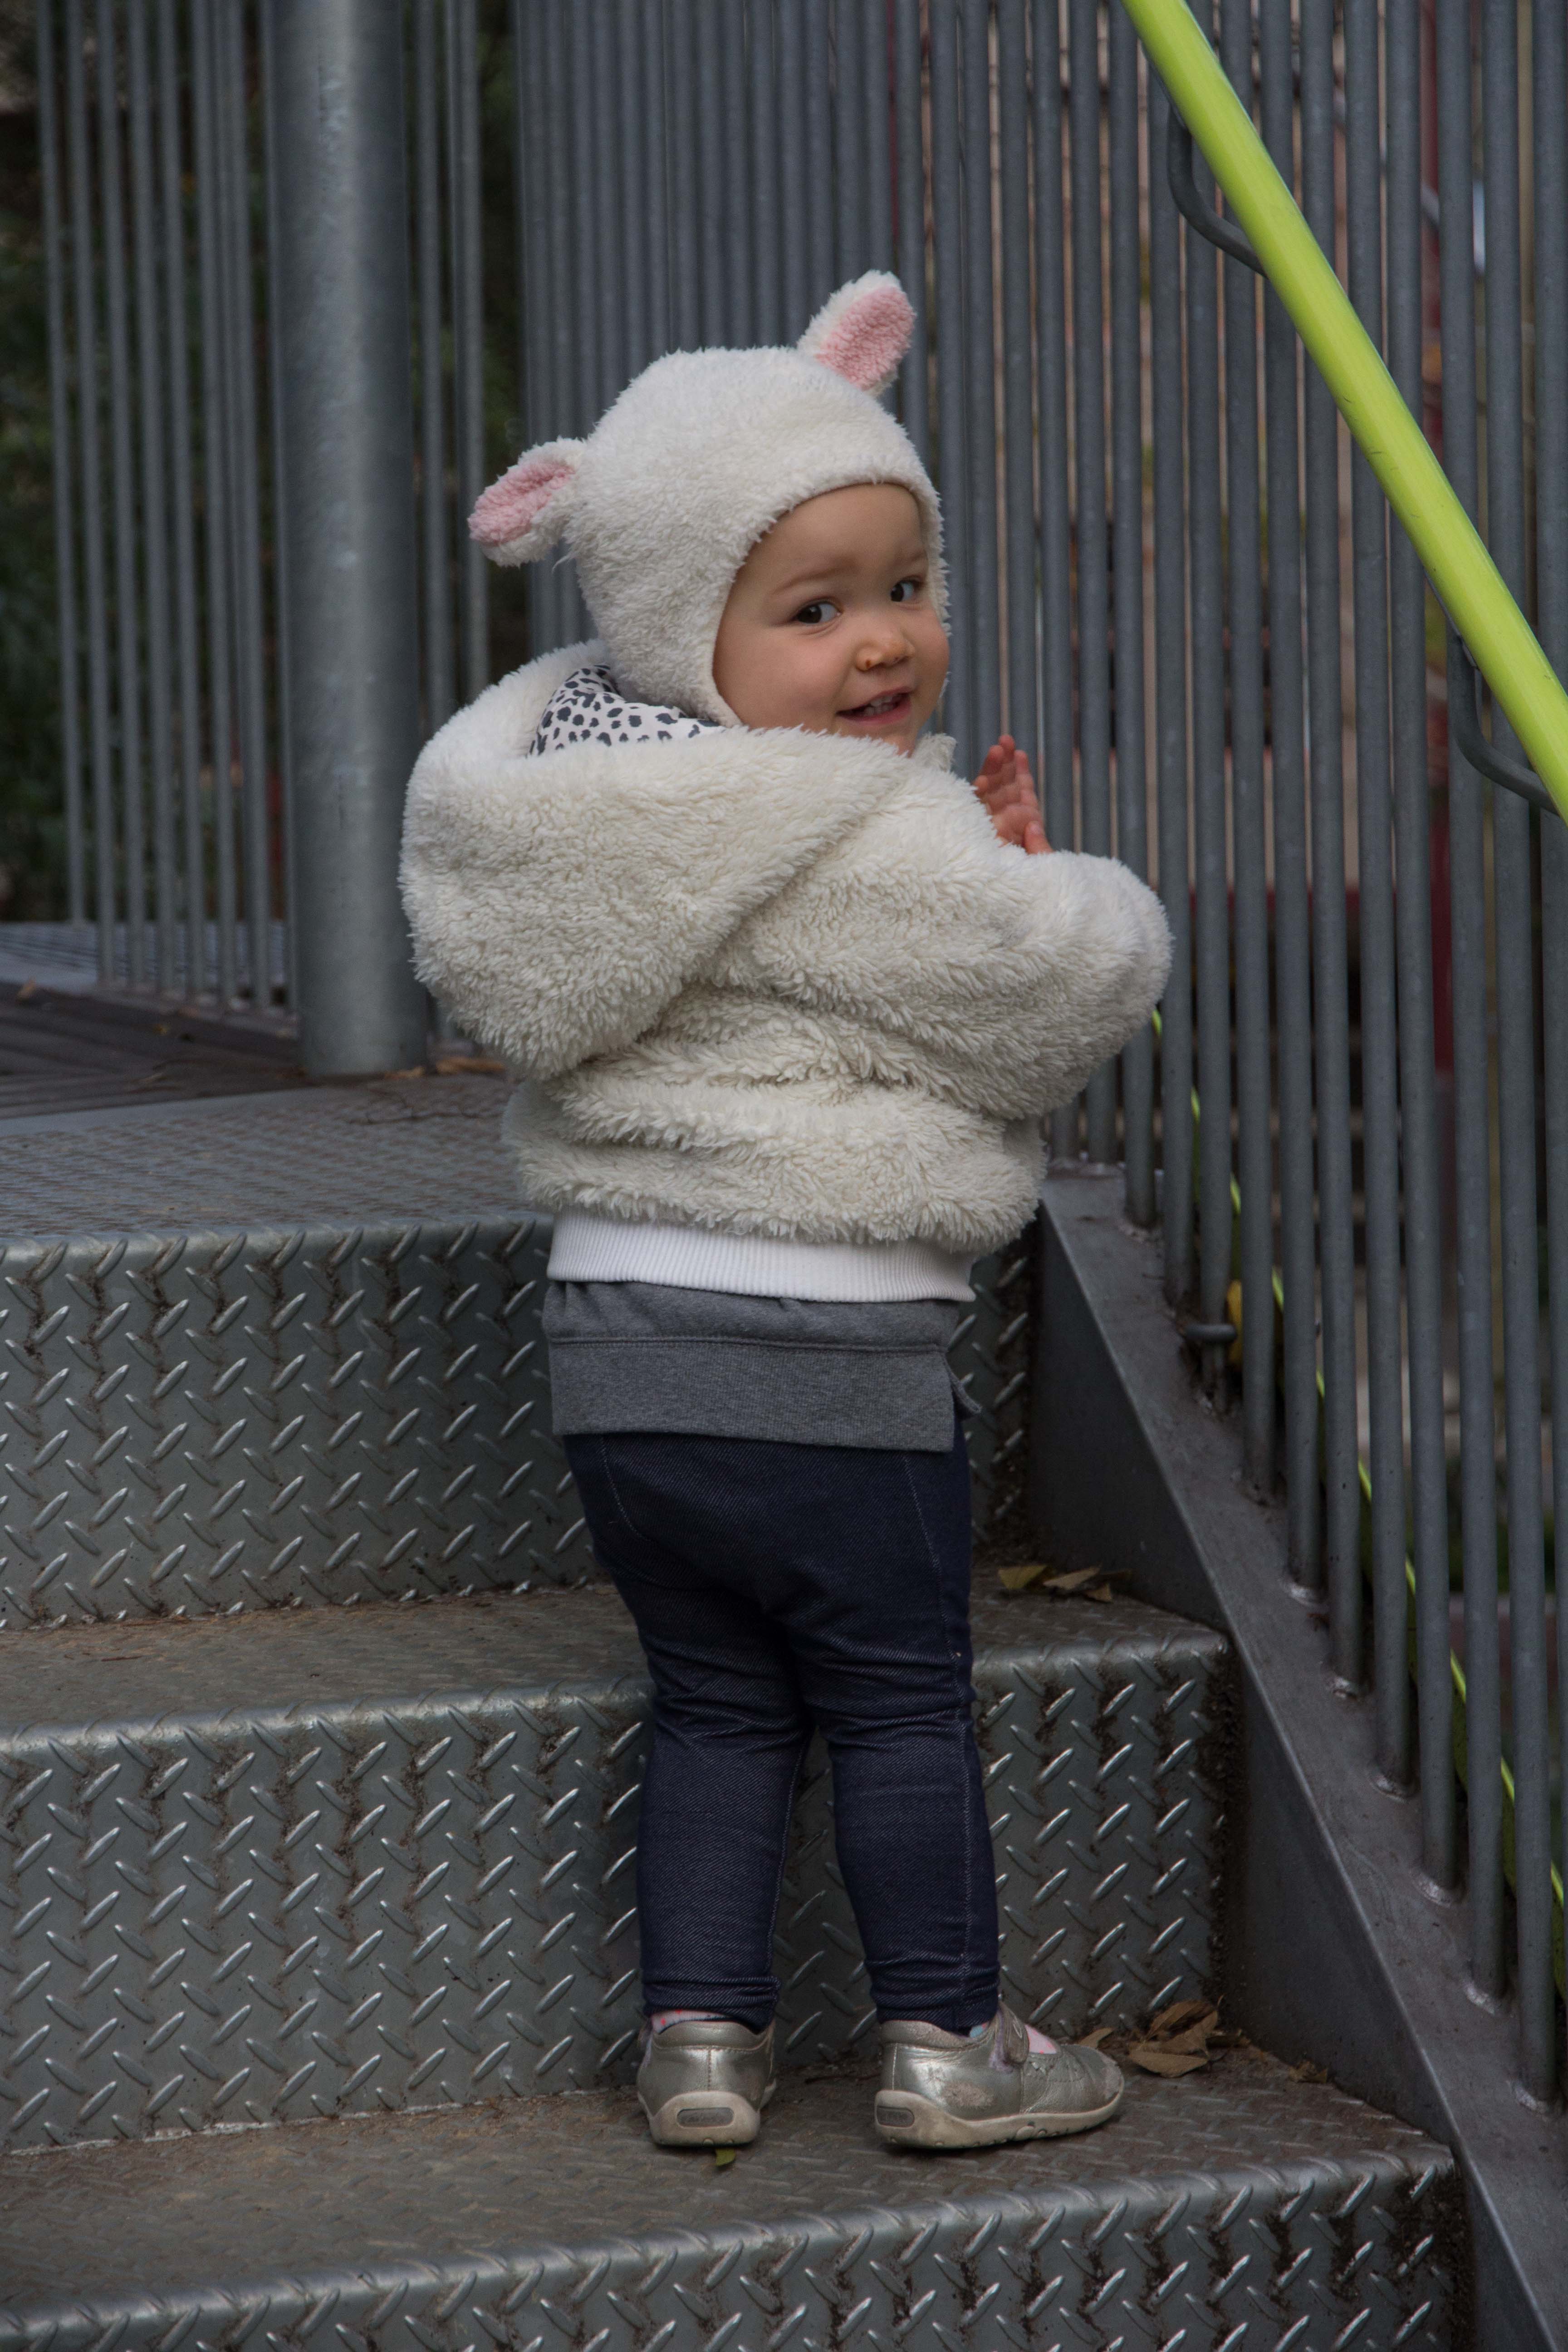
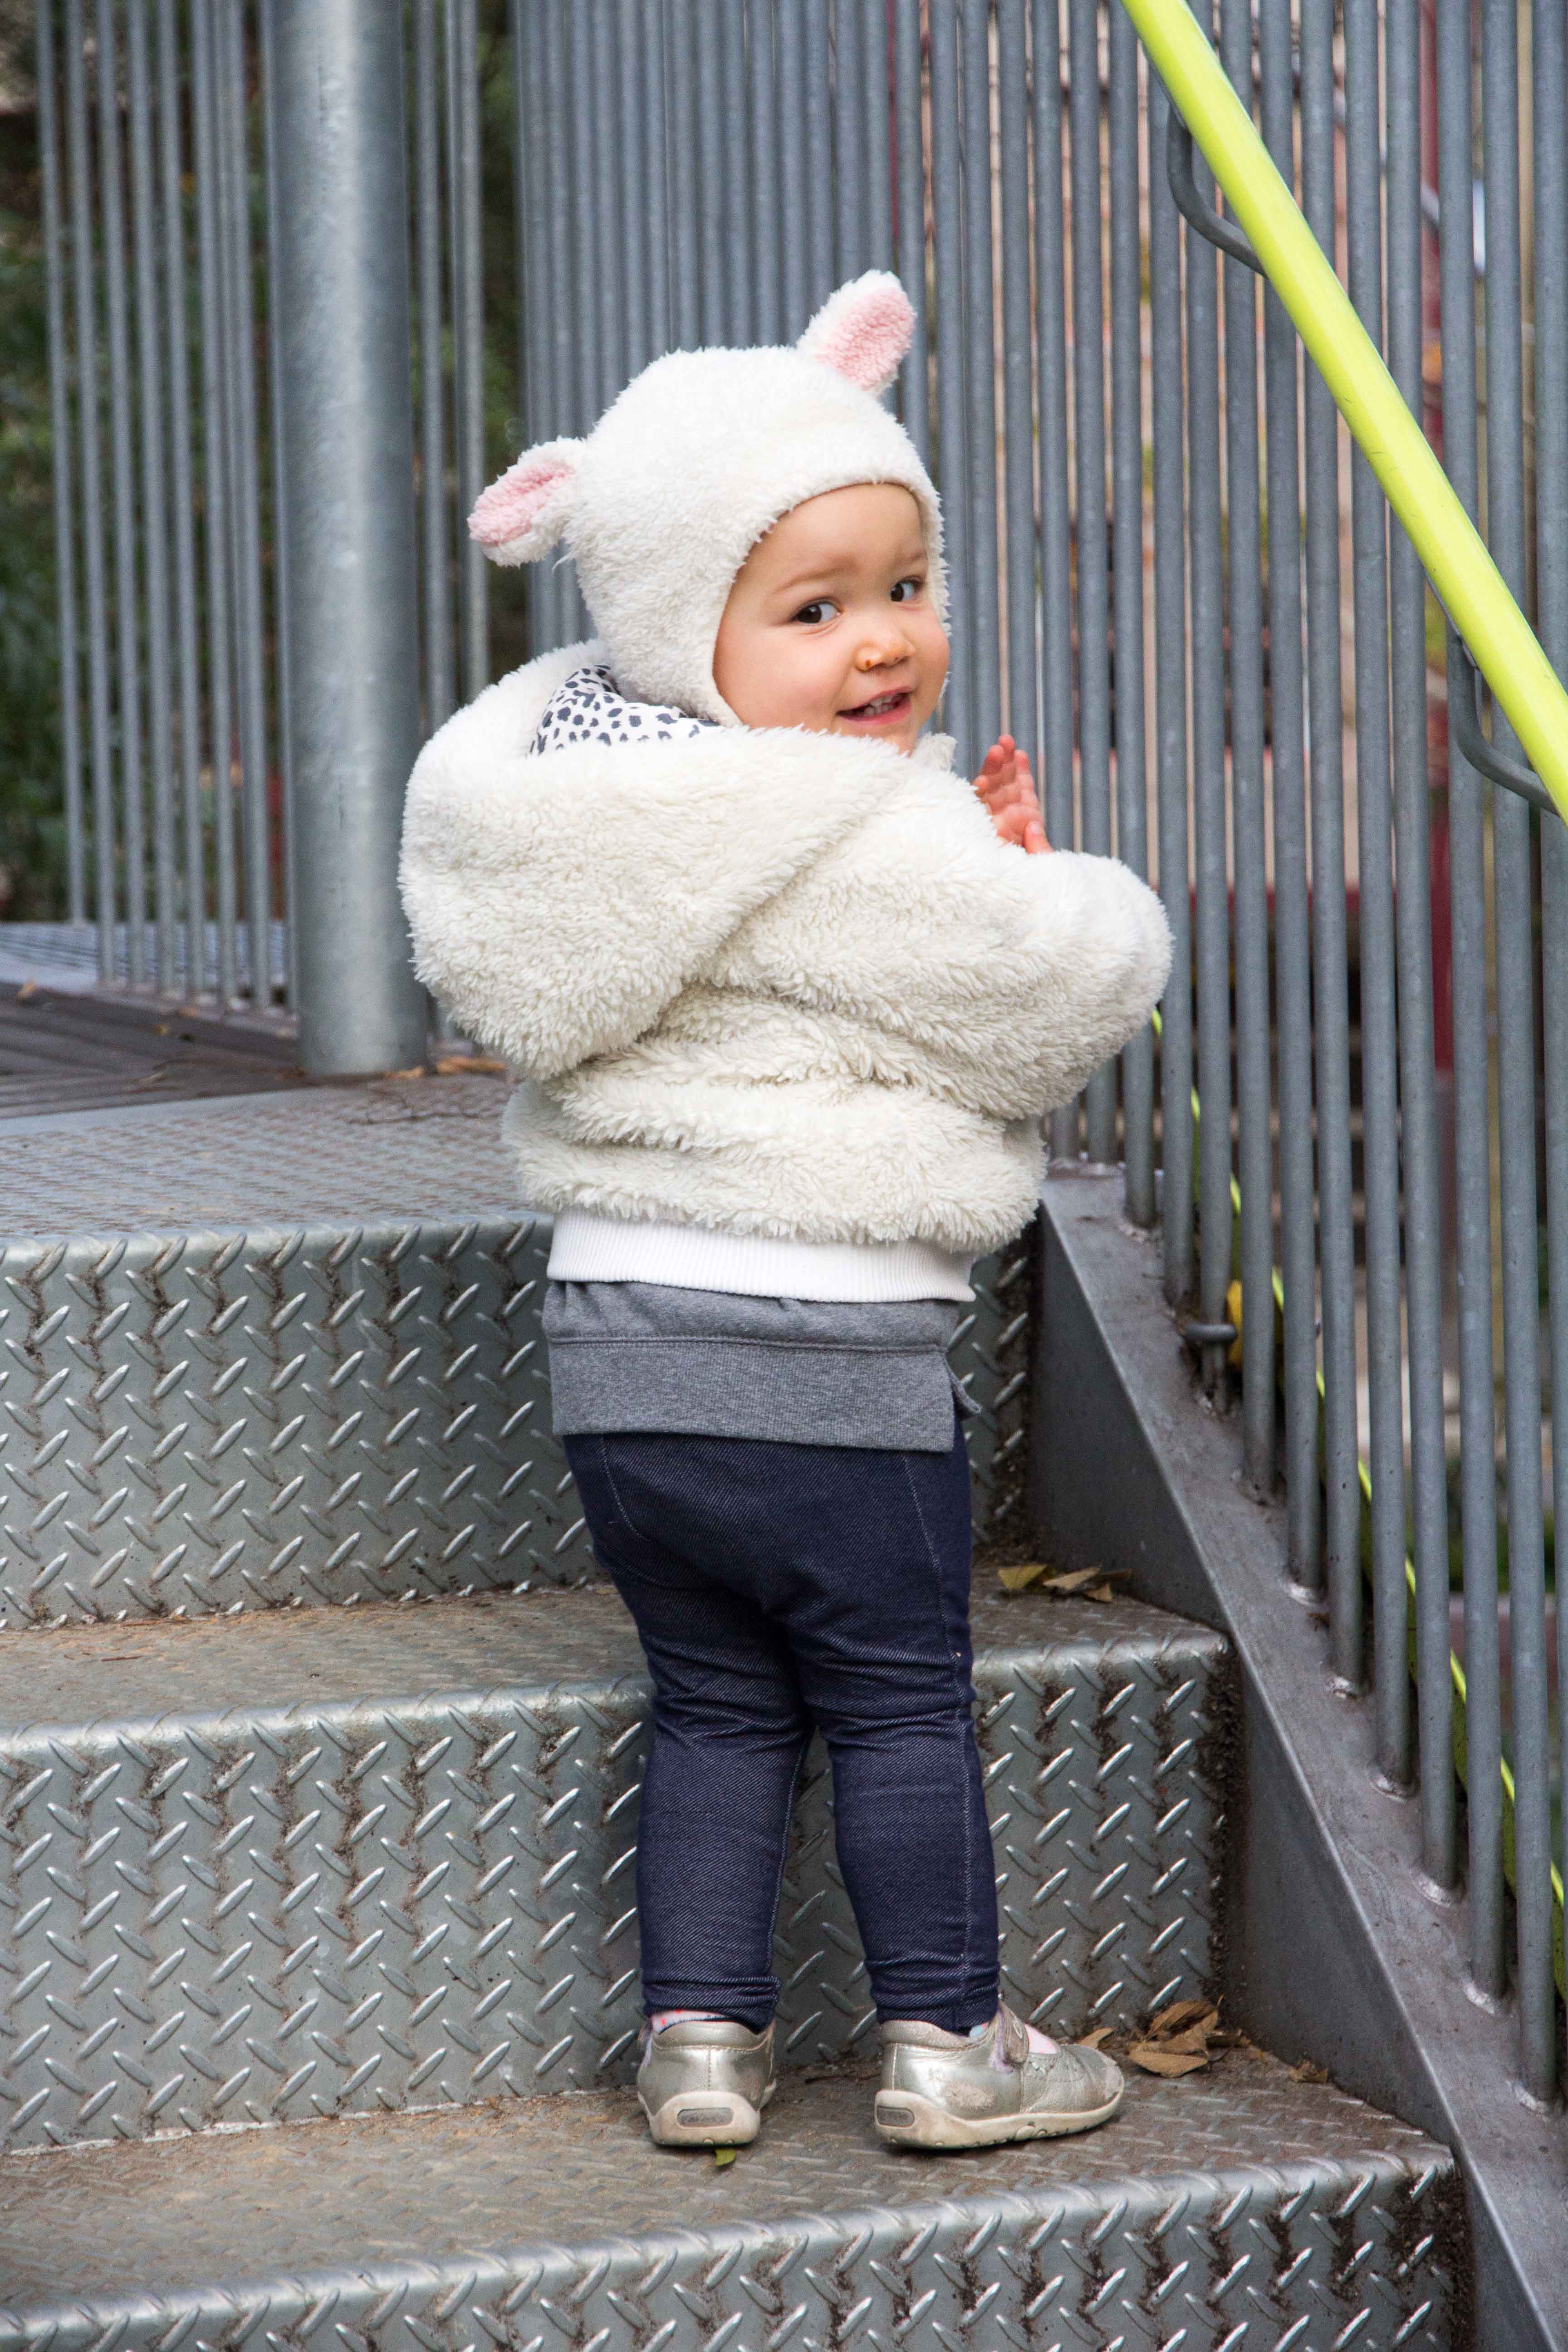
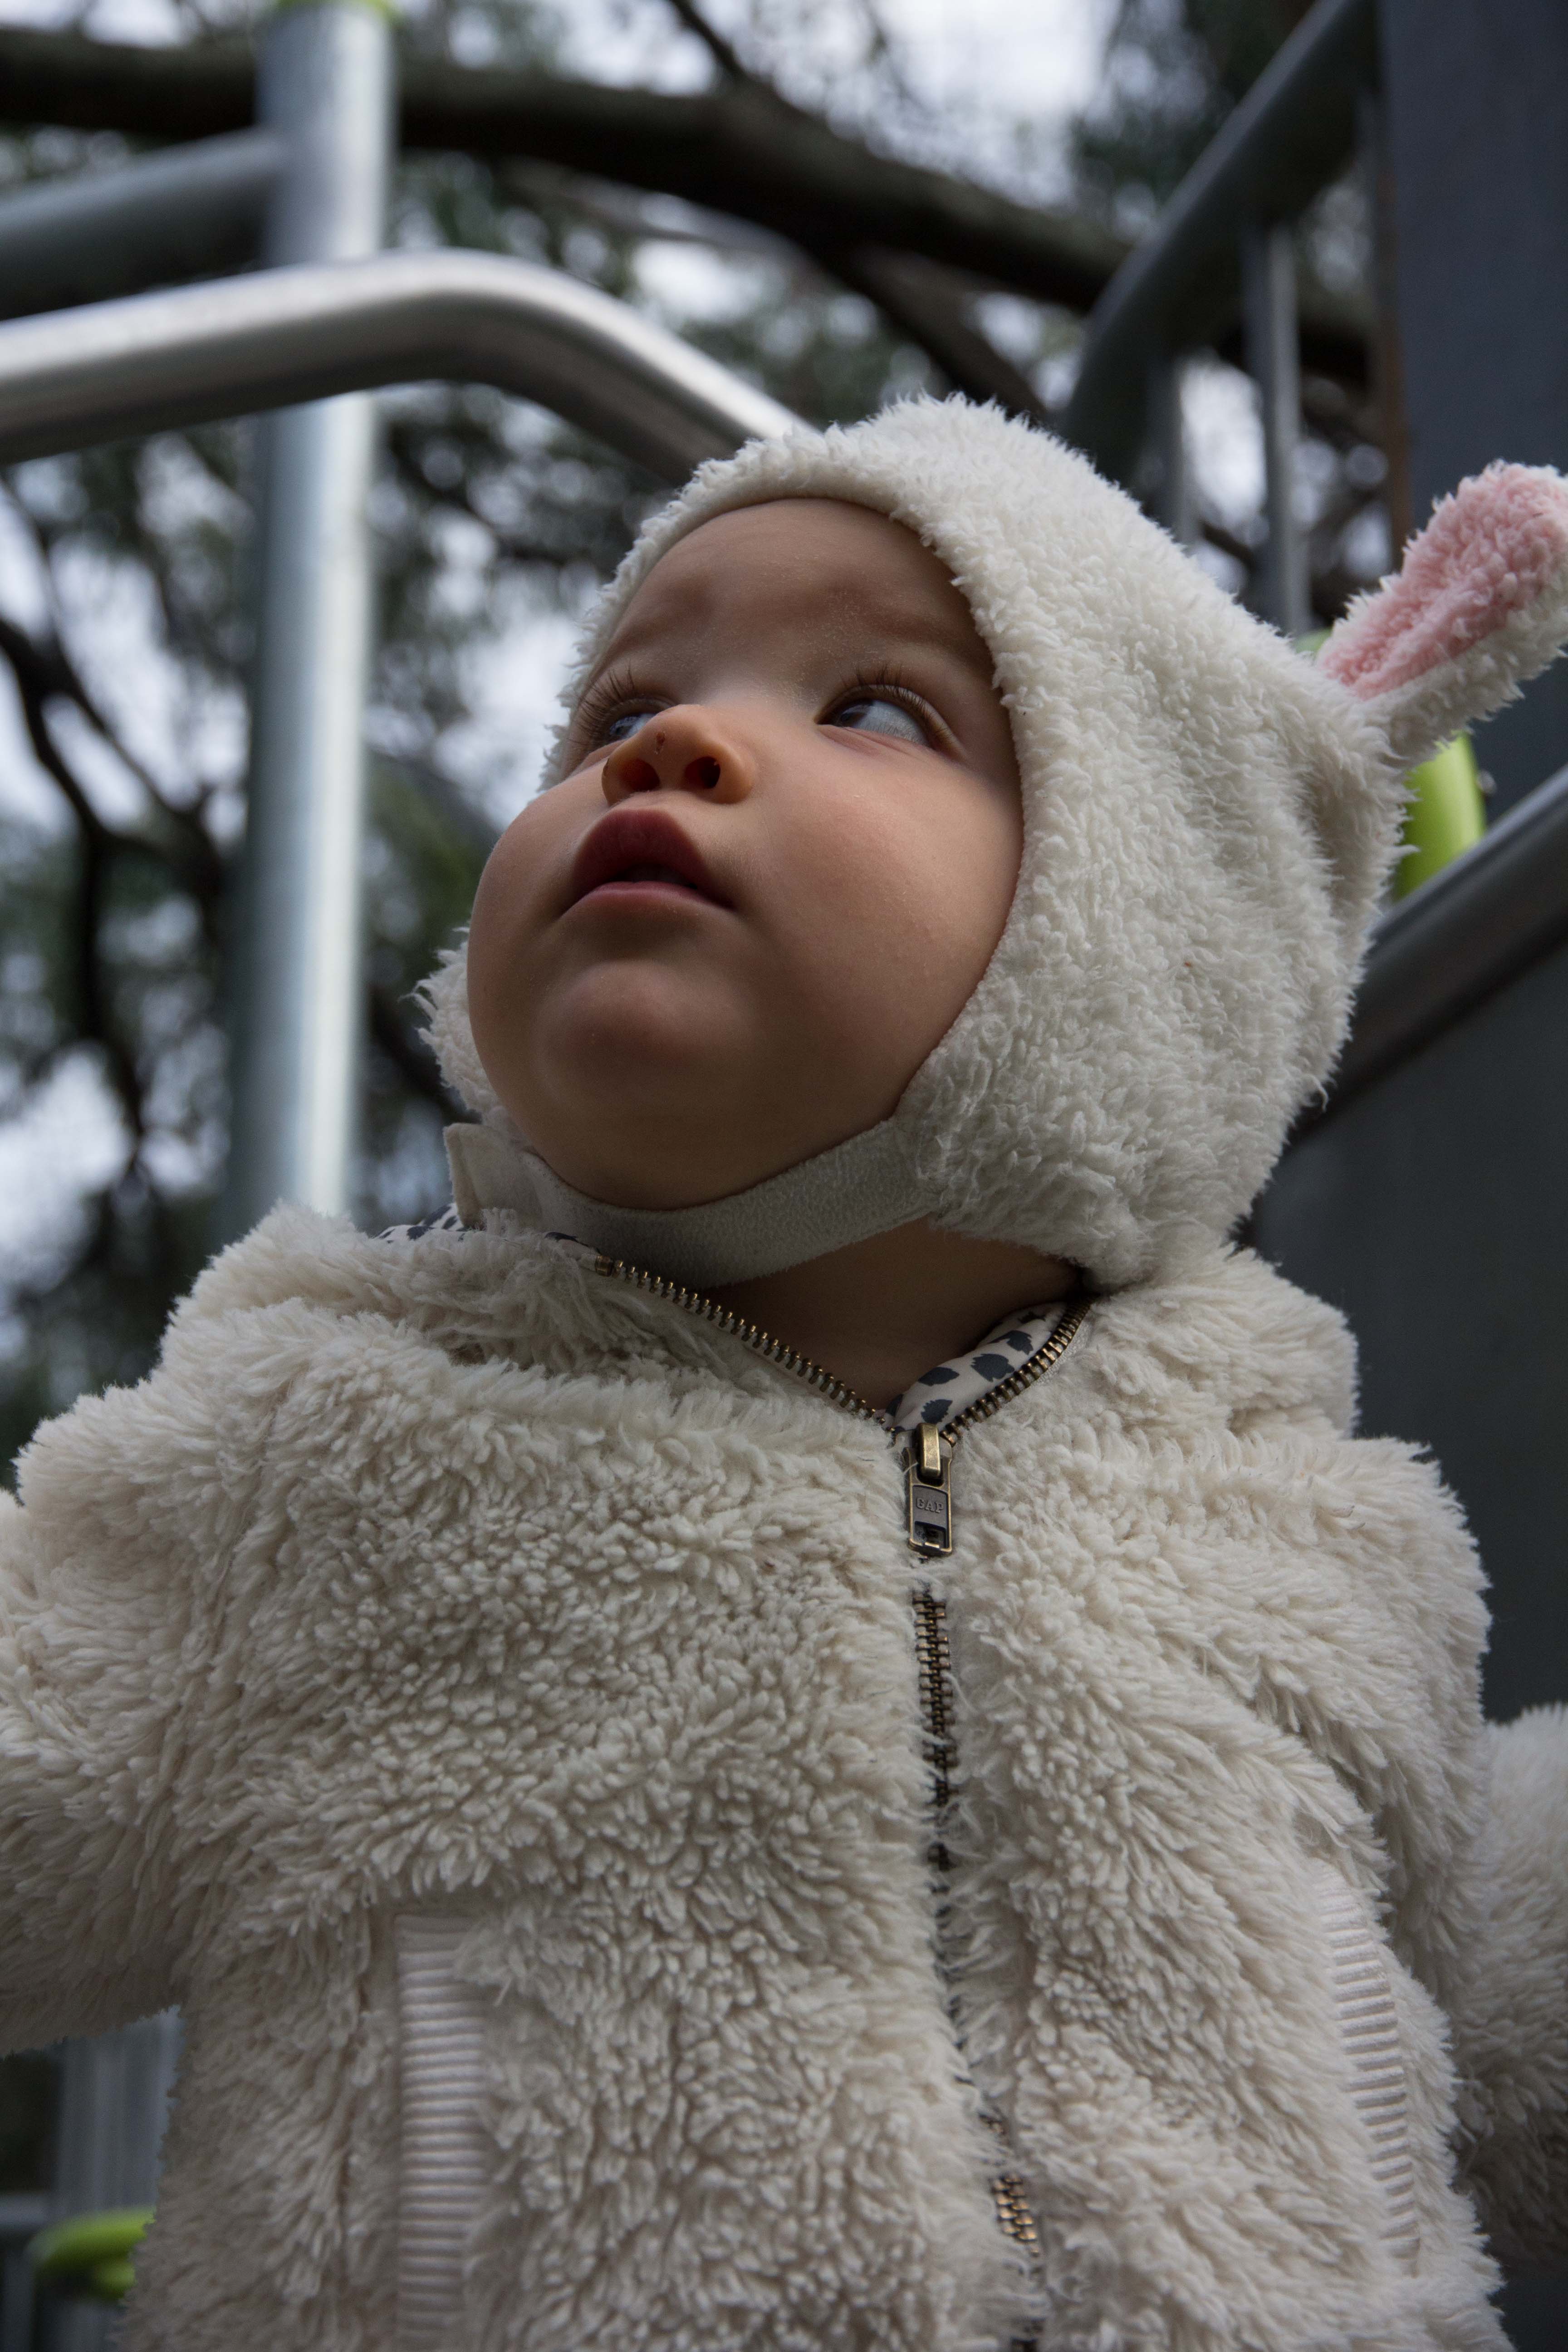
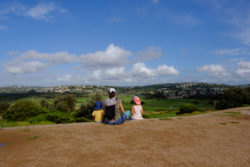
Here are two more shots we liked and their final edits:
Toddler Photography Editing Wrap Up
Pick a repetitive activity that your child will perform in a loop, providing you multiple opportunities to get the shot you want.
Start with the camera in Sports / Action / Automatic mode, and then transition to shutter speed priority mode with a baseline for your shutter speed.
If shutter speed priority mode, is a little too bright or not bright enough, use the quick settings menu to tell the camera to make the image a little brighter or darker than it thinks it should.
One last note, we share some of our best tips and up to date camera news in our bimonthly newsletter. Make sure you sign up for our photo tips newsletter to gain access to our library of subscriber-only photo tutorials!

2 Responses
[…] balance – We covered setting the white balance in more detail here, and it is the same process for underwater […]
[…] the camera to go to crazy with the ISO when I flick it to Auto. I often use shutter priority mode (more on that here), and despite the bright daylight, the camera will select too high an ISO. Higher ISO equals […]