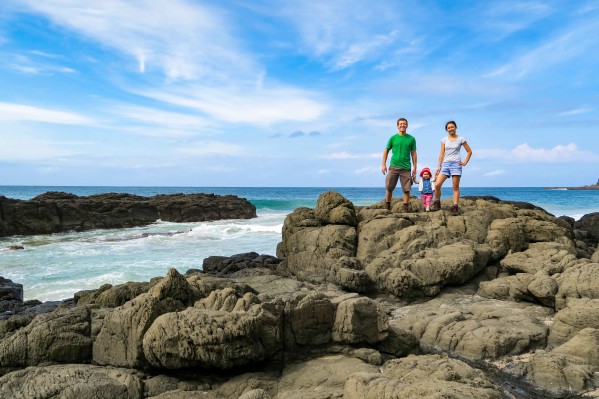
Photo Tip Friday: Creating Lightroom Presets
It was a sad day at our house when Apple announced the end of Aperture. We had a great, fast workflow, and Lightroom was a bit overwhelming when we first opened it. We do not do a ton of post processing, and our simple edits seemed more complicated with all the controls in Lightroom. After spending over a year with Lightroom, we are finally finding our flow, and presets are changing the game for us. Read on for the 4 simple steps to creating Lightroom presets, and streamlining your editing process.
There is still a huge amount of untapped editing power in Lightroom, but we only have so much time to explore the different sliders, curves, and adjustments. When we manage to squeeze it in, we enjoy learning about new features, like finally figuring out the Dehaze Tool, but we took almost 1,000 photos this past weekend so we barely have time to flag and perform basic edits.
Enter Lightroom Presets.
We receive pop-ups and other links for “free” presets, and while I am sure there are awesome ones out there, I am also sure I don’t have time to find them. I do however know, that EZ and I tend to make consistent edits to the photos we shoot, and perhaps, we could turn them into a preset. A little bit of time with Google, and I was ready to go.
4 Simple Steps for Creating Lightroom Presets:
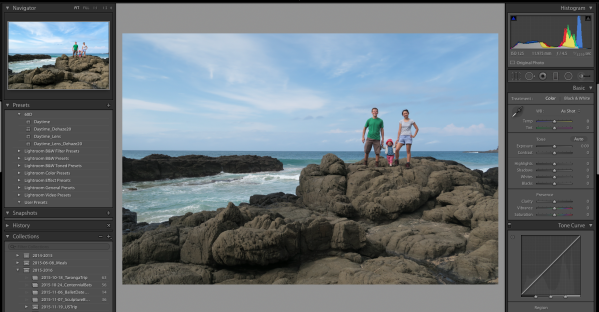
Step 1 – Select a photo that represents most of the adjustments you regularly make to most photos. For us, we start with auto-tone, decide whether it is workable, tweak the auto-adjustments, add a small amount of clarity, vibrance, and saturation. Then, we are done!
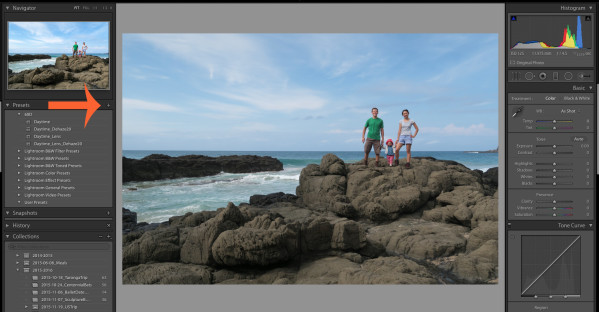
Step 2 – Click the plus symbol to add a preset, by default it is on the left side of the screen beneath the image preview.
If you like, right-click to add a folder first. This can be helpful with multiple cameras because they expose images a little differently, but it is also useful if you shoot a mix of day and night, or want to have a group of preset for black and white images.
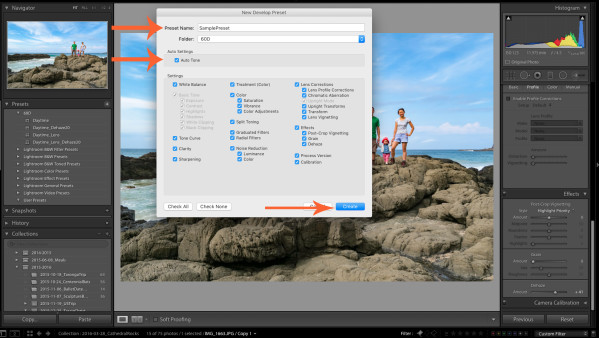
Step 3 – Check the boxes for the adjustments you want included in the preset. For us, the important one here is the Auto-Tone. We like to see how well Lightroom does on its own before we spend our time going slider by slider to make the image pop, but as I mentioned, we usually add a few other color adjustments as well, so we leave them all checked.
Step 4 – Click the create button, and you’re done! All it should take is 1 click for most of your photos.
We currently have 4 presets, 2 with lens corrections and 2 without. Excluding the lens correction, which we occasionally use with our wide-angle lens, there are really only 2 presets. Both presets have Auto-tone, with clarity, vibrance, and saturation, but only one includes a little Dehaze for our daylight shots.
Now we are able to mouse over each of those presets, and the preview will give us a good idea of what the picture will look like. Most of the time, those adjustments are good enough, which frees up more time for the photos that need extra attention and for learning about the other Lightroom adjustments.
Let us know if you have any tips below, and as always, feel free to ask us any questions.
Pin this for future reference!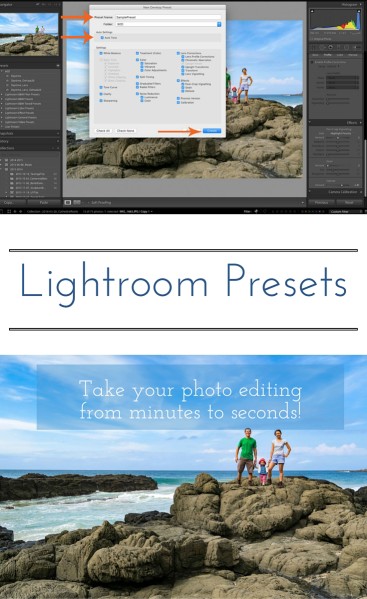
One last note, we share some of our best tips and up to date camera news in our bimonthly newsletter. Make sure you sign up for our photo tips newsletter to gain access to our library of subscriber-only photo tutorials!