How to Use The Dehaze Tool in Adobe Lightroom
Want to learn about an awesome tool within Adobe Lightroom to take your landscape photos to the next level? EZ and I recently discovered the usefulness of the Dehaze Tool, while editing some foggy photos from the Blue Mountains. Read this article to discover how this tool can elevate the quality of your photo edits.
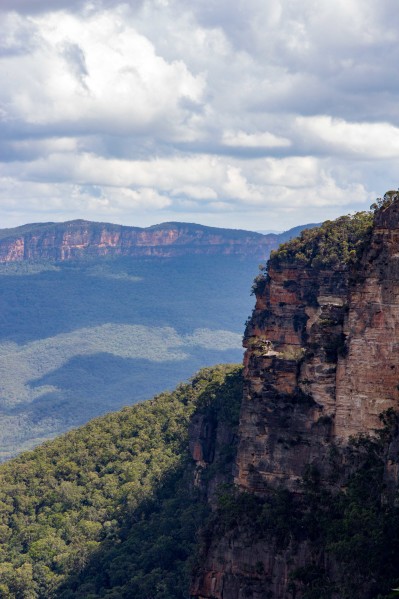
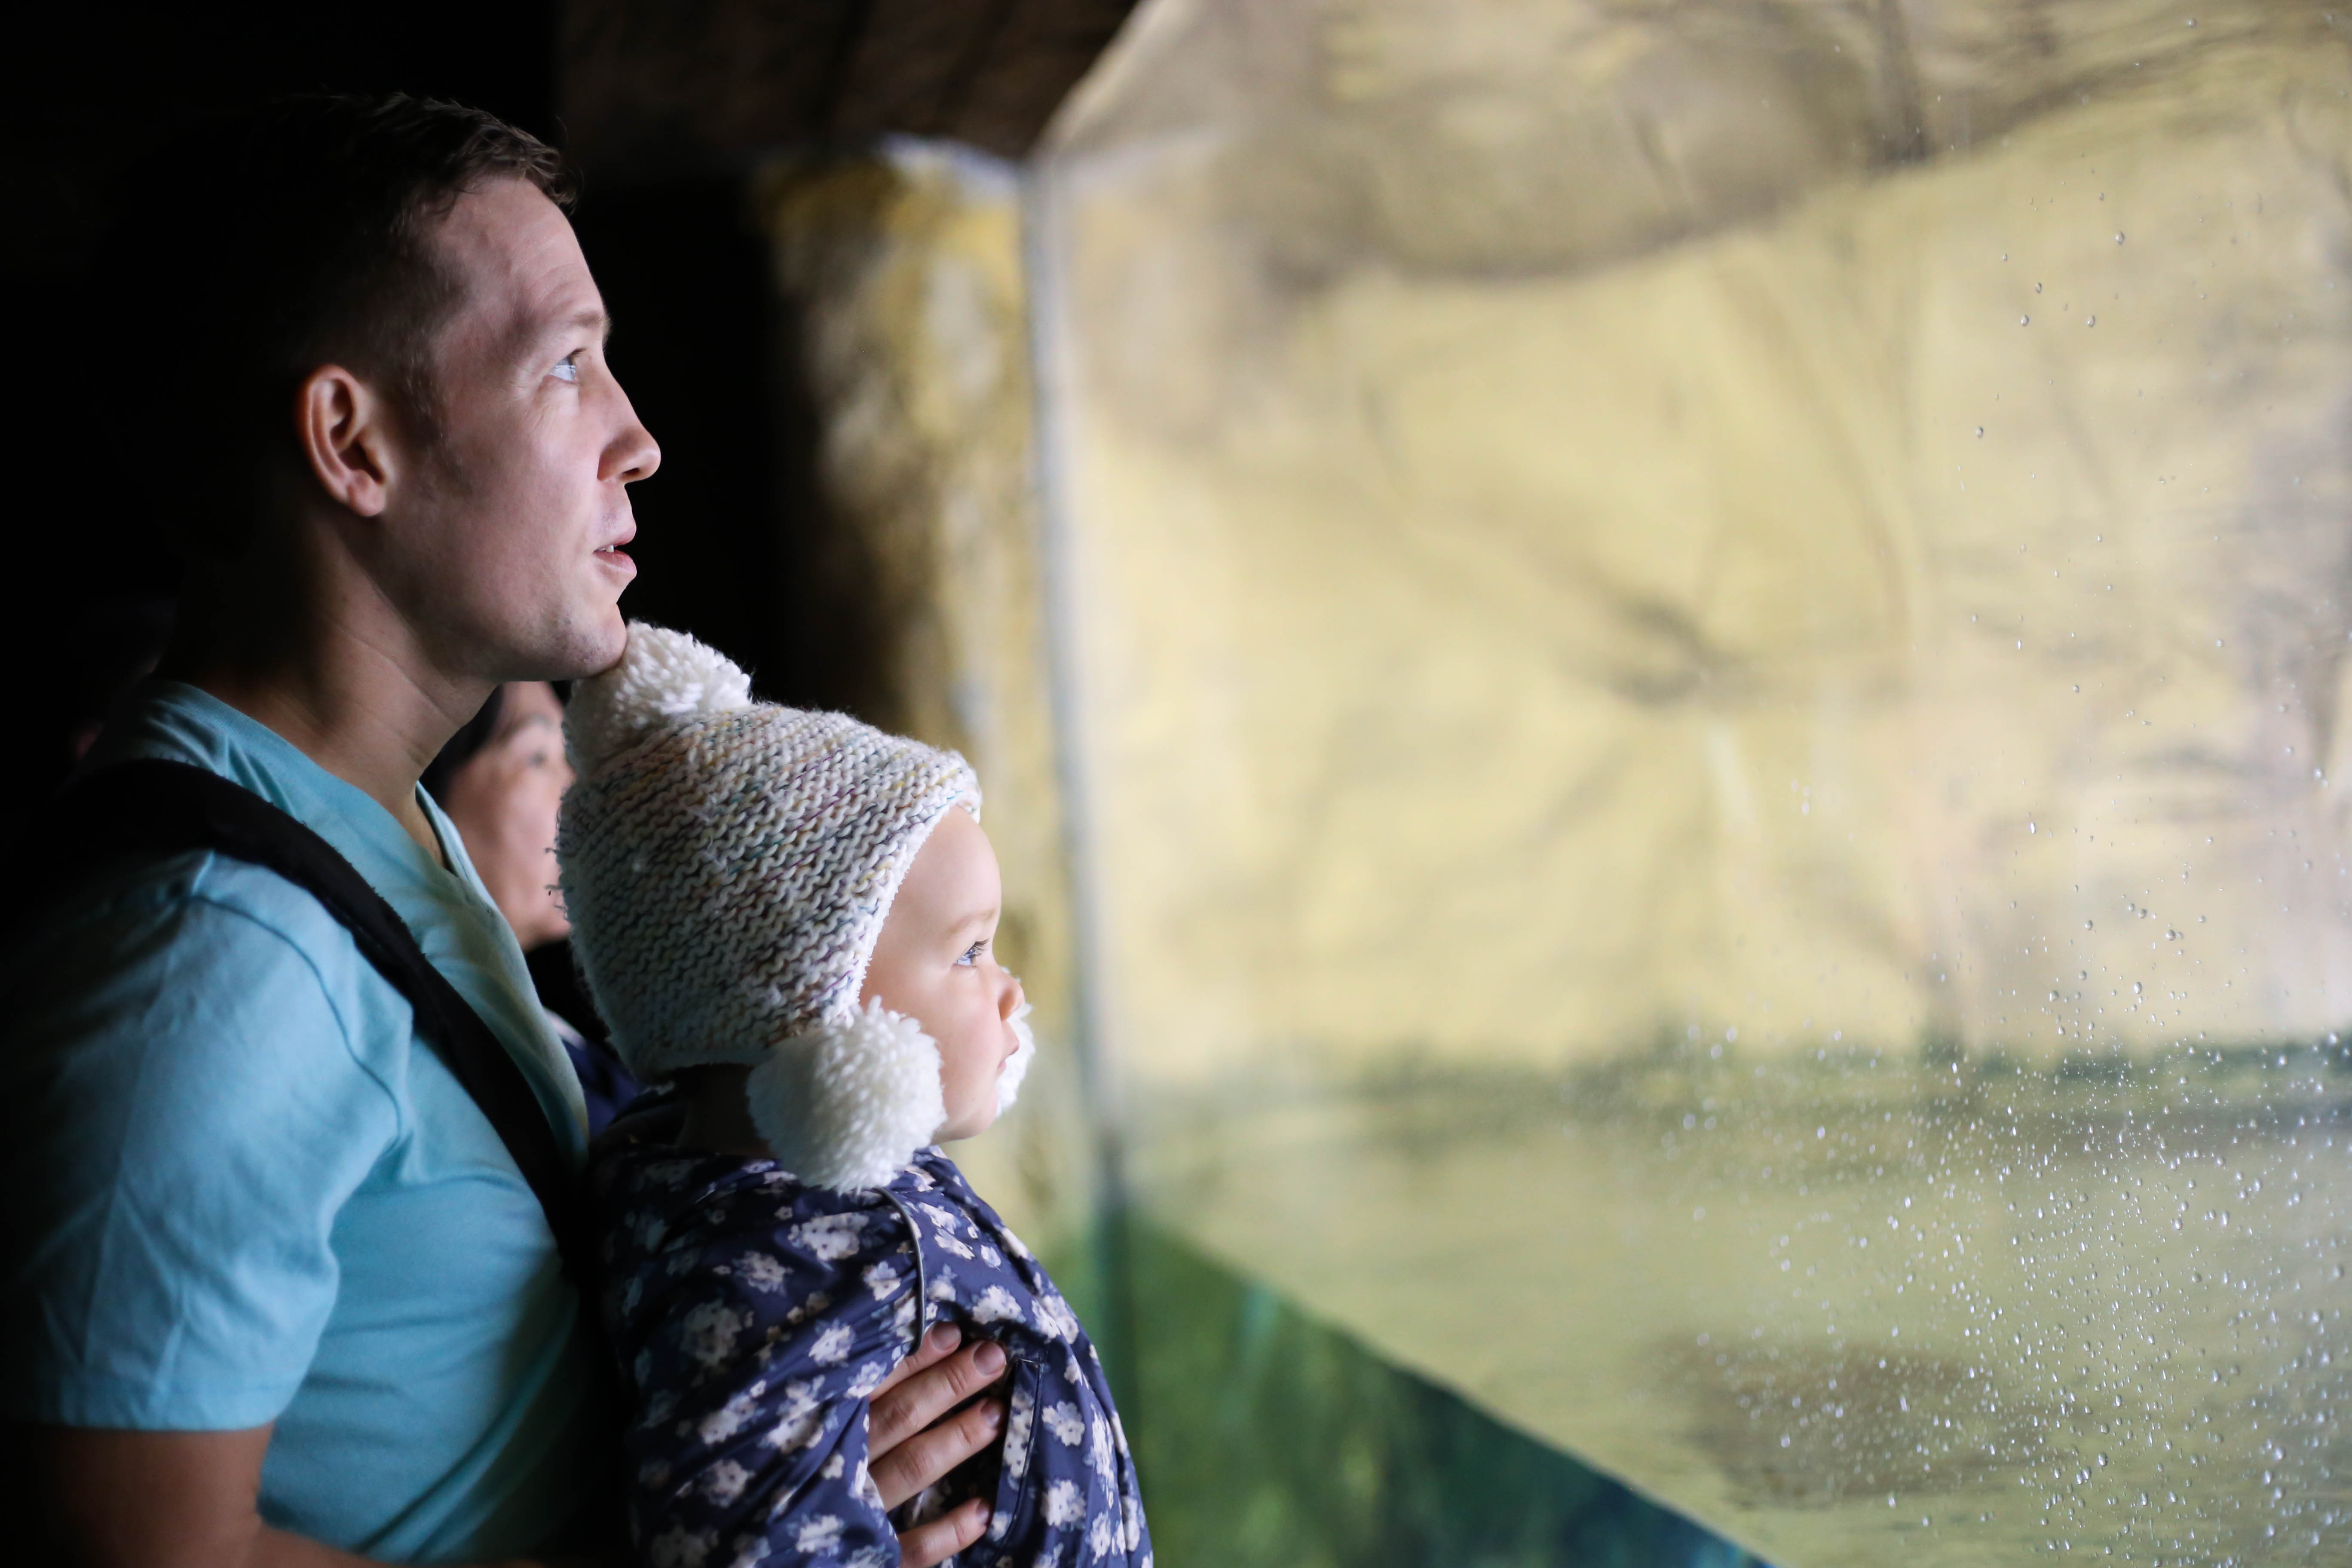
Editing the photos from our recent Blue Mountains hikes proved to be rather challenging because the weather ranges from rainy with dense fog to light fog. Like many of the photos, I felt like the below photo didn’t reach its potential using our traditional post-processing routine. Even though it was not raining on our last trip, there was still enough fog to decrease the sharpness and clarity of the images.
It occurred to me, fog makes pictures look hazy (I know, this should have been obvious), and I remembered reading an article about the Dehaze Tool. Imagine that! There is a preset tool to adjust the lighting in photos to reduce fog and/or haze.
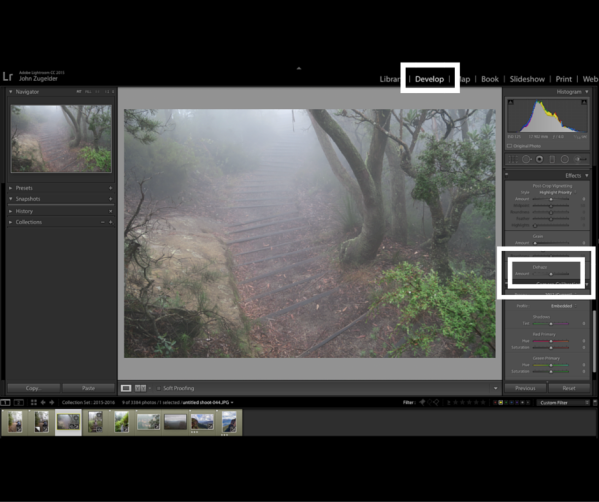
The tool is located, under the effects section of the Develop panel. By default, it is on the right side of your screen, towards the bottom (keep on scrolling), and beneath the Detail and Lens Corrections adjustments. Adobe has a detailed write-up and video if you are interested in more technical information. Here is a step-by-step breakdown for applying the filter, in the two ways we currently use it: fog and haze reduction.
Lessen Fog with the Dehaze Tool in Adobe Lightroom
Select your image in Lightroom, and adjust the white balance if needed. Then begin sliding the Dehaze amount gradually to the right , reducing the haze. As you see below, it really is amazing to be able to recover this level of detail.
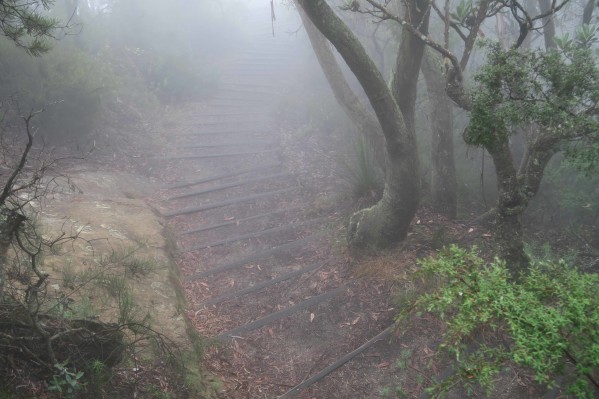
Foggy Trail Unedited
The only edit I made to this photo was sliding Dehaze amount all the way to 100.
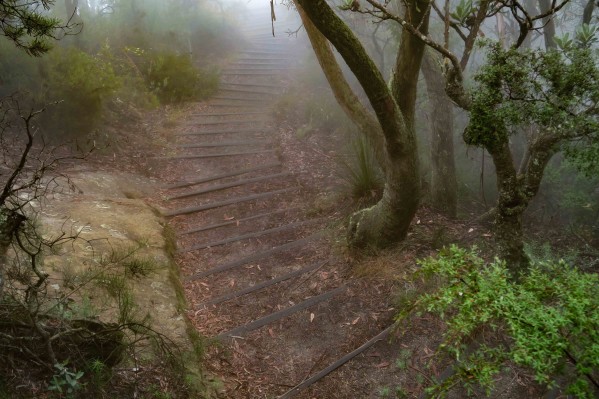
Foggy Trail Dehaze 100
Here is the same shot, whit the Dehaze amount set to -100. Yes, it creates more fog too!

Foggy Trail Dehaze -100
Adjusting the Harsh Midday Sun
Now let’s move to an example with a bit more creative nuance. We like the composition of the harbour, ferry, skyline, and sailboats, but the unedited image below looks a little flat with a slightly blown out skyline and brighter parts of the photo. When we started playing around with the Dehaze Tool, I thought of this photo, and re-edited it, experimenting with Dehaze Tool.
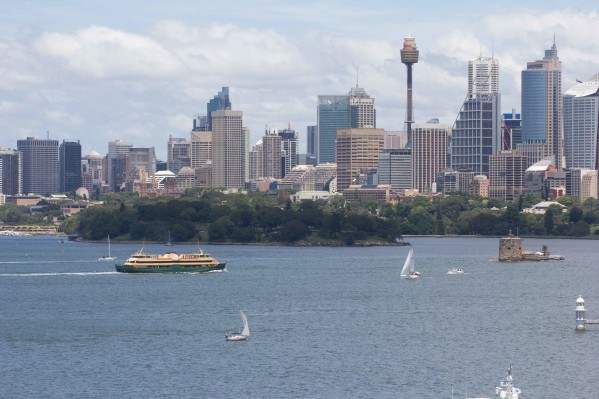
Unedited photo
To start with, I made our standard exposure and contrast adjustments.
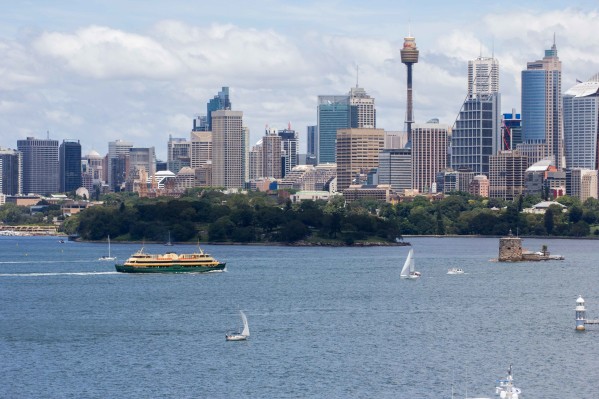
Exposure and contrast adjustments
It was exciting to see how the image popped, after adjusting the Dehaze Amount to 40. The end-result looks a bit more over-processed than our usual editing style, but still, I like this version better. Perhaps, I will spend more time editing if we ever want to print it, but for now we are done.
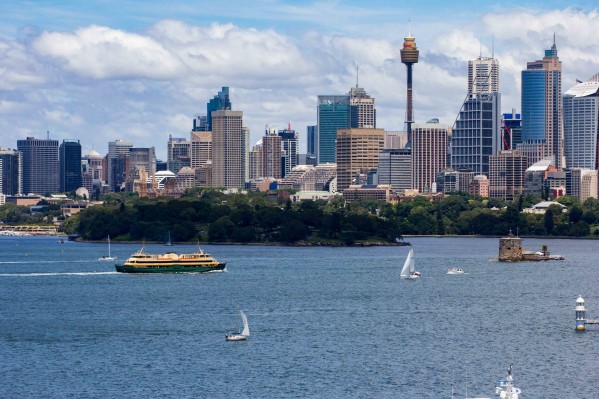
Standard exposure and contrast edits adjustments Dehaze at 40
Remember:
- Adjust the white balance as needed
- Gradually reduce or add haze using the Dehaze tool
- Make final exposure and contrast adjustments
*Sometimes it will work better to add these before using the Dehaze tool
Next time you have one of your vacation photos full of fog or smog, or even if it is just a bit overexposed in the harsh midday sun, perhaps the Dehaze tool will provide the adjustment you need. Don’t forget that it can also add a bit of haze, making the fog really pop for those ethereal, misty hiking photos.
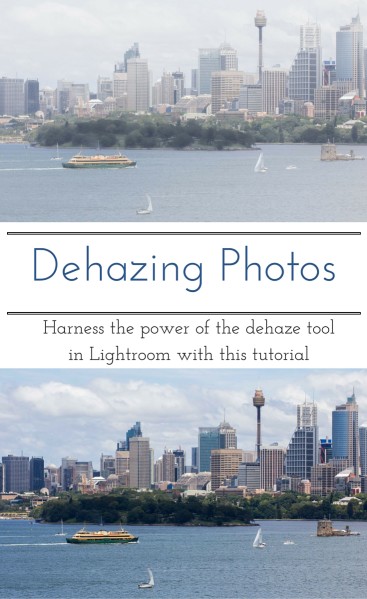
Pin this for future reference:


Very helpful!
well explained, thank you for taking time to record and share!