Bracketing Photography Tutorial – Never Miss a Moment
If you want to make sure you capture every moment – read on for our bracketing photography tutorial. I outline what bracketing is, when it can be helpful and how to enable it on Fujifilm cameras.
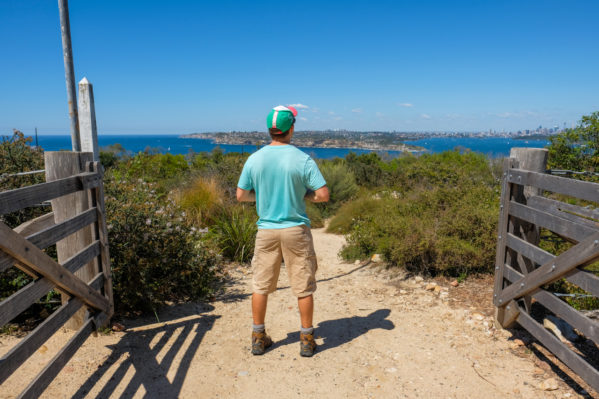
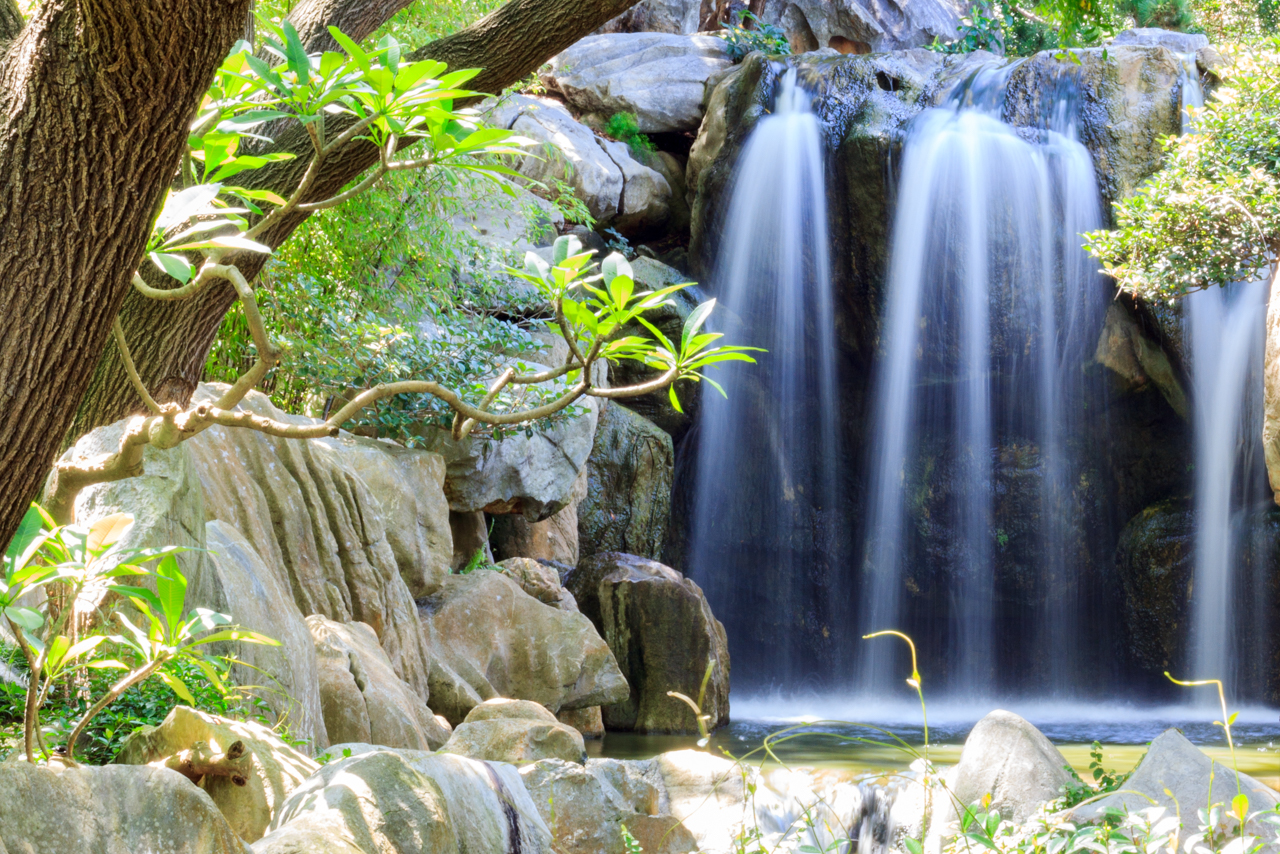
Auto exposure EV 0 with edits
Bracketing Photography Tutorial – What is bracketing?
In a perfect world, there is an exposure (brightness) that matches exactly what your eyes see, then there are brighter / darker exposures. In an automatic shooting mode, the camera software determines the ideal exposure, and adjusts the different settings accordingly. However, it is not always correct, and often takes slightly overexposed (brighter) or underexposed (darker) photos.
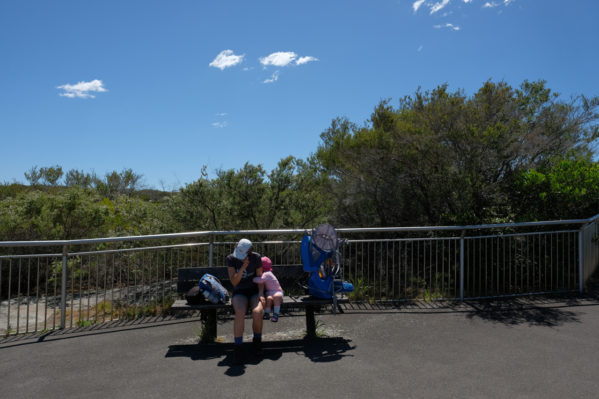
Under Exposed – Auto, EV -1, 1/1100, f/5.6, ISO 200
On the Fuji X-T2, set the control dials for aperture, ISO, and shutter speed to “A.” Now the camera is in full auto mode. There is also an exposure compensation dial to the right of the shutter. This will make the pictures is brighter or darker than the camera’s software calculates the proper exposure. +1 is brighter, and -1 is darker.
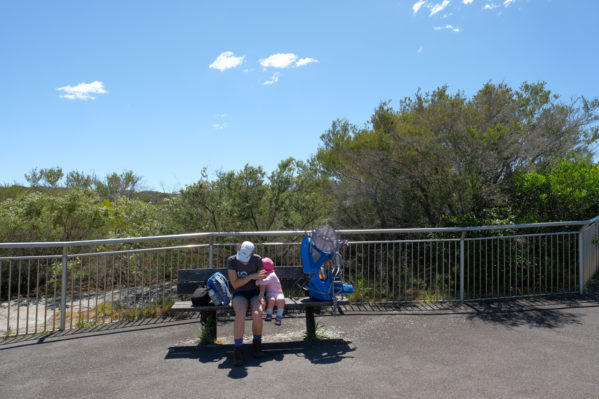
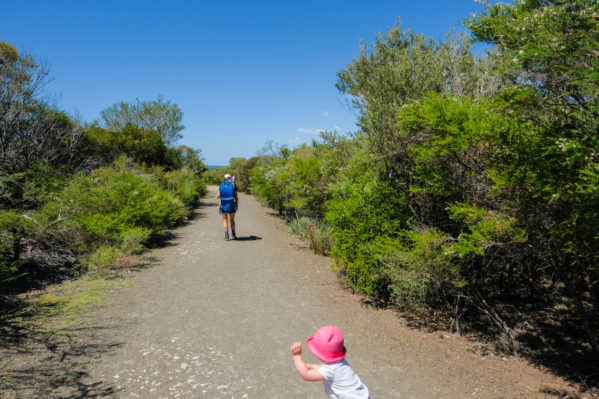
Properly Exposed – Auto, EV 0, 1/550, f/5.6, ISO 200
A great way to ease into the exposure compensation is with bracketing, which is simply photographing the same scene multiple times at multiple exposures. Commonly, bracketing takes three photos, one underexposed, one properly exposed, and one overexposed. Most modern cameras have a setting to do this for you automatically, and some, like the X-T2 offer variations on the bracketing, such as ISO, film simulation, or white balance.
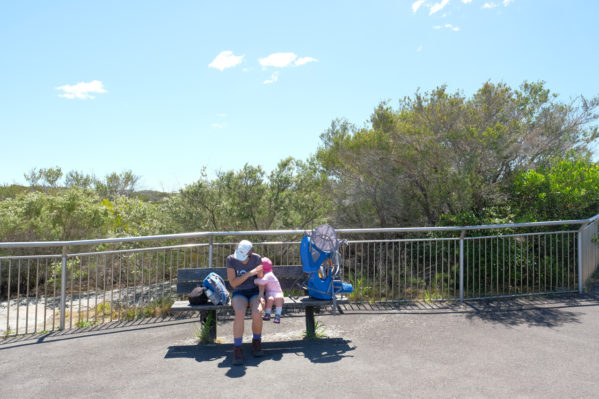
Over Exposure – Auto, EV+1, 1/280, f/5.6, ISO 200
On the Fuji X-T2, the exposure bracketing is the default, with values of -1, 0, and +1. This is a good place to start. As an aside, the measurement system is “stops of light,” and don’t worry about what exactly a stop is. It’s physics. All you need to know is that one stop is roughly double or half the amount light. +1 stop on the exposure compensation dial should be twice as bright as 0, which the camera considers properly exposed.
Bracketing Photography Tutorial – When is bracketing helpful?
I wish I listened to my own advice we started shooting with the X-T2 in New Zealand. Despite having a few years shooting under our belts, there is an adjustment period with a new camera. All I needed to do was enable bracketing, and study the photos. Paying attention to how the X-T2 captured different scenes would have saved me quite a few lost shots. The worst part, we met a wonderful couple from Texas learning their camera, and I suggested bracketing to them! Whether it’s your first DSLR, or you upgraded your existing camera, bracketing is a great way to learn how the new camera and sensor will read a scene.
How to Enable Bracketing on Fujifilm – Drive Modes
Different camera manufactures group bracketing in different areas. On a Canon you enable bracketing and exposure compensation from the Q menu, using the control wheel next to the shutter release button. However, the X-T2 includes it as a drive mode.
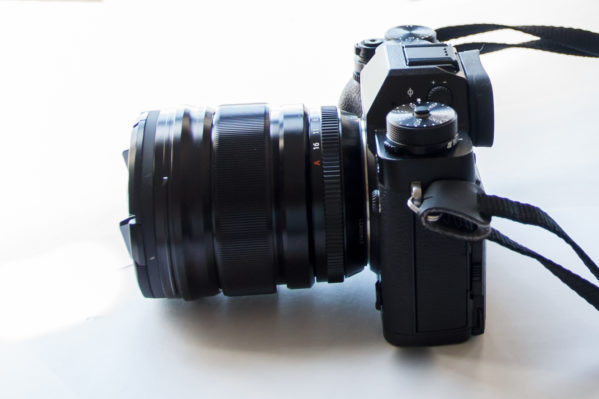
Enabling bracketing on the X-T2 is very simple. The ISO control dial has a small switch on bottom section. A small nub / switch sticks out toward the camera lens, and pushing it left or right moves the bottom part of the ISO dial. This is where you set the drive mode. Here are the values from left to right:
- The camera icon is for video
- BKT is bracketing
- CH is continuous high-speed – By default, this will take 8 photos per second as long, as you hold the shutter.
- CL is continuous low-speed – By default, this will take 3 photos per second, as long as you hold the shutter.
- S is for single-shot
- The double rectangle icon is multiple exposure.
- ADV – Uses the advance filters, which are similar to filters you might see on Instagram.
- The rectangle icon with slightly curved lines is for panoramas.
Shooting with Bracketing Enabled
Since the Fuji X-T2 treats bracketing as a drive mode, it automatically uses continuous shooting. This means you hold the shutter down until you hear three shutter clicks. The camera immediately captures 3 sequential images. When reviewing photos, the properly exposed image is first, followed by the overexposed image second and the underexposed image third.
For other cameras, such as our old Canon 60D, you need to set the drive mode to continuous shooting, and enable bracketing. If the camera is in single shot drive mode, you must press the shutter 3 times. Continuous drive mode will quickly take 3 shot bursts as long as you hold the shutter.
Bracketing Photography Tutorial – Benefits
- You are more likely to get the photo you wanted because you will have three versions of each shot. I used bracketing in Germany with my first DSLR. While I have way too many photos from that trip, I managed to grab a few I still like today.
- Building on this, bracketing offers a better selection of photos if you shoot in JPEG. I shot all photos in this post as JPEGS. With bracketing, I always had one that was close enough for decent editing without the extra data from the RAW file. More on RAW vs JPEG here.
- Observing the differences in each of the three images, you learn how your camera evaluates the light in the scene. After shooting this way in a variety of light and locations, we learn when to follow the camera’s metering, or perhaps over/under-expose just a bit. Every camera should have a type of lighting/scene that it nails every time. You need to take enough photos to know what this scene looks like, and having 3 photos that differ slightly shortens the learning curve.
- Side note: I recommend using evaluative metering. It is a pro tip from Jerry Ghionis.
- Bracketing works in Auto Exposure, Aperture Priority, and Shutter Priority modes, as well as in manual!
Bracketing Photography Tutorial Wrap-up & Assignment
Spend the next week taking pictures with bracketing enabled to familiarize yourself with your camera. Focus on the subtle differences between the three images. Make note of the ISO, aperture, and shutter speed settings. Next week’s post will build on this foundation, and before long you will have no trouble capturing amazing family photos.
Bonus Credit: Share your favorite image from the week on Instagram, and tag us in the caption. We will repost our favorite!


2 Responses
[…] the image than increasing the exposure. This can be done with the exposure compensation adjustment, bracketing, or by operating in manual […]
[…] Bracketing Photography Tutorial – Never Miss a Moment […]